
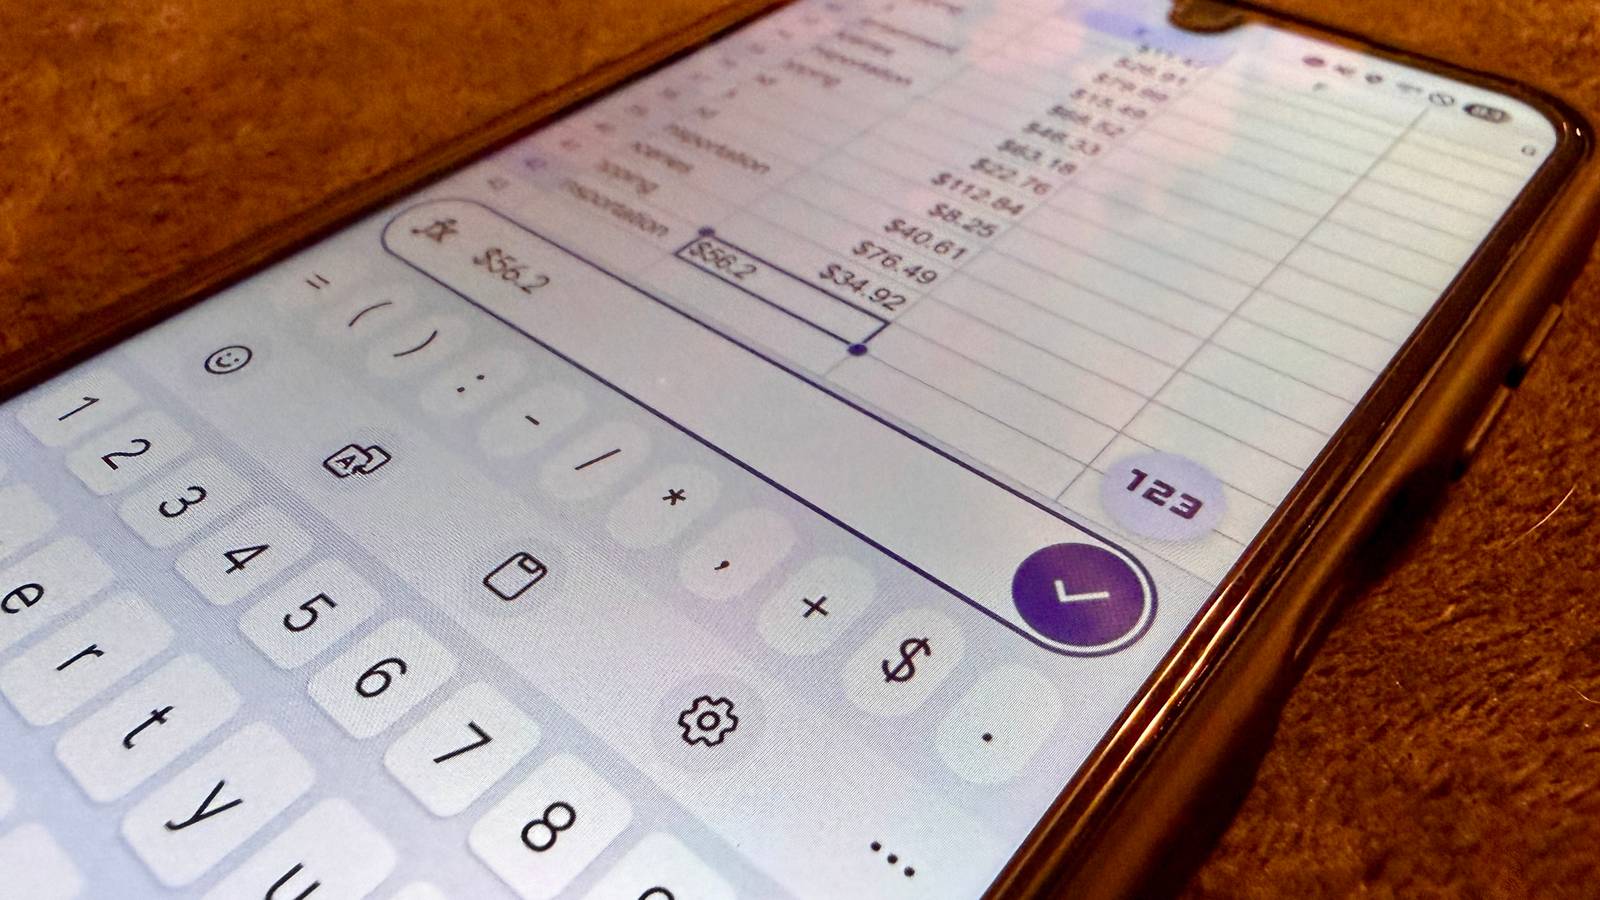
Published Aug 30, 2026, 9:00 AM EDT Nathaniel Pangaro is a tech enthusiast who dives deep into Apple’s world, from Macs and iPads to iPhones, Apple Watches, and every gadget in between. He loves turning tricky tech features into guides and reviews that are actually fun to read—and easy to use. At AppleInsider, he broke down the latest Apple releases with hands-on testing, clear explanations, and visuals that make readers feel like they’re right there with him. He also keeps SEO in mind so people can actually find his work online. He’s also written for The Student Loan Help Group, turning tech and finance topics into simple, helpful, and engaging content. Nathaniel also takes photos and creates rendered visuals to showcase devices and highlight features. When he’s not writing, Pangaro enjoys listening to music, working out, baking, and spending time with his pets. These hobbies help him recharge and bring a fresh, creative perspective to his work, keeping his writing energetic and relatable. Pangaro's goal is simple: help readers get the most from their Apple devices and actually enjoy doing it. It seems like everything today has a subscription attached to it—whether a video streaming app, a food diary app, or even a calculator app. No matter the intent, there is a paywall for additional features. This is even the case with apps that are supposed to help you organize and save your money; they want you to pay a fee to use all of their features. Due to this, I’ve had enough of the penny-pinching tactics and have decided to build my own expense tracker instead of paying for one. I stopped using expensive dedicated apps I had to pay a price for all the features It seems as if you cannot download a single app without being hit with an offer or a splash screen advertising an app’s premium features. This usually includes more customization options and access to better features—such as AI. Credit: Nathaniel Pangaro / How-To Geek | Samsung Furthermore, if it is not advertised to you when you make an account or open the app, it is tucked away in the settings. You sometimes won’t even know about the fee until you try to access a feature and find out it is locked behind a paywall. No app is off-limits, and the ironic part is that expense-tracking apps also offer a subscription. These apps are supposed to help you keep track of your spending and ultimately cut it down, but they’re asking you to shell out more money than you did before downloading them. Credit: Nathaniel Pangaro / How-To Geek | Samsung The three apps I downloaded—Monefy, MyMoney, and Money Tracker—all had some sort of subscription option that did not give me the full experience for free. This was either in a splash screen or buried in a hidden menu. As a result, I decided to create my own expense tracker on my device. While it took some time to put together, I would rather spend my time on this than spend my money on a subscription. Piecing my tracker together Gathering my bills and receipts into a sheet When starting to create my tracker, I knew I wanted something simple and easy to access, not something too complex that takes forever to input information. In addition, I wanted it to be free for the tools I need and to help me customize the tracker's view without fear of a paywall blocking me. For this, I went with Google Sheets because it is a program I can use on my phone, computer, or tablet by just logging in to my account. Furthermore, I can use the pivot table feature to view my expenses exactly the way I want. Formatting the sheet First, I set up my sheet like I would any other, with a plain, empty template for me to fill in, and labeled it “Expense Tracker 2026.” Credit: Nathaniel Pangaro / How-To Geek | Samsung While I do plan to create a new sheet for each future year, it is possible to have a single sheet for all my expenses. However, doing that could cause the sheet to freeze or slow down. From there, I created five categories—each a column: Month, Date, Expense, Category, and Amount. Month, Date, and Amount are pretty self-explanatory, but Expense is for what the purchase was for—such as the company it went to—and Category is for what the billing would be—for example, entertainment or groceries. Now, the information I put in is also categorized to one specific credit card that I want to keep track of more closely. I could add another column titled “Card,” but since this sheet is only for one specific card, I don’t need it. Setting up the pivot table Pivot tables can sometimes seem intimidating with all the settings and customization options, but once you get down to it, they are very useful and easy to configure. However, it should be noted that putting together and editing a pivot table can currently only be done on a desktop, not in a mobile app. Credit: Nathaniel Pangaro / How-To Geek | Samsung However, you can still view the information based on how you configure it on the computer. Plus, you can still input all expense information on your mobile device. To start, I clicked Insert in the top menu and selected Pivot Table from the drop-down menu. After clicking that, it asked me what my data range should be and where to insert the pivot table. Credit: Nathaniel Pangaro / How-To Geek | Apple For the insert location, I chose to do it on a new sheet so it wouldn’t get lost among all the data on the first sheet. For the data range, I just selected the columns I created—columns A through E—so when I add more data, the pivot table will pick it up. Once the table was created, I renamed my sheets so I knew what was in each. For all the data, I labeled it “Expenses,” and for the pivot table, I named it just that: “Pivot Table.” Credit: Nathaniel Pangaro / How-To Geek | Samsung Now, one of the best things I love about using a pivot table rather than just a “=sum” formula in a cell is that I have greater flexibility in how I want my data organized and laid out. For example, I can move the Category column to the Rows section of the pivot table and the Amount column to the Values section. This now allows me to see how much money was spent in total on each category throughout 2026. Credit: Nathaniel Pangaro / How-To Geek | Samsung This can even go further. If I want to see a breakdown of the total for each category, I can just add the Months under the Category column in the Rows section, and it will update the view to show the totals. As previously mentioned, all future information will go into the pivot table because the entire column is selected, not just a section of cells. This means I don’t have to go back each time I enter new information or expand the areas the pivot table draws its data from; it just automatically retains it from the column. Keeping track of my expenses While this is a simple way to track expenses, it is also cost-effective. The features I use will not have paywalls in the near future, so my expense tracker will be accessible whenever I need it. So if you’re like me and hate being greeted with a subscription splash screen, try Google Sheets to keep your expenses organized. With the help of a pivot table, you can make an expense tracker that will not go stale anytime soon or ask for money when using it.
I built my own Android expense tracker because every "free" app wanted a subscription
Full Article
Original Source
Read the full article at Howtogeek →KhanList aggregates and links to publicly available news content. We do not host full articles from third-party sources. Always verify important information with original sources.