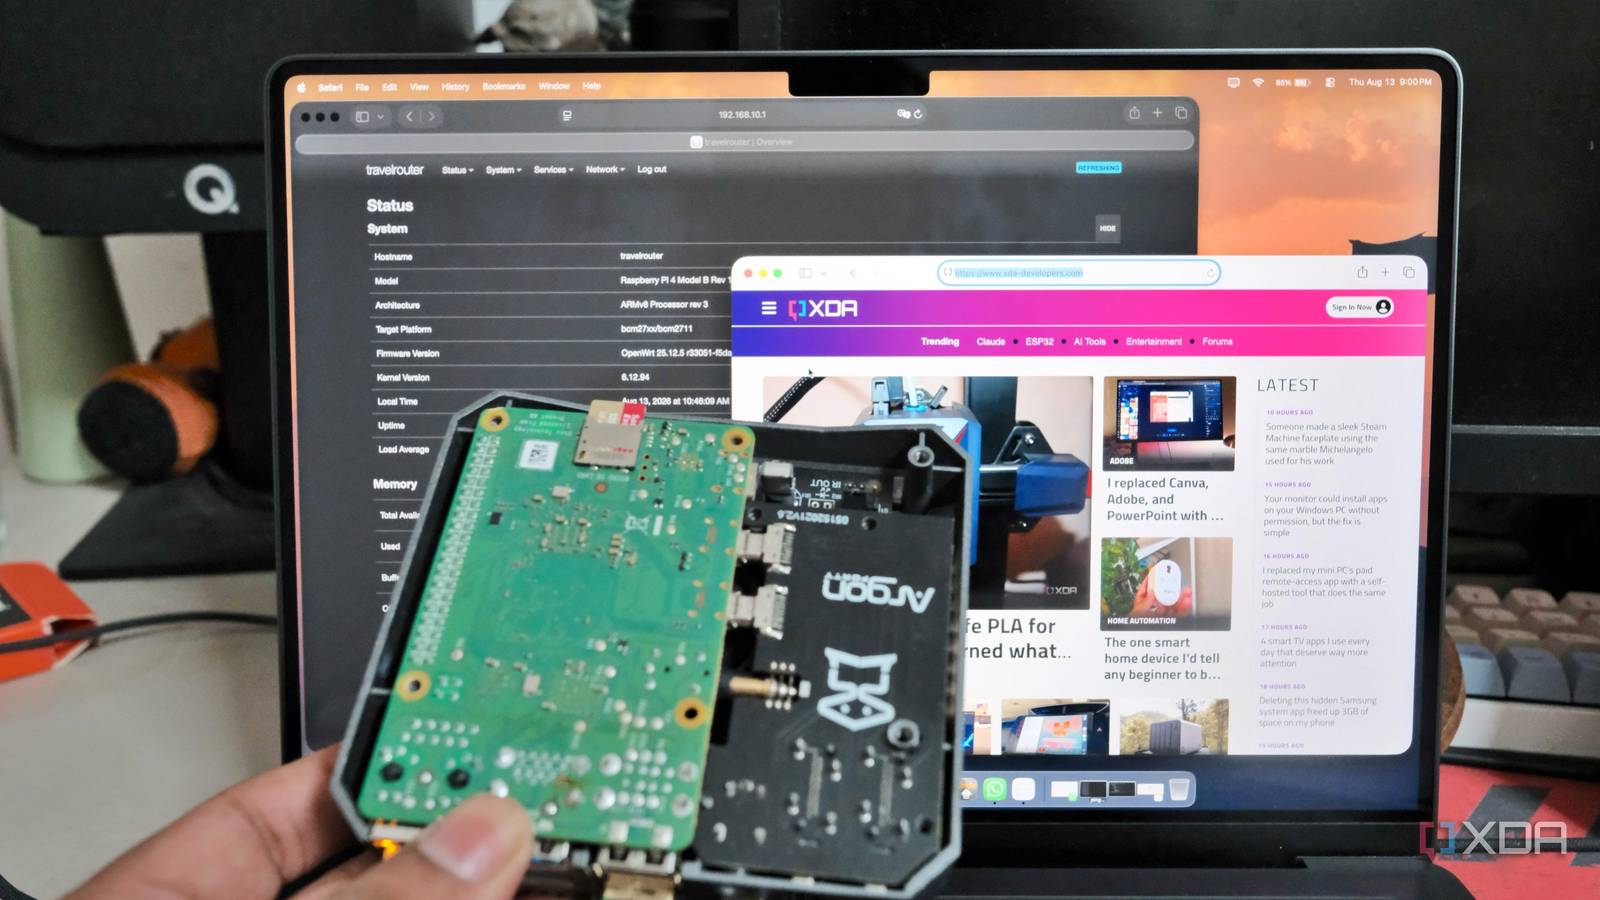
Published Aug 15, 2026, 5:00 PM EDT Samir Makwana is a technology journalist and editor from India since past 18 years and his work appears on MakeUseOf, HowToGeek, GSMArena, BGR, GuidingTech, The Inquisitr, TechInAsia, TechWiser, and others. He has written news, features, and gadget reviews for national technology media publications. His passion is to help people with their technology problems and gadget purchases. For that, he has worked for some of the biggest international technology publications, covering news, explainers, how-to guides, listicles, and product-buying guides. He has worked as an editor and managed teams since 2015. His expertise broadly covers computers, smartphones, game consoles, headphones, smart home products, browsers, and apps. Last time I wanted to deal with hotel Wi-Fi, I built a travel router using a Raspberry Pi 4 and RaspAP. It worked for basic connectivity, but it lost a fight with the hotel's captive portals. I lost count of how many times I’d connect, got stuck on that page, and ended up tethering to my phone instead. Before I ordered a dedicated travel router, I wanted to see if my already-retired Pi 4 could handle captive portals properly. Turns out, it can, albeit with different software and approach. All it took was a Raspberry Pi, a USB Wi-Fi adapter, a microSD, and an OpenWrt script to build a custom OpenWrt image for you. Why I chose a script over vanilla OpenWrt installation Assembling a slightly custom build I found two ways to build a travel router with a Raspberry Pi. The obvious one was to install OpenWrt, an open-source router operating system, on my Pi 4 and then manually configure a package called Travelmate. This package connects to other Wi-Fi networks the way a laptop would. Alternatively, I can use a build script for Raspberry Pi that includes the package and drivers for USB Wi-Fi adapters andoutputs a ready-to-flash image. The script supports Pi 3/4/5 models. I went with the script since it comes with Travelmate already configured. There’s also a built-in package called mwan3 that automatically switches between internet sources if one drops. I also got interested in the TTL cloaking trick that stops hotel networks from detecting and blocking a shared connection. Major hotel chains use login scripts that bypass their captive portals with minimal effort. OpenWrt OpenWrt, from open wireless router, is an open-source project primarily used to route network traffic for embedded operating systems based on Linux. Things to do before you set up multi-WAN Knowing the fine print before you build There’s a catch easily overlooked unless you know what you’re doing. You’ll need a separate Linux computer to actually build the image to flash. The Raspberry Pi will only run that image, not compile it. The real benefit of using the script is that the multi-WAN support comes configured. So I can connect to a public network or a hotel’s network via Ethernet or Wi-Fi. Further, I can use an iPhone or Android device tethered to the Pi over USB, which requires some setup. I plan to enable VPN and Tailscale on the router since I only need toinstall those packages. Drivers actually matter for USB Wi-Fi adapters Not every adapter will need a manual driver install Using a USB Wi-Fi adapter helps define clearer roles for the wireless radios. For starters, I used a TP-Link Archer T2U AC600 dual-band Wi-Fi adapter to configure it as an access point for my devices. The Pi’s internal wireless radio acts as a client to join the hotel, restaurant, or public Wi-Fi network. Meanwhile, the Wi-Fi adapter works as a private network in Access Point mode. This lets you connect your phone, laptop, and other devices to it. The idea is to create a reliable network with a dedicated private access point. If you’re using an old Wi-Fi adapter, you will need to configure the drivers. That’s because the Linux kernel in the latest OpenWrt build already supports the new drivers. However, the newer Realtek chips often lack driver support, and you’ll need to look for community-developed options. If you plan to buy a Wi-Fi adapter for this project, make sure you check the exact chip inside, not just the model number, to avoid driver woes later. Building a custom OpenWrt image requires some hand-holding You might need to configure a few things One of the first things I did was download the script and learn that it’s set to the default for Pi 4. OpenWrt’s build fetches the latest supported USB Wi-Fi drivers. But since I was using an adapter with an old chip, it needed manual driver handling. So I edited the fifth line of the CUSTOM_PACKAGES section to mention drivers for the Archer T2U dongle. After copying the custom config files, I ran the build script to completion. Use a reliable DNS provider to avoid build errors. The result was four packages: two factory images and two upgrade images. I used the squashfs factory image (roughly 20MB) to flash onto a microSD card using the Raspberry Pi Imager on my Mac. Once done, I plugged the card into the Pi 4 and booted the system. The first boot took a few minutes, and I finally accessed the OpenWrt LuCI GUI to log in. The initial configuration required enabling SSH in the settings to access OpenWrt from the terminal. Configuring WAN was pretty easy from Travelmate under the Services menu. The initial scan showed the mobile hotspots along with other SSIDs. For VPN support, you can add the Tailscale or WireGuard package to configure them in the LuCI GUI. Travelmate’s built-in scripts automatically handle the login page of known hotel chains, and I didn’t have to fight with captive portals much. Two wireless radios set to undertake two different jobs One talks to the hotel network; the other talks to my devices What makes the script work is multi-WAN support. For reliability, I split the wireless radios on the Pi and the Wi-Fi adapter into two separate jobs. I set up the Pi’s built-in radio as a Travelmate-managed client. It joins any public network, like a hotel’s Wi-Fi, as a typical computer would with portal login. Meanwhile, the Wi-Fi adapter broadcasts a private network while acting as an access point. My phone, smartwatch, laptop, and everything else can connect to that private network. By splitting the tasks between two radios, it behaved like a real router and overcame the core weakness of my original RaspAP build, where a single device juggled two networks at once. The mwan3 package automatically handles the priority of connections in the following order: Wired Ethernet Wi-Fi through Travelmate iPhone tethered over USB Android tethered over USB If Ethernet connectivity breaks, the router falls back to Wi-Fi via Travelmate without reconnecting or requiring manual configuration. Turning Pi into a travel router is a stepping stone While building an OpenWrt image with a script took a little more work than using RaspAP, I ended up with a more capable option. With automatic failover in place, I don’t need to worry about losing connectivity when I’m on the move. If you already own a Pi and are willing to tinker around with the script, all you need is a Wi-Fi adapter to build a travel router under $50. It’s satisfying to put an old Pi to use instead of leaving it in the drawer. Raspberry Pi 4 Storage MicroSD card slot CPU Arm Cortex-a72 (quad-core, 1.8GHz) Memory 1GB, 2GB, 4GB, or 8GB of LPDDR4 Operating System Raspberry Pi (Official) Ports 2x USB-A 3.0, 2x USB-A 2.0, 40-pin GPIO, 2x micro-HDMI, 2-lane MIPI DSI display port, 2-lane MIPI CSI camera port, 4-pole stereo audio and composite port, microSD card slot, USB-C (for 5V power), Gigabit Ethernet GPU VideoCore VI Raspberry Pi 5 CPU Arm Cortex-A76 (quad-core, 2.4GHz) Memory Up to 8GB LPDDR4X SDRAM Operating System Raspberry Pi OS (official) Ports 2× USB 3.0, 2× USB 2.0, Ethernet, 2x micro HDMI, 2× 4-lane MIPI transceivers, PCIe Gen 2.0 interface, USB-C, 40-pin GPIO header GPU VideoCore VII Starting Price $60 The Raspberry Pi is back, and the fifth iteration of the SBC is a lot more capable than the older models. From a new quad-core Arm Cortex-A76 CPU, support for dual monitor setups at 4K 60Hz, and a dedicated power button, there's a lot to love about this palm-sized computer.
I built a travel router that actually defeats hotel Wi-Fi login pages — here's how
Full Article
Original Source
Read the full article at Xda-developers →KhanList aggregates and links to publicly available news content. We do not host full articles from third-party sources. Always verify important information with original sources.