
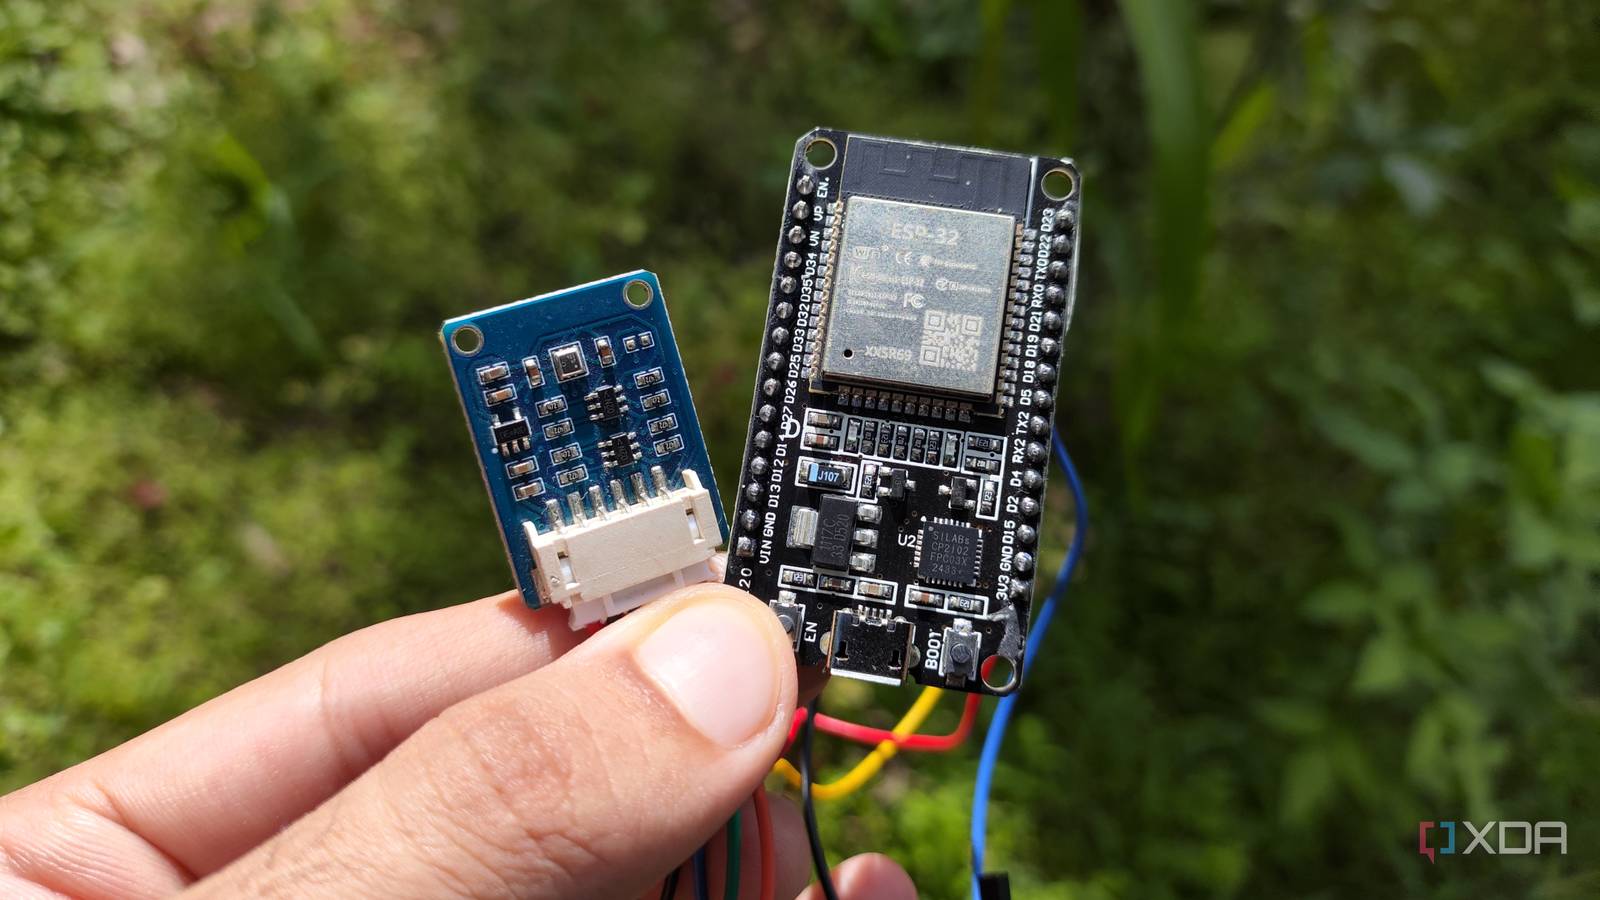
Published Aug 10, 2026, 11:00 AM EDT Ayush Pande is a PC hardware and gaming writer. When he's not working on a new article, you can find him with his head stuck inside a PC or tinkering with a server operating system. Besides computing, his interests include spending hours in long RPGs, yelling at his friends in co-op games, and practicing guitar. Between their massive support for sensor modules, dirt-cheap price tags, and compatibility with both Arduino IDE and ESPHome ESP32, there’s a lot you can build with the ESP32 microcontroller lineup. Heck, you could even turn an ESP32 into a Bluetooth proxy, Wi-Fi strength analyzer, and Thread border router (provided you’ve got the right board for the last one) without requiring any additional accessories or modules whatsoever. However, the real fun begins when you start experimenting with different sensor combinations. Weather sensor modules, for example, are among the most popular options for beginners looking to sink their teeth into DIY ESP32 projects. Having already converted an ESP32-WROOM board into a weather station, I can assure you that this seemingly beginner-centric project has some neat utility if you’re a fan of Home Assistant automations. I went with a BME280 sensor for my DIY weather station I could technically build this project with a DHT11, but it wouldn’t be very accurate If you’ve ever bought a random box of sensors, you’re probably aware that there are a bunch of different environmental monitoring modules you can pair with an ESP32. The DHT11 is one of the cheapest temperature (and humidity) sensors, and although you can use it for this project, I wouldn’t recommend doing so. After all, it has a limited temp range of 0°C to 50°C and an accuracy of ±2°C, which isn’t precise enough when you want to record temperature variations for Home Assistant trigger-action rules. The DHT22 is a much better alternative, as it can detect temperatures between -40°C to +80°C and is more precise thanks to its ±0.5°C accuracy. However, I went with the slightly more expensive BME280, even though the DHT22 would’ve sufficed. On paper, the BME280’s accuracy of ±1°C (±0.5°C at 25°C) makes it slightly worse than the DHT22, but the fact that it can also detect barometric pressure and deliver nearly instantaneous readings makes it better for more complex automations that I plan to build with this setup. Anyway, pairing the BME280 with my ESP32-WROOM microcontroller was fairly easy, though I left the CS and ADDR/MISO pins unplugged. If you’re wondering, I used this pinout table as a reference for my DIY weather station: ESP32 BME280 3.3V VCC GND GND D21 SCL/SCK D22 SDA/MOSI I used ESPHome Device Builder to prepare the microcontroller The YAML code was fairly easy to create, too With the BME280 connected to the ESP32, it was time to take care of the software side of things. As with most DIY projects, there were a couple of ways to tackle my weather station. Although writing C++ code via the Arduino IDE is a great learning experience, I went with the ESPHome Device Builder tool available on the App Store within Home Assistant, as it makes pairing my freshly-flashed microcontroller with HASS a breeze. So, I launched the ESPHome Device Builder utility within Home Assistant and switched to the pre-existing profile I’d created for my microcontroller months ago. Code-wise, I started off with the basic syntax that ships with the ESP32 Generic Board template. Then, I sifted through the sensor documentation on ESPHome until I encountered this code snippet for my BME280 module: i2c: sda: GPIO21 scl: GPIO22 scan: true sensor: - platform: bme280_i2c address: 0x77 temperature: name: "BME280 Temperature" oversampling: 16x pressure: name: "BME280 Pressure" humidity: name: "BME280 Humidity" update_interval: 10s If you want, you can reduce the update_interval parameter even more for frequent readings. For my setup, the address value under the sensor tab needs to be 0x77, but if your ESP32 fails to detect the BME280 over I2C, you can try tweaking it to 0x76 instead. As for the flashing process, I’d already configured my ESP32 to connect to the ESPHome instance over Wi-Fi, so I simply chose the On the network option when compiling the firmware and used the app’s OTA functionality to flash the microcontroller. But if it’s your first time configuring your ESP32, you might want to plug the microcontroller into the PC you’re using to access Home Assistant (and by extension, ESPHome) and use the Plug into this computer option to generate the firmware files. Once ESPHome launches the pop-up tab for flashing the firmware, you can use the Connect button to choose the USB adapter plugged into the microcontroller and wait for the tool to write the files. Since I’d previously added my ESP32 to Home Assistant, it immediately showed up within my ESP32 dashboard, where it neatly displayed the pressure, humidity, and temperature metrics. But for folks who haven’t paired the ESP32 to their HASS instance, your newly-configured microcontroller will appear in the Devices section, and once you’ve chosen a location for this weather station, you can start using it just like any other smart home entity. There are plenty of cool automations you can design with a DIY weather station Besides displaying the ambient room temperature of my home lab, my ESP32 + BME280 meshes well with Home Assistant’s rules. For example, I’ve configured Home Assistant to power on my air-conditioning system when the temperature readings from my makeshift weather station stay above 25°C for a few minutes. Likewise, I’ve also set up automated alerts that notify me when the moisture levels go past the critical levels, so I remove the exposed filaments hooked up to my inactive 3D printers and store them in a dryer place. Brand AITRIP Connectivity Features UART, USB
I built a cheap ESP32 weather station to automate my Home Assistant server
Full Article
Original Source
Read the full article at Xda-developers →KhanList aggregates and links to publicly available news content. We do not host full articles from third-party sources. Always verify important information with original sources.