
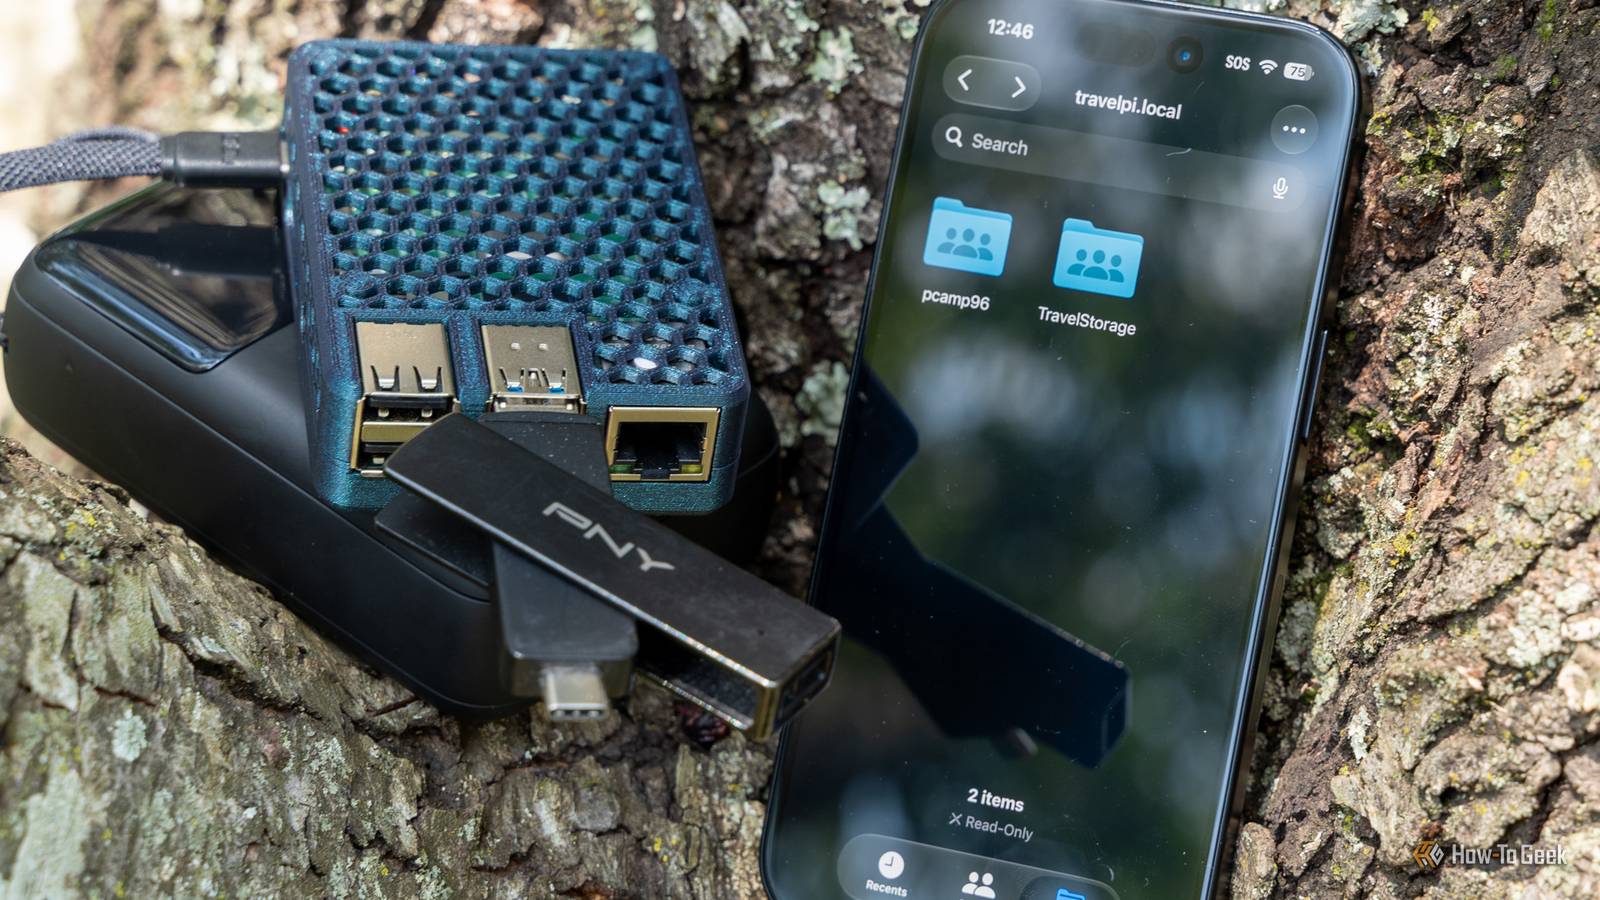
Published Aug 12, 2026, 8:15 AM EDT Patrick Campanale has been in the tech space for well over a decade, specializing in PC/gaming news and reviews, as well as maker-focused products to build small businesses. With a start in technology back in 2010 surrounding the Palm/webOS ecosystem, Patrick spent his formative years developing mobile applications as well as blogging for various publications, eventually leading to starting his own website in 2014. After running a technology blog for a few years, he stepped out of that role and into the world of high-end custom PC manufacturing and building, with a focus on YouTube video production and overclocking. Then, six years ago, Patrick joined the 9to5Toys team as an editor/writer/reviewer with over 14,000 articles being published there there, ranging from deals and roundups to in-depth reviews on the latest technology, video games, 3D printers, and more. In his free time, Patrick loves to create projects from wood using various robots and methods, including leveraging the technologies of CNCs and lasers. If Patrick isn't working on a computer or playing video games, he's likely in his 2-car garage workshop creating something unique. In addition to all this, Patrick is also a youth pastor at his local church where he feels God has called him to serve, and he loves every minute of it. I wanted to build a NAS that I could take everywhere with me that would be battery-powered and easy to use. My spare Raspberry Pi 4 B ended up being the perfect tool for the job, and here's exactly how I built my TravelPi. I wanted a portable NAS instead of a normal USB drive Sometimes I don't have a computer nearby but still need to access files I have been doing a lot of traveling this year, and there have been several times when I needed access to files on various drives without plugging them into my phone for one reason or another. At home, I have a sizable NAS that handles this task for me. I can connect over SMB or NFS to my NAS, and it's both fast and convenient. The problem is, though I technically can access my NAS outside my home with my VPN, it's neither fast nor convenient. So, I decided to go a different route: make a NAS I can bring with me. Now, a portable NAS won't have nearly the amount of storage that I have at home, but that's perfectly fine. I have a few 1TB and 2TB external SSDs that I can use as temporary NAS storage while traveling, and then either upload stuff from my DIY NAS to my main NAS while on the road when I get a good connection, or just wait until I get back home. The Raspberry Pi is the perfect solution for a portable storage network It's low-power, has all the I/O I need, and can be a Wi-Fi hotspot Credit: Patrick Campanale / How-To Geek I chose one of my Raspberry Pi 4 Bs for this project because I already owned it and it fit the bill for exactly what I was wanting. The Raspberry Pi 4 B has USB 3.0 and gigabit Ethernet, which were two must-haves for me. The Raspberry Pi is also USB-C-powered, meaning I can run it off a portable power bank if I need to for any reason. Plus, it runs Linux, which makes the entire system easy to set up. For the project, I decided to build my own system to do exactly what I want. I call it TravelPi, and it's a fairly simple setup. At its core, TravelPi centers around FileBrowser Quantum and SMB. I've compiled everything into a simple GitHub repo if you want to browse the exact files and setup procedure I went through to get my Pi running. I've been testing this for a bit now and it works great. I've run it at home, on-the-go, on normal USB-C power, on a USB-C battery, and it works great. One of the best parts of the TravelPi project is that it uses Avahi to set up a local mDNS hostname for the Pi itself. Instead of having to try and figure out what the Pi's IP address is, you can just type in travelpi.local and it resolves to the Pi. I also have the Pi set up with a stacked network setup. The initial function of TravelPi is to create a hotspot with the TravelPi SSID (that's password protected, you set the password up during the installation of TravelPi). This allows me to simply connect my phone or laptop to TravelPi and browse files that way. However, the Pi's Wi-Fi network isn't all that strong for larger file transfers, so I have it set up to function on a link-local Ethernet backup. So, if I plug an Ethernet cable into both my computer and the Pi, it will establish a link-local connection that is still accessible at travelpi.local. This allows me to push and pull files from the NAS at up to gigabit speeds without any external network connection or router needed. Then, TravelPi is set up so if it connects to a traditional network (one with an active LAN connection), it will present itself as travelpi.local to all systems on that network. Don't worry though, I set up TravelPi to be a protected SMB share so while people might see mounted storage on the network, it's not accessible without the password. This overall setup allows me to browse the files no matter where I am. I can be in the middle of a forest on a photo shoot, and I can transfer the files from my SD card to my phone, tablet, computer, or other storage without any other accessories, all I need is a portable power bank and I'm ready to go. Raspberry Pi 4 Model B Brand Raspberry Pi CPU Cortex-A72 (ARM v8) Memory 2 GB With the Raspberry Pi 4 Model B, you can create all kinds of fun projects, and upgrade gadgets around your home. Alternatively, install a full desktop OS and use it like a regular computer. INIU 25,000mAh 100W USB-C PD Power Bank Brand INIU Battery Capacity 25,000mAh Ports 2x USB-C, 1x USB-A Input 100W USB-C PD INIU's large-capacity 25,000mAh portable power bank is perfect for charging most of your USB-C devices. With the ability to send out 100W of USB-C PD power, you can plug your MacBook, iPad, iPhone, Android, or any other USB-C device into this power bank to charge them. I can back up my files without saving them to my phone or laptop A web-based file manager with SMB backup makes file transfers easy Credit: Patrick Campanale / How-To Geek The best part about TravelPi is that it doesn't rely on SMB for all its file movements. For example, with SMB, if I were to back up my SD card to an external SSD that's plugged into a Pi, there's a chance that it tries to route the files wirelessly to my phone from the SD card and then back to the SSD wirelessly. This adds a lot of extra time that's just unnecessary for a large file transfer. So, that's why I put FileBrowser Quantum as the main method of moving files around on the Pi. With FileBrowser Quantum, I can either download or upload files from a web browser (at travelpi.local:8080) or I can move files or folders between storage devices on the Pi itself. This allows me to bypass ever having the file touch my phone if I'm just wanting to move the contents of the SD card to an SSD for backup, as it's all handled on the Pi itself. FileBrowser Quantum also just makes it easier to browse the Pi itself. I'm not trying to mount it as SMB to my phone, I just visit the website and it's all right there waiting for me. Sometimes the best projects are custom-built I'm sure I could have found a project out there that did what I wanted, but it was fun to build it myself. Plus, I can now customize it any way I want. For example, I'm considering installing rsync on the Pi so that way I can configure cloud backups for when the Pi gets access to an actual internet connection. So, sometimes the best solutions aren't the ones that already exist. Sometimes they're the ones that you build yourself.
I built a battery-powered NAS I can take anywhere using a Raspberry Pi
Full Article
Original Source
Read the full article at Howtogeek →KhanList aggregates and links to publicly available news content. We do not host full articles from third-party sources. Always verify important information with original sources.