
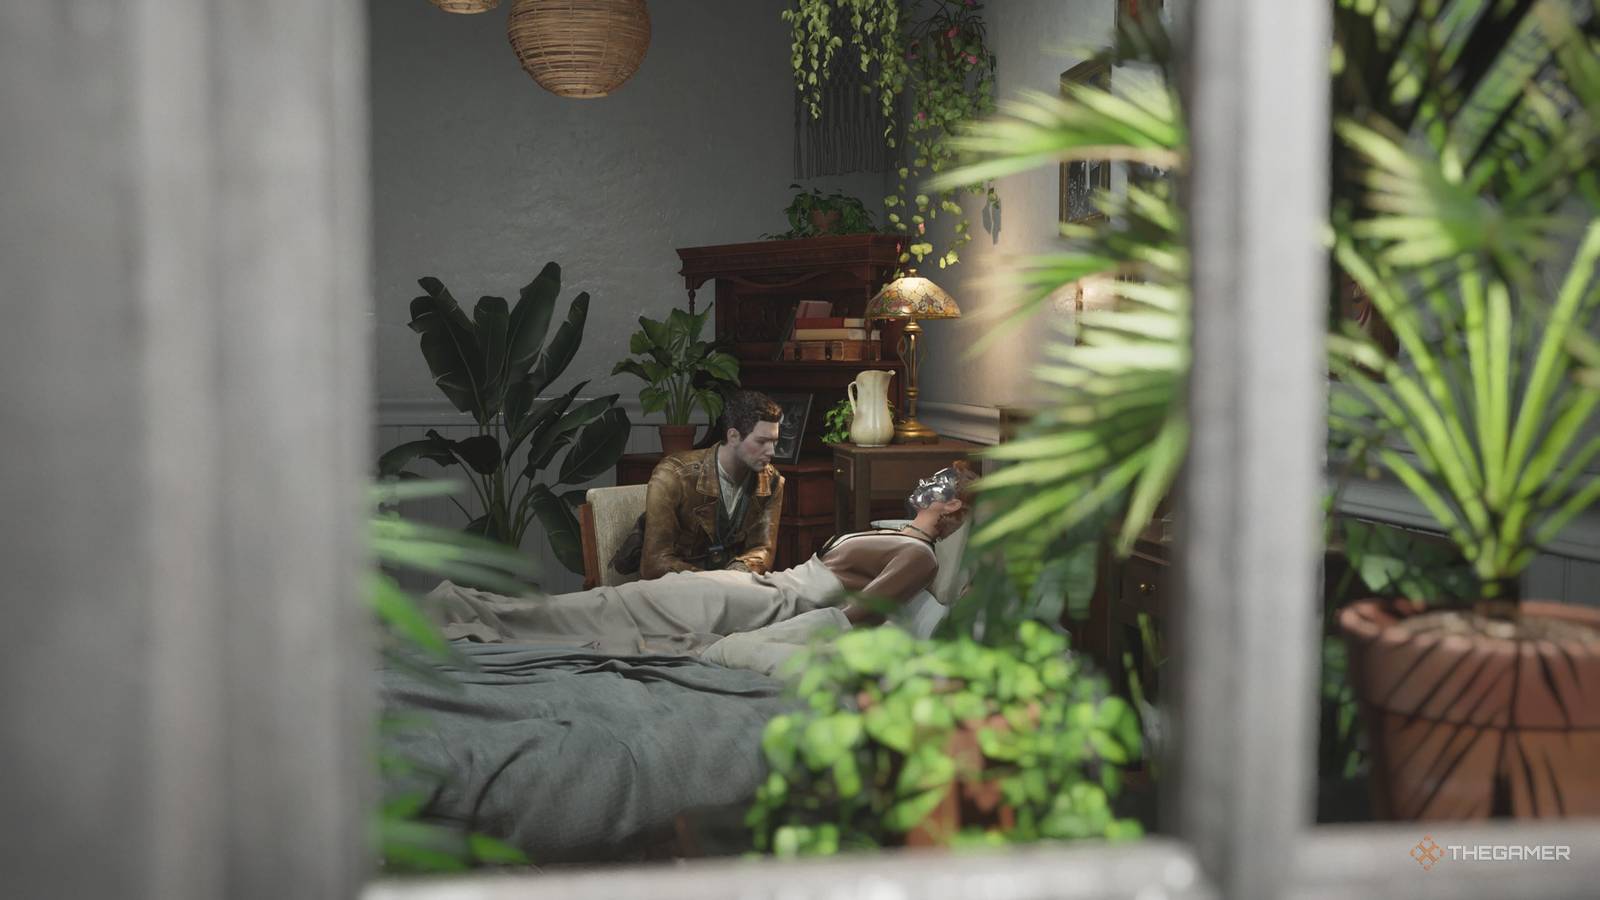
The Sinking City 2: Complete Library Annex Part One Walkthrough Published Aug 20, 2026, 3:44 PM EDT Gabrielle is a staff writer for TheGamer who began working in gaming journalism in May 2022, immediately after graduating cum laude with her Bachelors in English. A lifelong lover of in-depth RPGs and cozy simulation games alike, she enjoys having married her passions for both writing and video games in her work. She's spent her life chasing Platinum trophies and completionist collections, even before a company started paying her to do it on the internet. There’s nothing quite like when a game throws you directly into the deep end, like The Sinking City 2 does at the beginning when Calvin awakens next to Faye and tells us about the mask covering her face after some kind of mysterious coma she’s been in for a few months now. You’ll need to get to the Library Annex to kick things off in The Sinking City 2, but it’s easier said than done when the roads are flooded, the city is being evacuated, and there are reanimated corpse monsters waiting around every corner to try and kill you. Leaving Your House You'll begin the game with a cutscene explaining the stakes and situations occurring in The Sinking City 2, watching Calvin caring for his mysteriously ill wife, Faye. Once you've regained control of Calvin, there's now a handful of collectible items you'll want to keep an eye out for as you explore the house. While there's plenty to check out, only items that appear on-screen with a name will be logged in the Codex. The goal of this section overall is to leave the house, and we'll list our collectibles below in the order in which you'll encounter them as you go. To the left of where you regain control of Calvin, there's the Excerpt from 'The Dream Realm' on a table. On the desk on the opposite wall, About the Mask gives information about the mask Faye was wearing in the intro, the Night Shade. Leave the room through the door and take your first left, where Final Warning! is waiting for you on the far wall here in the kitchen. Pass the boarded door and go into the farther one you can interact with at the very end of the hall, and Restricted Section Inventory is on the desk just to the left of the door. Leave through the door on the other end of the room and exit onto a patio to receive your map, then climb down the ladder. You'll find Farewell, Arkham! on the table downstairs near the landing for the ladder. After reading Farewell, Arkham!, check the window to the right on this patio to find the Please! collectible. From here, you'll board a small boat and sail through the canals of Arkham, which used to be the streets of the town in which you lived. Sail along listening to the folks of Arkham as you go toward the library, finding the gate closed. Dock the boat on the right side, near the "No Trespassing" sign, and step onto the dock, then climb through the window to enter. The Library Gate And The Apartment Building Inside, you'll find several boarded doors, so keep going, learning to use the flashlight as you do, and leave through the other side, following the wooden pathway to access the gate control panel. Unfortunately, you can't use it until you find the right fuses. Go into the broken wall toward the right, and you'll find a slew of things in here, not least of which is your first save room. Leave the room through the opposite door, go down the stairs, and into the door here. You'll find a bar, with an important clue on the bar to the right. The note tells you that you'll find fuses across the street at the Radio Store. The door is blocked, so you'll need to get in another way. Navigate around the construction area to the left of the Radio Store and enter the apartment building at the end of the area. Enter the room to the right when you come in and get the apartment building map from the wall, as well as the metal scrap in the drawer to the right of it. Next, go upstairs and make your way over to apartment five to begin with. There's a secret in here, To Martin in the codex, which is on the wall safe in the kitchen with a clue for the code, but the clue itself is elsewhere. Leave the apartment and head next door, breaking the barrels in apartment six so you can hop through the floor. Grab the gunpowder from the cabinet on the right before going through the broken section of wall, and just inside is the Gate Fuses and Wires clue on the table just ahead. From here, open your Investigation menu and connect the pair of clues you've already got, leaving To Martin on its own for the moment. After doing this, leave through the hole in the wall and into the Radio Store at last. The Radio Store Grab the handgun ammo from the yellow box just ahead of you, then go toward the back wall of the shop to get the electrical fuses from a red box. Once you get it, though, you'll fight the first monster of the game as soon as you close out of the item info menu, so be ready. This is your introduction to combat in The Sinking City 2, and in a game all about conserving your limited ammunition, you'll need to be creative as the worms take over the body and come to fight you. The best way to do this is to always try to aim for the red glowing spots on the body, which take more damage than the rest. How many bullets you use depends on the difficulty you chose, but take out the monster to proceed. Just to your left after the fight, grab the From a Sister clue on the register, then connect it to the To Martin clue on the Investigations board, since this is the second half of the code you'll need to get into the safe in the kitchen back in the apartment building. Leave through the shop's front door after you clear the blockage and return to the apartments, going up to apartment five and getting to the safe in the kitchen. It's currently 1929 in the game, and with the note saying that the store has been open for 21 years, subtracting one from the other gives you the code for the kitchen safe: 1908. Unlocking the safe and getting the handgun ammo and Dolorcide pills for health restoration may well be your first achievement in The Sinking City 2. Opening The Gate Leave the apartment building again, but beware that the worms will have infected other nearby bodies, and you'll be under attack as you navigate the streets once more. There's a room to the left before you leave the building that yields some ammo and, perhaps more importantly, your first Mushroom Jack Broadcast of the game, collectibles that offer peeks into some lore bits. This particular one unlocks The Woman at the Door in the Codex. Once you're satisfied down here, go back across the street and through the safe room to get back to the fuse box at the gate near the library. The game prompts you to use the fuses you collected and begin a short puzzle placing them in the right spots. The note we got earlier said to mind the colors, so the solution to the fuse box puzzle in The Sinking City 2 is to put: The straight fuse on the bottom row toward the left, connecting the two blue wires in the second terminal from the left on the bottom. Rotate it once so it's vertical. The L-shaped fuse is for the two red cables also in the bottom row, in the second terminal from the right. Rotate it to connect the red cables. Finally, the T-shaped fuse goes into the top row slot where the trio of yellow and green wires connects, in the panel with screws on all four sides. Rotate it three times to properly look like a T to connect these wires. Once these fuses are placed, use the lever on the right to finally open the library gate in The Sinking City 2. Return to your boat and sail down the newly opened path, and sail until you come upon another gate. Dock right after the explosion, but before you go up the stairs into the building, grab the medicine and document on the right of this area, Lost Letters - Death Awaits on a suitcase near the gate. Go into the building at last, but be prepared to sprint, since this building is rife with monsters! There's only one way to go inside, thankfully, so follow the path through the building and jump out in a cutscene when you're able to reach the dock. Climb the stairs and flip the lever to open the gate, then use the ladder to reach the boat and enter it to sail on through. Follow the singular path here to reach the end of part one of The Sinking City 2, getting Calvin to the Library Annex at long last.
How To Reach The Library Annex In Part One Of The Sinking City 2
Full Article
Original Source
Read the full article at Thegamer →KhanList aggregates and links to publicly available news content. We do not host full articles from third-party sources. Always verify important information with original sources.