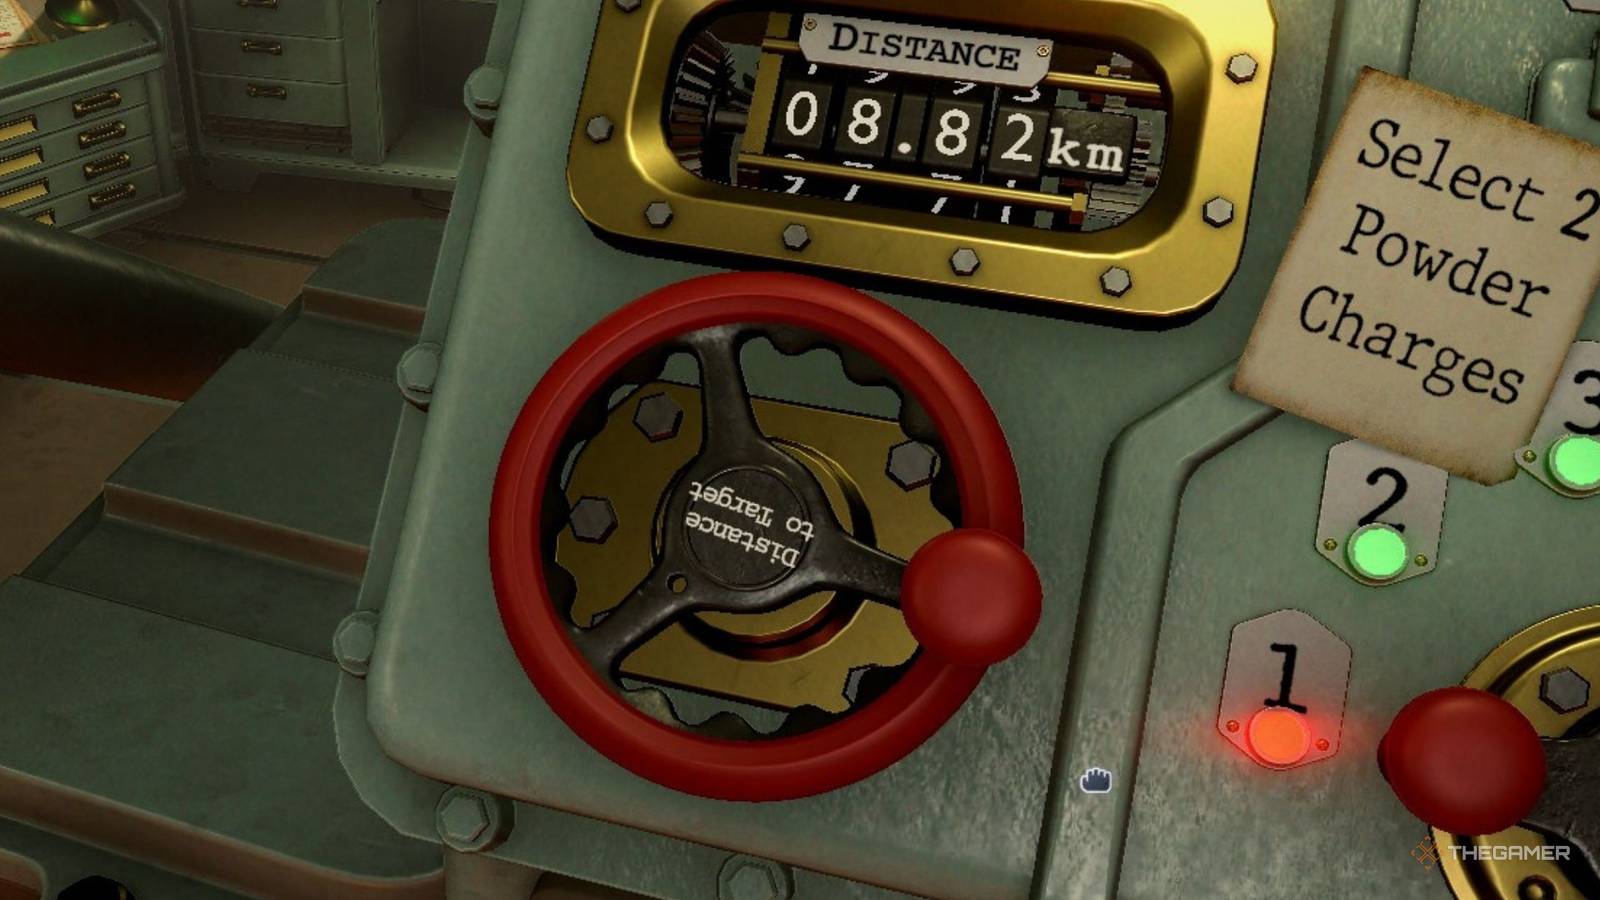
Published Aug 9, 2026, 8:16 PM EDT Allyson Cochran is an Editor at TheGamer who has worked as a journalist since 2020 and in games journalism since 2022. She holds a bachelor’s degree in journalism and focuses primarily on guides, previews, and developer interviews, with particular expertise in cozy indie games and live-service FPS titles. She has interviewed numerous game directors, including those of games like Overwatch and Dead by Daylight. Allyson has written and edited thousands of guides, and she genuinely loves every minute of it. Operating a 5,000-ton artillery spider sounds like exactly the sort of job you should probably have a training course for, and thankfully, Iron Nest: Heavy Turret Simulator has one very large machine waiting for you. Set in an alternate-history 1920s Spain on the brink of civil war, this simulation puts you inside the Iron Nest, where every enormous blast starts with a surprisingly hands-on process. You’ll be reading orders, working out coordinates, plotting targets, and generally pretending you know what you’re doing while surrounded by enough machinery to make your local mechanic cry. If you're ready to climb aboard this terrifying metal beast, here’s everything you need to know about operating its massive guns. From calculating your firing solution to loading the right ammunition, here’s the full process from target to boom - broken down by the step and then what to do within that step. Step What To Do 1. Check your mission Read the teletype printer for the Iron Nest’s location, spotters, reference points, and target locations. 2. Measure the target Use the map and clipboard tools to determine the target’s bearing and range. Use the red marker for measurements that need to be entered into the ballistic calculator. 3. Calculate the firing solution Enter the target information and distance into the ballistic calculator, select the appropriate powder charge, and pull the compute lever. This prints a fire mission card and provides the required elevation. 4. Load the shell Select the required shell with the shell selector lever, then use the shell rammer to push it into the barrel. 5. Load the powder charges Dispense the number of charges specified by the ballistic calculator, then use the powder charge rammer to load them and close the breech. 6. Set the elevation Use the elevation mechanism to match the elevation shown by the ballistic calculator. You can use the fast lever for large adjustments and the fine wheel for precision. 7. Set the bearing Use the turret rotation mechanism to aim the Iron Nest at the correct bearing. Use the fast lever for large movements and the fine adjustment wheel for precise positioning. 8. Check the firing console Confirm the elevation, flight time, loaded shell type, armed status, and turret rotation on the main console before firing. 9. Arm the gun Pull the arming lever for the left gun, right gun, or both, depending on which cannon you want to fire. 10. Fire Once everything is correctly positioned and armed, pull the main trigger. 11. Check the impact Watch the map to see where the round lands and use the result to make adjustments for your next fire mission. Tips On Firing The Turret These tips for Iron Nest: Heavy Turret Simulator will help you make smarter shots. Plan Your Shots Plan your fire missions before firing, especially when enemy artillery is present, as counter-battery fire begins after your first round impacts. Use the correct map marker when measuring: the yellow marker measures bearing and range, while the red marker records the measurement on your clipboard for use in the firing solution. After each shot, check the impact location on the map and make small adjustments to your next firing solution as needed. Manage Your Ammunition Don't waste powder charges, as they can't be returned once dispensed. Likewise, a shell can't be unloaded after it's been rammed into the barrel. Keep an eye on your ammunition supply, as each rotary shell magazine holds six rounds, and make sure you have enough powder charges for your planned fire missions. Adding more powder lowers the required elevation and reduces the round's travel time, which can be useful when you need a faster shot. Choose the Right Round Pay attention to friendly units when selecting ammunition. HE and HCH rounds can damage friendlies within their blast radius, so use the blast radius calculator before firing near allied troops. AP rounds are useful when precision is important, including against supply depots and fire direction centers or when friendlies are close to a target. For additional battlefield information, request aerial photography through the requisition bench, which automatically places the resulting photos on the map.
How To Operate And Fire The Turret In Iron Nest: Heavy Turret Simulator
Full Article
Original Source
Read the full article at Thegamer →KhanList aggregates and links to publicly available news content. We do not host full articles from third-party sources. Always verify important information with original sources.