
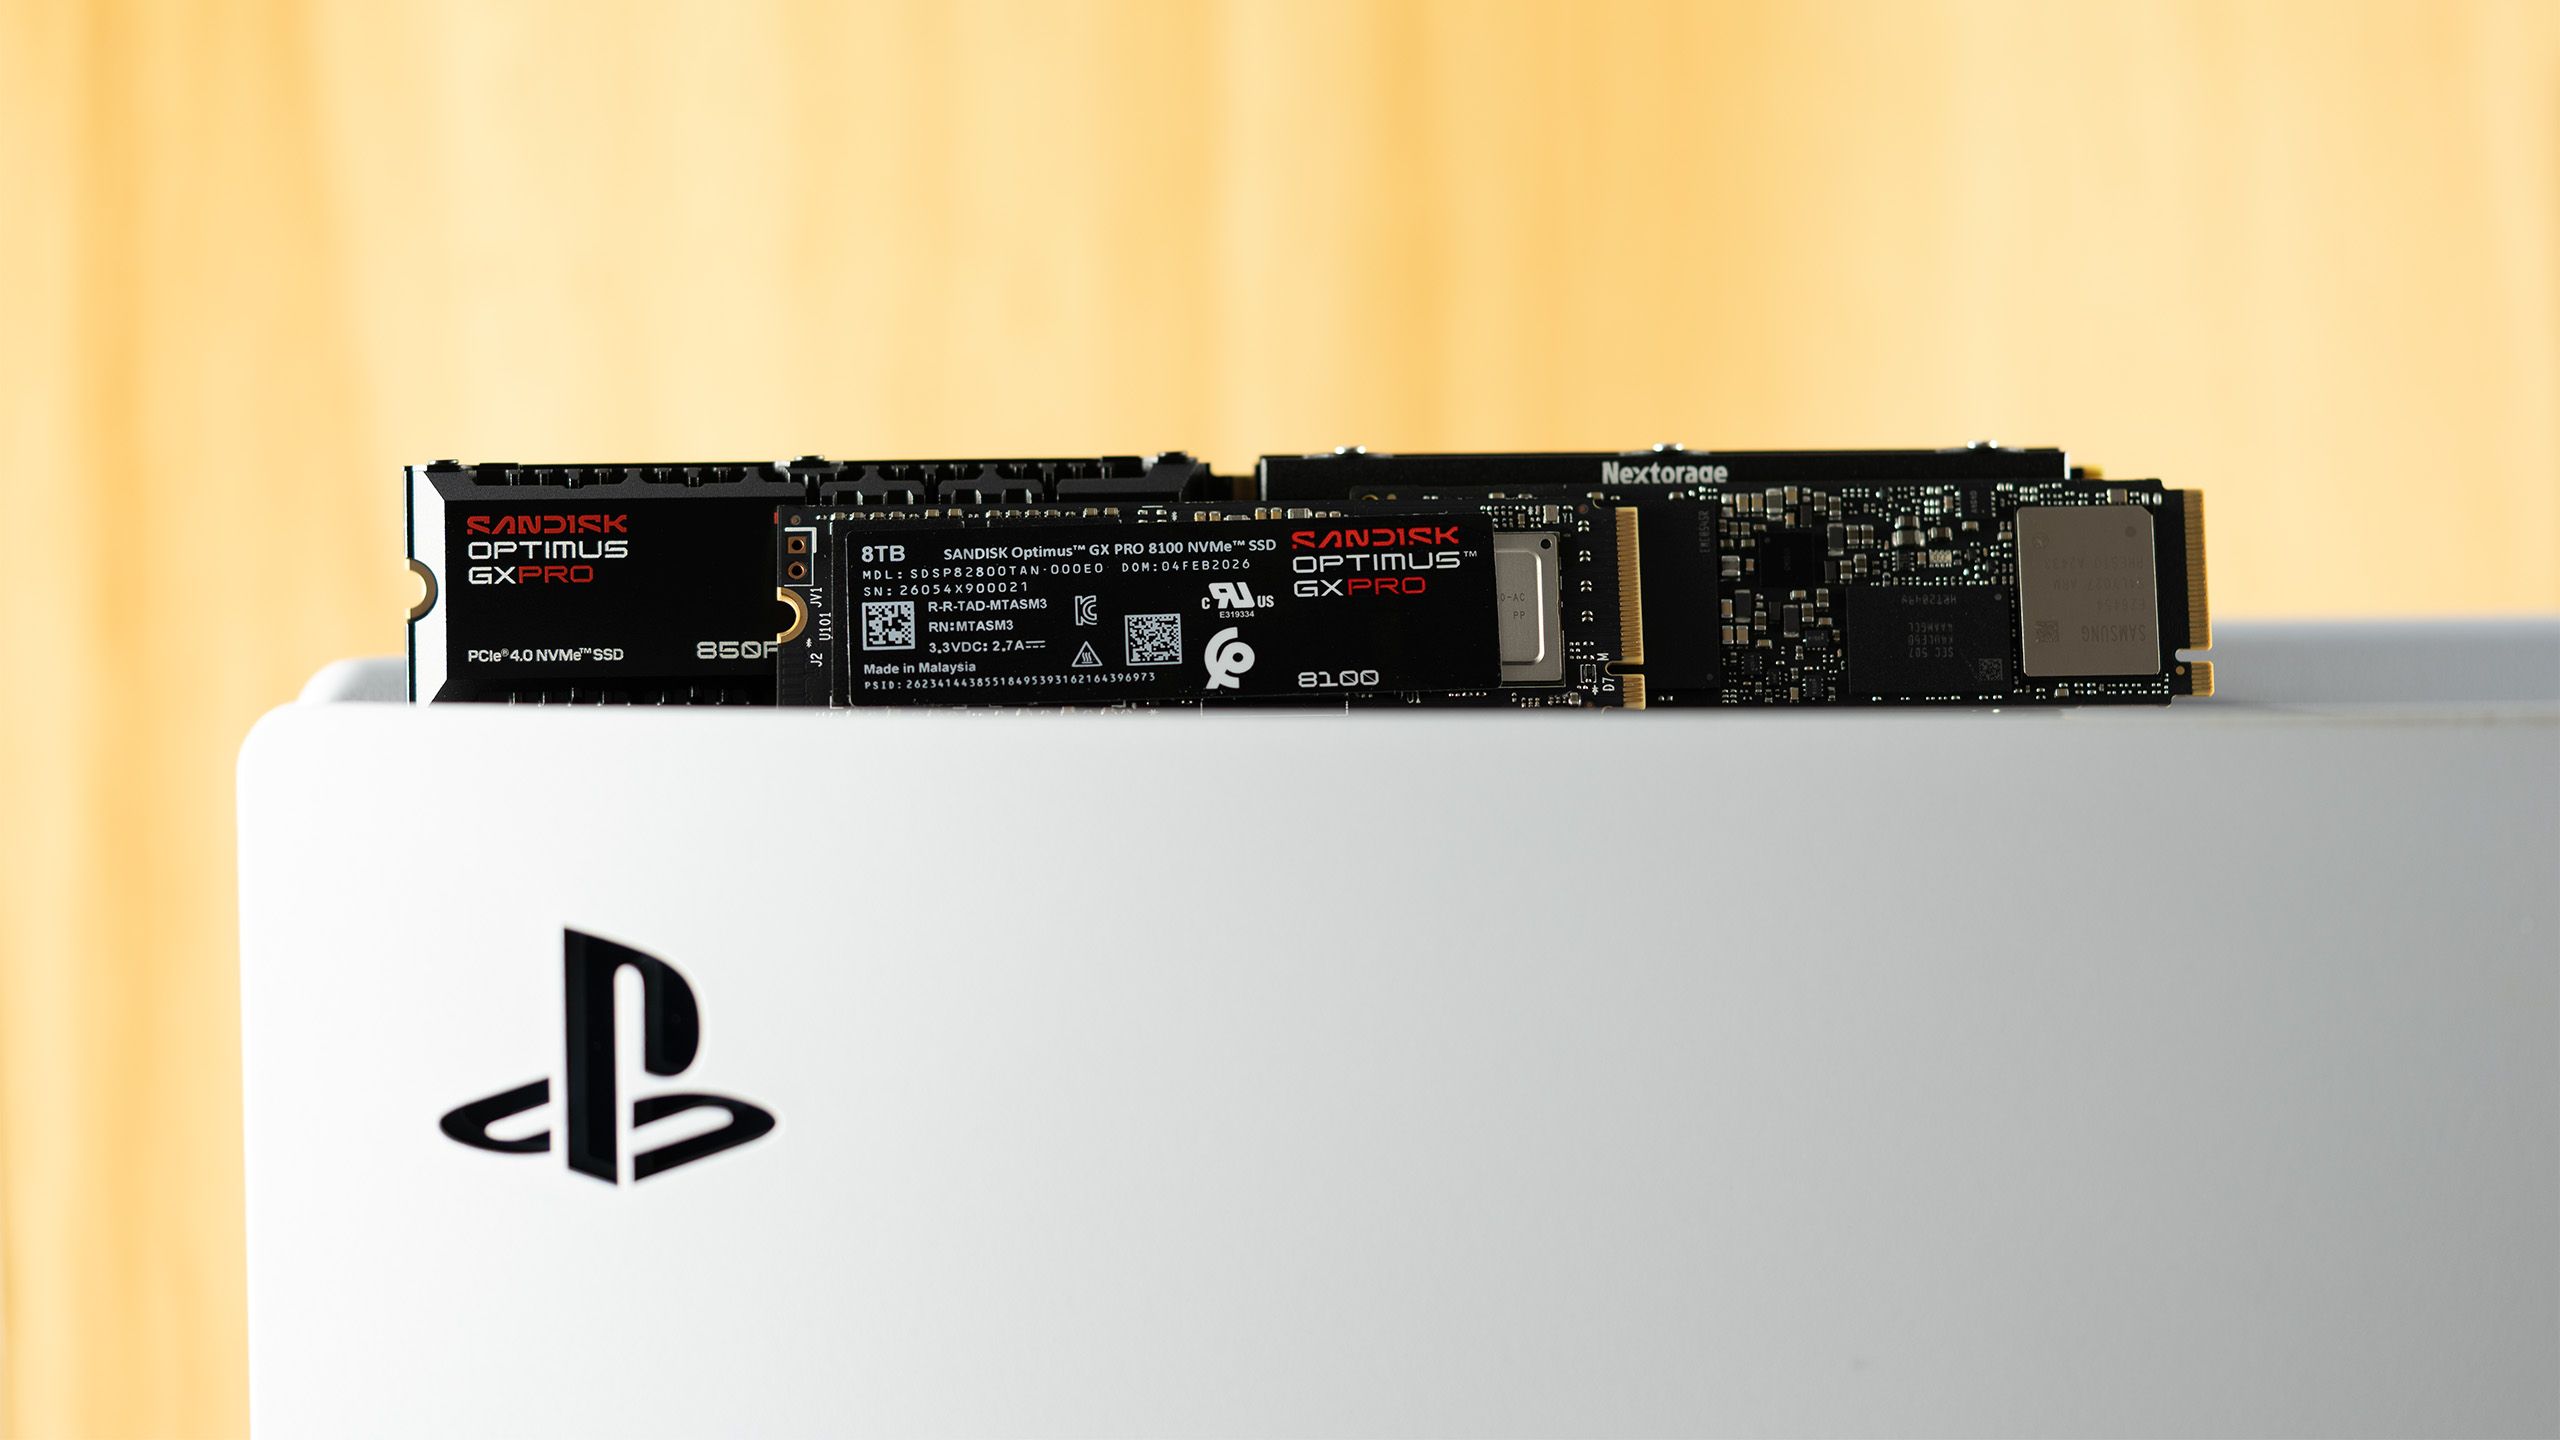
(Image credit: Tom's Hardware) Expanding your PlayStation 5's storage with the best PS5 SSDs in 2026 is no longer a luxury, but a necessity. Modern AAA games are only getting bigger and more demanding, which will saturate your console's internal storage system in no time. With Sony's decision to eliminate physical game discs, the need for a high-speed M.2 PCIe 4.0 NVMe SSD will be even more important in the future. Juggling a large number of games with just the console's internal storage will be a headache.Investing in a quality M.2 SSD ensures you do not have to constantly go through the frustration of uninstalling games to make space for new ones or subsequently having to redownload hundreds of gigabytes to replay a previous game. Do not let your console's storage limitations hold you back from playing upcoming AAA releases.Upgrading your PlayStation 5 with an M.2 SSD is a safe and effective way to expand your storage. It will not void the warranty, provided you use a compatible drive and take care not to damage your console physically during the installation process. Rest assured, as long as you proceed carefully and avoid any accidental damage, your warranty will remain intact. If you have already purchased, or are considering purchasing, an M.2 SSD for your PlayStation 5, let our step-by-step guide take you through every part of the installation process.#1 Phillips screwdriverPCIe 4.0 x4 NVMe SSD with a minimum sequential read of 5,500 MB/s and a built-in or aftermarket heatsink1. Prepare your PlayStation 5 for installation. (Image credit: Tom's Hardware)Carefully disconnect both the HDMI and power cables from your PlayStation 5. Detach it from the stand if you are using it. Next, place your console horizontally on a flat surface to make the upgrade process easier and prevent accidental damage.If you are worried about scratching the console, you can put something like an anti-static mat or a simple piece of cardboard or paper under it. Avoid soft fabrics, such as microfiber cloths or towels, that can generate static electricity when they come into contact with plastic.2. Remove the cover to get inside the PlayStation 5.Get Tom's Hardware's best news and in-depth reviews, straight to your inbox. (Image credit: Tom's Hardware)Before you begin working on your PlayStation 5, touch a grounded metal object to discharge any static electricity from your body safely. Then, position your console so the PlayStation logo faces down and the rear ports point directly toward you. Firmly hold the console in place with one hand and, using your other hand, locate the right-bottom corner of the top cover. Gently lift it upward while simultaneously sliding the cover to the left.For the PlayStation 5 Slim and PlayStation 5 Pro: Similar to the vanilla version, position the console so that the rear ports face toward you, and the larger cover is on your left. Grip the top edge of the smaller cover gently and pull upward until you hear a pop, which signals that the internal clips have released.3. Remove the metallic cover to access the PlayStation 5's SSD expansion slot. (Image credit: Tom's Hardware)Using a #1 Phillips screwdriver, carefully remove the screw securing the expansion slot cover on your PlayStation 5. Lift and remove the expansion slot cover to expose the M.2 SSD expansion slot.4. Prepare for SSD installation. (Image credit: Tom's Hardware)With the same #1 Phillips screwdriver you used earlier, remove the screw and spacer from the expansion slot. Next, check your SSD to determine its form factor. The PlayStation 5 supports the following M.2 SSD form factors: 2230, 2242, 2260, 2280, and 22110. Relocate the spacer to the correct position in the slot that matches the length of your SSD.5. Install the M.2 SSD into the expansion slot. Image 1 of 2 (Image credit: Tom's Hardware) Align the notches on the SSD with the slot in the M.2 connector on your PlayStation 5. Tilt the SSD at a 30-degree angle and gently insert it into the connector. Once the SSD is securely in place, press it down with your thumb. Fasten the drive in place using the screw you previously removed. Do not overtighten the screw as this may damage the drive or the expansion slot.Sony does not include a heatsink for M.2 SSDs in the PlayStation 5. There are many SSDs with PlayStation 5-compliant heatsinks on the market. Sony specifies a maximum thickness of 0.44 inches (11.25 mm) for the SSD including the heatsink.However, if you go with a bare M.2 drive, you will have to pick up an aftermarket heatsink, such as the Sabrent M.2 NVMe PS5 Heatsink (SB-PSHS) for $13.99. Before purchasing any heatsink, double-check that it is fully compatible with your PlayStation 5 model.6. Install an aftermarket heatsink, when applicable, on the SSD. (Image credit: Tom's Hardware)Tilt the heatsink at a 30-degree angle, just as you did with the SSD, and align the notches on the heatsink with the corresponding space. Insert it into position so that it sits flush over the SSD. Use one finger to apply a little bit of downward pressure to keep the heatsink in contact with the SSD, then tighten the screw. Reinstall the cover, and you are almost home free.7. Format the SSD. (Image credit: Tom's Hardware)Reconnect all the cables and power on your console. Upon startup, your PlayStation 5 will automatically detect the new SSD. A prompt will appear on the screen, instructing you to format the SSD before you can use it for game installations or data storage.With your brand-new SSD installed and properly formatted, you are now ready to enjoy the latest AAA games on your PlayStation 5 without having to worry about storage constraints ever again. Zhiye Liu is a news editor, memory reviewer, and SSD tester at Tom’s Hardware. Although he loves everything that’s hardware, he has a soft spot for CPUs, GPUs, and RAM.
How to install a PS5 SSD in 2026
Full Article
Original Source
Read the full article at Tomshardware →KhanList aggregates and links to publicly available news content. We do not host full articles from third-party sources. Always verify important information with original sources.