
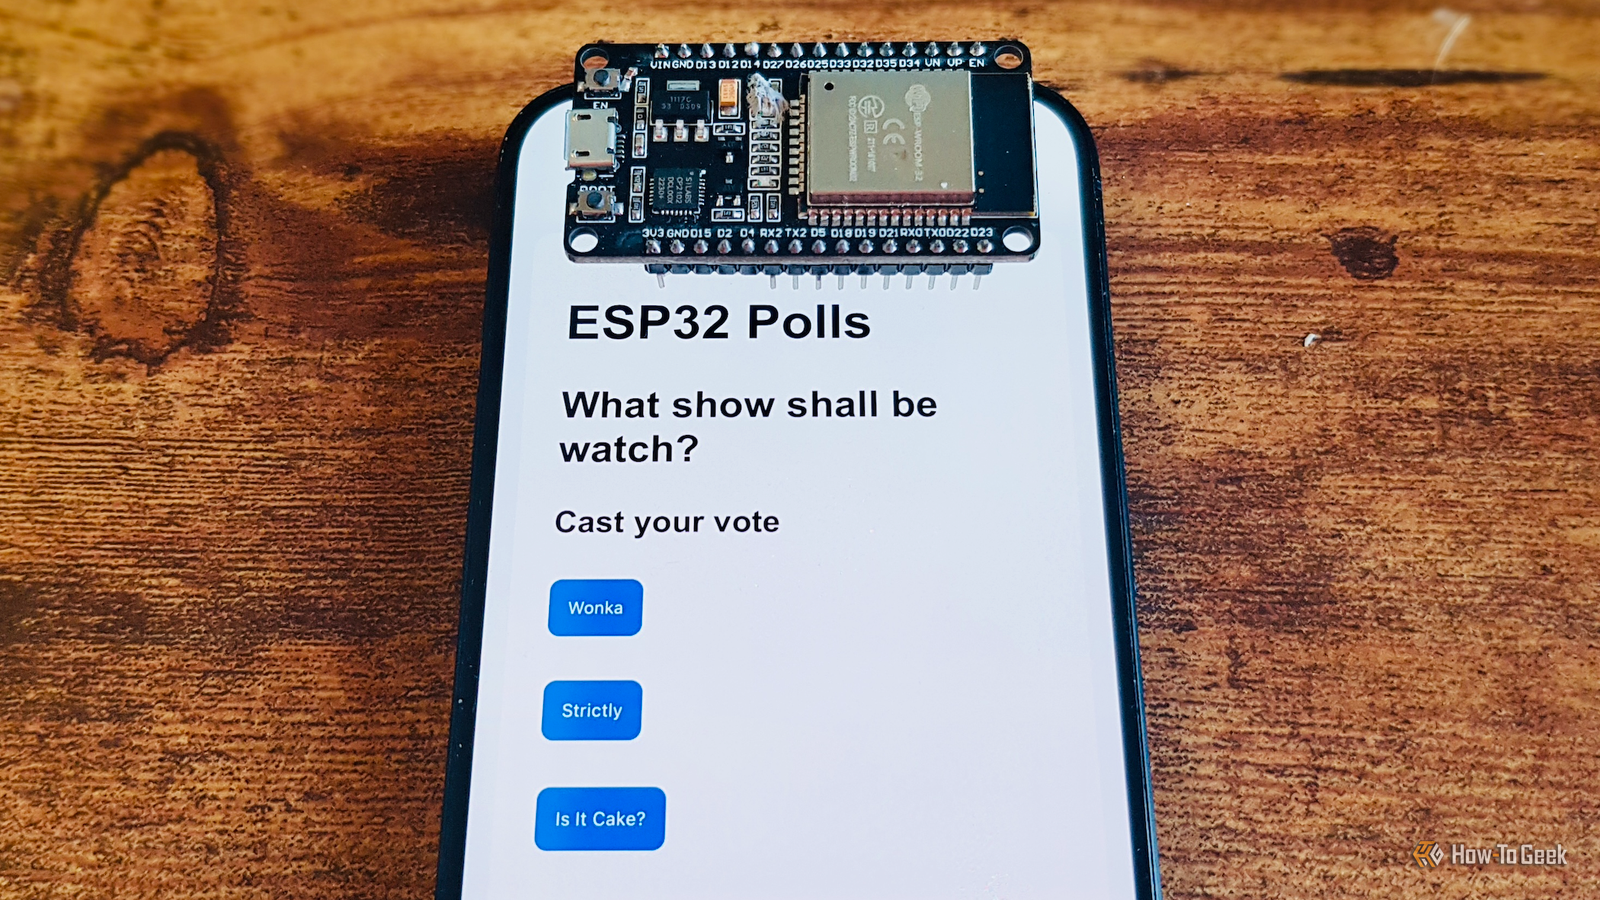
Published Nov 16, 2026, 3:30 PM EST Adam has a degree in Engineering and has a life-long interest in technology. He has been writing for over a decade for various print and online publications, with a focus on consumer tech. He joined How-To Geek in 2024 while working at Pocket-lint. As well as being a long-term fan of Apple products, he also has a strong interest in smart home tech, running a Home Assistant server at home to automate all his smart home devices. He believes that the ideal smart home should work with minimal interaction from the user, with automations running as if by magic rather than requiring you to push buttons on a control panel. You can find more of his work on Muck Rack. Hosting a website typically involves paying to host your site on a server, or running your own server on a local computer. You may be surprised to learn that you can host small websites on a cheap ESP32 microcontroller, with no additional hardware required. What you need to host a website on an ESP32 An ESP32 and some free software can do the job An ESP32 is a small, inexpensive microcontroller with a processor, a small amount of flash storage, and built-in Wi-Fi. This means that an ESP32 has everything you need to host your own website. There's memory to store the pages, a network connection to expose those pages to other devices, and it's capable of running software that can serve those pages to phones or computers. You don't need hardware such as external hard drives to host your website. All you need is the ESP32, a USB data cable to upload the software, and a computer to set it up. You'll also need a power source for your ESP32, such as a smartphone charger with a suitable connector. The final thing you'll need is the software that can compile your code and upload it to the ESP32. The free Arduino IDE software is a great choice, and despite the name, it also supports ESP32 boards. Install Arduino IDE on a Windows, Mac, or Linux computer, go to File > Preferences on Windows or Arduino IDE > Settings on Mac. Select Additional Boards Manager URLs and paste the following link: https://espressif.github.io/arduino-esp32/package_esp32_index.json. Click the Boards Manager icon in the left-hand menu, search for esp32, and find esp32 by Espressif Systems. Click the Install button. You now have all the tools needed to compile and install software on your ESP32. How to create a website using an Arduino sketch The website's code is written in C++ The next step is to create the code that will run your website. Programs created in Arduino IDE are called sketches, and are written in C++ code. Arduino IDE then compiles this code into firmware you can upload and run on your ESP32. Don't worry if you don't have the first clue about coding. Any modern AI chatbot should be able to generate the code for a simple website. To put this to the test, I asked ChatGPT to generate the code for a very simple website that lets you create small polls that people in the household can vote on from their own devices, such as what to eat for dinner or what to watch on TV tonight. The code below is what ChatGPT generated. You can use it to build your own small poll website, or ask a chatbot to create something else. It needs to be something an ESP32 can handle; there is very limited storage and RAM on cheap ESP32 boards. However, the visitor's browser can often do a lot of the heavy lifting, so you can host some surprisingly impressive sites on the tiny development board. #include #include #include const char* ssid = "YOUR_WIFI_NAME"; const char* password = "YOUR_WIFI_PASSWORD"; WebServer server(80); Preferences prefs; String question, options[4]; uint32_t votes[4]; String key(char c, int i) { return String(c) + i; } String safe(String s) { s.replace("&", "&"); s.replace("", ">"); return s; } void home() { String h = "" "body{font:18px Arial;max-width:550px;margin:40px auto;padding:15px;" "background:#f1f4fa}main{background:white;padding:25px;border-radius:15px}" "button,input{padding:12px;margin:5px 0;border-radius:8px}" "button{background:#286fe5;color:white;border:0;cursor:pointer}" "input{display:block;width:90%}" "ESP32 Polls" + safe(question) + ""; uint32_t total = 0; for (int i = 0; i Cast your vote"; for (int i = 0; i " + safe(options[i]) + ""; } h += "Results (" + String(total) + " votes)"; for (int i = 0; i " + safe(options[i]) + ": " + String(votes[i]) + " votes (" + String(pct) + "%)"; } h += "Create a new poll" "" ""; for (int i = 0; i "; h += "Publish poll" "setInterval(()=>{if(!document.querySelector('details').open)" "location.reload()},5000)"; server.send(200, "text/html", h); } void redirectHome() { server.sendHeader("Location", "/"); server.send(303, "text/plain", ""); } void vote() { int i = server.arg("i").toInt(); if (server.hasArg("i") && i >= 0 && i New Sketch. Delete the existing code and paste the code given above. Replace YOUR_WIFI_NAME and YOUR_WIFI_PASSWORD with the SSID and password for your Wi-Fi. Select File > Save As, give the sketch the name ESP32Polls, and click Save. Connect your ESP32 to your computer using a USB data cable. Click the drop-down box at the top of the screen and select your USB port and board. For generic ESP32 boards, ESP32 Dev Module is usually the right choice. Click OK to save your settings. Click the check mark to compile the code. If it compiles without errors, click the Upload arrow to upload the compiled code to your ESP32. Once the upload is complete, go to Tools > Serial Monitor, click the Baud dropdown, and select 115200 baud. Finally, locate the EN or RESET button on your ESP32 and press it if you don't already see the startup messages in the Serial Monitor window. As long as you've included the relevant code in your sketch, one of these messages should include the URL that you need to access your new website. Anyone on your local network can access your website It's a cheap way to set up small local web pages Copy the URL shown in Arduino IDE and paste it into the browser of any device that's connected to the same network as your ESP32. The website should open on the device. For my polls website, it opens to a webpage with a sample poll that anyone can vote on, along with an option to create a new poll. Because the site is hosted on the ESP32, when anyone votes from their device, the poll will update for anyone else who's connected to the site from their own device, making it easy for a whole household to vote on a decision. It's a simple example of the kind of site that can be useful to run locally on an ESP32. It's possible to expose your ESP32-based website to the world using methods such as port forwarding. However, this means anyone could access your site and potentially find vulnerabilities that could allow them to attack other devices on your local network. Without robust encryption and authentication, it's safer to leave your website accessible only on your local network. Your tiny ESP32 can become a working web server Despite its small size and relatively low specs, an ESP32 can do a great job as a small web server. It's a great option if you want small local websites that don't need to be exposed to the outside world. You may be surprised by the websites your small development board is able to run.
How to host a website with just an ESP32
Full Article
Original Source
Read the full article at Howtogeek →KhanList aggregates and links to publicly available news content. We do not host full articles from third-party sources. Always verify important information with original sources.