
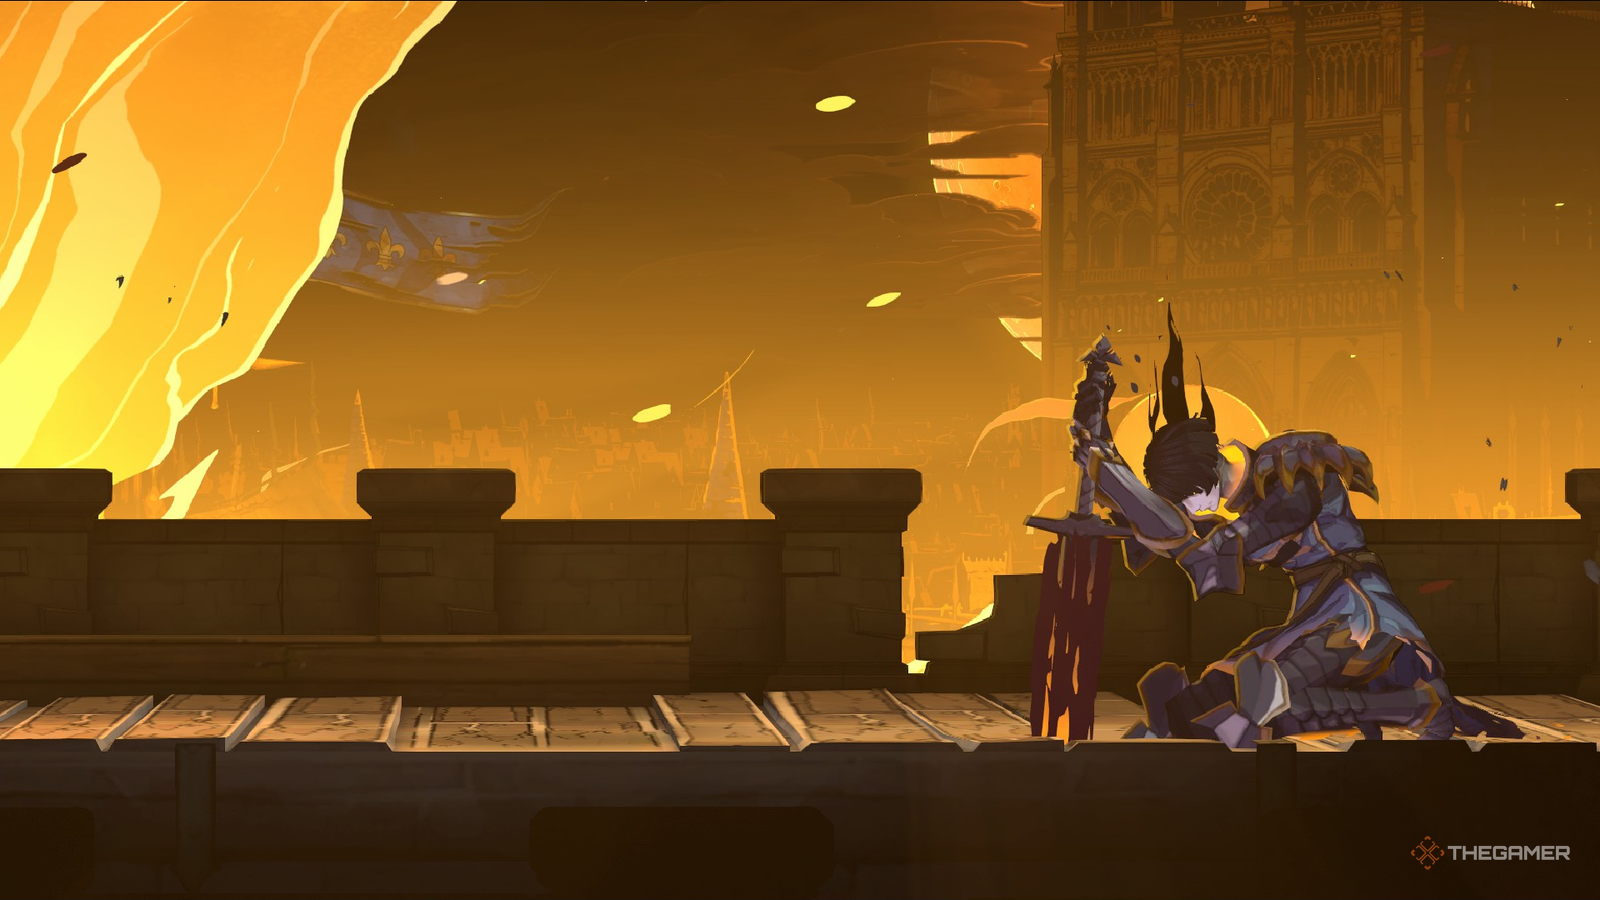
Published Oct 15, 2026, 12:10 AM EDT Collin is a Guides Staff Writer at TheGamer who has been writing guides for nearly ten years. He is also a professional game/level designer. More importantly, he's still waiting for a new Ape Escape game to release. Castlevania: Belmont's Curse has officially been released, so grab your sword and get ready to hunt down even more gothic monsters. You assume the role of Rose Belmont, daughter of Trevor Belmont, who is tasked with uncovering what has caused the city of Paris to fall into ruin. Throughout your journey, you will need to cobble together every advantage possible since this can be quite difficult at times. One of the best ways to improve your power is through Tarot Cards. The Warrior is an early Tarot Card you will need to unlock, but knowing both where to start and solve all the clues can be a bit tricky. The Warrior Tarot Location To start The Warrior Tarot quest, you will need to head to the Burned District. When you exit the save room, make your way left, and you will find the spirit floating on a small suspension bridge. Talk to her to unlock the first clue and begin the quest. The Warrior At The Top Of The Tower "The Warrior stormed the tower . . . we trapped her atop . . . but then the flames . . . took us . . ." For this first step, you will need to reach and scale the Prison Tower. This can be located by first heading left from the spirit who gives you the quest. After a few rooms, you will reach the tower, but you won't be able to get in because the bridge is up. Instead, head south through the sewers and then continue left until you're able to climb back up to the streets. Make your way right until you're at the base of the tower. Retract the drawbridge so it's vertical and use it to reach the door so you can enter this towering, burning structure. Enter through the door and carefully make your way up the first part of this building. There is a devilish mix of spike and swinging axe traps that can deal quite a bit of damage if you're not careful. Once you're back outside the tower, make sure to throw the switch to open up a shortcut and then proceed left. Progress through the small side tower on the left until you've reached another door at the Prison Tower. You will continue this trend of going into the tower, doing a small segment, opening up a shortcut, and proceeding farther up. The tower is exceptionally dangerous, so it may take several attempts. Always keep an eye open for the switches and breakable objects blocking the doors to open up shortcuts. These can make a huge difference in easing the difficulty of this area, while alleviating how punishing climbing the tower can be. Keep an eye out for an additional save point, which can be located about halfway up the tower. Continue climbing the tower until you reach a section where you need to perform a bunch of wall jumps across some spike pressure plates. You'll then use some grapple points to make your way down a narrow passage to reach the spirit below. Speaking to them once more will progress this quest further and give you another clue. Carpenter's Crane Sketch " . . .the fire holds her . . .atop the tower . . ..pray she does not . . .find the cranes . . .inside or out . . ." Upon speaking with the ghost, you will be given a sketch that shows part of the map with a crane hook that's circled. To do this, I recommend first scaling more of the tower until you reach a door that leads you to a long hallway that goes left up some stairs. When you get to that door, instead, head back down the tower to the save point that's about midway up the spire. This is because you will be fighting a boss at the top of those steps, and you'll want to unlock this shortcut first to save you time and any headaches. From the Prison Tower save room, head left and use the mix of purple and yellow grapple points to climb upwards. However, instead of continuing north, head right and swing across the gap. When you reach the other side, grapple the yellow point multiple times in a row to pull it farther down. This will unlock an elevator right above you that can be utilized to reach the boss's room more quickly. While you don't have to do this, it can really save you a lot of time if you're struggling to beat this tarot card's boss. Defeat Joan Of Arc Surprise, the boss of The Warrior is none other than Joan of Arc, and she is very adamant that your family caused the chaos in Paris. Unlike The Fallen, fighting Joan is trickier, as you will be putting your dodge timing to the test. When the battle starts, Joan will rake her sword across the ground and launch a close-range fire attack in front of her. This will cause an orb of fire to spawn and hover several feet above her. She will then launch into a three-hit attack where she thrusts her sword in front of her, changing direction between strikes if you're behind her. Unlike The Fallen, where we waited until the whole attack was done, the key is to attack Joan between each of her sword thrusts. What this looks like is sliding past her after her first sword thrust, hitting Joan in the back two times, then sliding through her again when she turns around. Repeat this process one more time to both fully dodge her combo and give you a nice opening to hit her. Do not bother trying to just stay away from her during this move, as the sword thrust has great range, which makes moving in to punish her from a distance pretty difficult. Sticking to Joan's hip is the trick to surviving here, as her sword attacks are slow and easily dodged so long as you slide behind her when she tries to impale Rose. After several rounds of dodging this and her sword rake attack, enough orbs will be hovering above the ground that she will use them to create pillars of fire. When this happens, quickly get between them and wait for the columns of fire to vanish. If you're lucky, you can stand right by Joan during this and attack her while she channels the attack. Listen for when Joan yells out about the fire consuming you, as this will be the audio cue to dodge her move. Continue to repeat attacking her until Joan reaches around 50 percent health. She will then begin charging up a high-damage attack, and the two grapple rings on either side of her will briefly become active. Use the grapple points to launch yourself into the air, avoiding her explosive move that briefly covers the ground in fire. Joan will now be empowered, meaning her attacks hit much harder and have greatly increased range. However, our strategy does not change, so continue sticking right next to her and sliding through her whenever she attempts to impale you with her blade. Do not commit to swapping sides until she is already in the attack animation, as she can sometimes stab her sword backwards if you're behind her. Finally, she will continue to weave in her fire pillar attack and the one you need to dodge by grappling into the air. However, both have very obvious wind-up animations, and quickly positioning yourself so you don't get hit can really trivialize these moves. Remember, just stay close to Joan and dodge through her between her sword thrusts to give yourself a brief, consistent window to attack her. Upon her death, you will complete The Warrior Tarot Card, unlock the Infernal Pyre ability, and can even pick up her sword off the ground to use!
How To Complete The Warrior In Castlevania: Belmont's Curse
Full Article
Original Source
Read the full article at Thegamer →KhanList aggregates and links to publicly available news content. We do not host full articles from third-party sources. Always verify important information with original sources.