
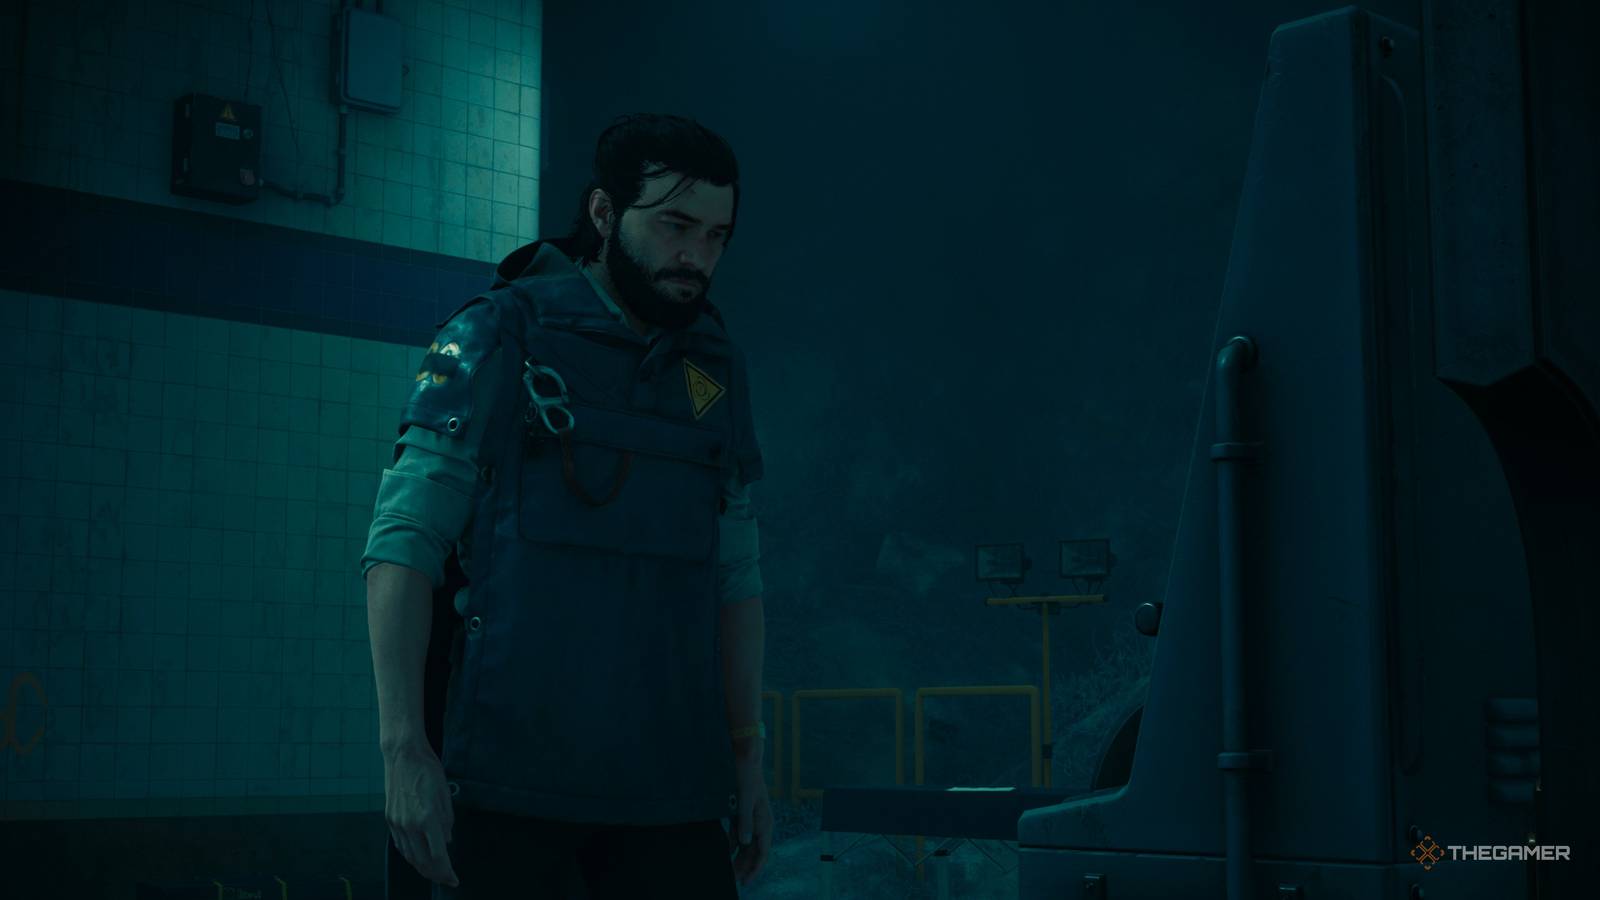
Published Sep 22, 2026, 10:30 AM EDT Collin is a Guides Staff Writer at TheGamer who has been writing guides for nearly ten years. He is also a professional game/level designer. More importantly, he's still waiting for a new Ape Escape game to release. Control Resonant has finally been released, so it's time to hunt down some paranatural entites and fight your way through a twisted version of New York City. Throughout the game, you'll take on various quests, many of which are fairly straightforward. One of the most confusing ones is Power Lines. You'll reroute electricity through these subway stations, but that's easier said than done. So if you're struggling with the numerous puzzles you'll encounter throughout this mission, here's a complete breakdown of how to complete Power Lines. Power Lines Walkthrough Reroute Perimeter Station Perimeter Station (Number 1) is the first subway station we'll visit for this quest. Located east of the Field Office, you can find Perimeter Station's entrance near one of the Gravity Anomaly walls you can run up. Keep in mind that when you arrive at the station entrance, it will become blocked, and you'll need to defeat two waves of Hiss. The Hiss are going to be difficulty Level 4, which can be a bit tricky if you haven't increased your overall Aberrant Power enough. If you're struggling to defeat these enemies, consider doing some side quests or World Feats to gather materials to improve Dylan's arsenal. With the Hiss defeated, make your way down into the station tunnels. Before going down the second flight of stairs, you will find an orange Power Core next to the door to a mini-mart. Inside the store, you'll find a chest with some materials. Across from the store will be another store with a Power Core you can transfer the electric current into so the door unlocks. Head down the second flight of stairs to find the FBC's Tuning Device, along with two notes explaining that you need three Calibration Units to successfully activate this machine. This means you need to find the three Calibration Units and set them around the Tuning Device to successfully reroute the power. The first Calibration Unit can be found up the stairs opposite the ones you came down, and the second is down the tunnel to the left on the platform by some mold. Number three requires you to transfer the electricity from the Power Cube above to the one down the tunnel by the spinning fan. This will unlock the door, allowing you to access the third Calibration Unit. With all three units acquired, place them in the correct spots marked by yellow square outlines on the floor. The first spot is right beside the Tuning Device and is the closest square. You can find the next two squares by following the yellow lines up the two staircases leading to the device. One of these will require you to activate the Power Core next to the door to open it. Now that all three Calibration Units are placed, activate the Tuning Device to complete this part of the quest. Reroute East Park Station Make your way to the East Park Station (Number 2), which is, unsurprisingly, east of Perimeter Station. When you arrive, you'll once again need to defeat two more waves of Hiss enemies. While fighting these enemies, always prioritize the Hiss Cluster, as it will continuously heal the other units, making it much tougher to defeat them. After you slay all the Hiss, head down the stairs to the subway station. Once you pass the checkpoint marker, you will find two small stores, each of which has a Calibration Unit inside. The one on the left will be locked by a gate, while the unit on the right can be freely grabbed and brought down the next set of stairs to the Tuning Device. When you reach the Tuning Device, use your weapon to break the three large pulsing blobs of mold until the yellow squares are exposed. You'll find a second Calibration Unit next to the mold blobs. Once all the mold is clear, you will want to put a Calibration Unit onto the squares to the right and left of the Tuning Device. Then activate the Tuning Device three times in a row to teleport yourself into the gated store where you can shatter the breaker box with your weapon and bring the final unit down to the device. Place it on the last square and activate the machine to complete this portion of the quest. Reroute Factory Station Your final station is located to the north of the East Park and Perimeter Stations. Just like before, you will need to deal with two waves of enemies before you're allowed to enter. The catch is that this time you'll have to fight Mold enemies along with the Hiss. These are fairly strong foes that are quite weak to fire. After defeating all the enemies, head downstairs to the subway station and grab the first Calibration Device in the store once you pass the checkpoint. Once you find the Tuning Device, the other two Calibration Units are on top of the train and behind the staircase you came down. Bring them all to where the device is and place them on the three yellow squares in the middle leading to the machine. Your goal is to line them up so that, when you're looking at the Tuning Device, they all appear through perspective to be one unit. When they're all placed, activate the Tuning Device to trigger a brief cutscene. Head To The Surface With the device activated, go up the stairs to learn that all the subway stations in the city have vanished. The path up the stairs will be walled off, so go back down the stairs and then take a right. You will see a newly opened tunnel you can run down. Follow the tracks until you reach a corner that will become walled off. Several Mold enemies will spawn, which can make this a pretty tricky fight since you won't have a lot of time to maneuver. Remember, the Mold Scrappers are covered in armor, so you'll want a blunt weapon or Combat Ability to shatter their defensive layer. Try to chain multiple Executions if possible, and use the brief damage boost you get to always target the Scrappers. When the Mold enemies are defeated, continue following the tracks down the tunnel. Reroute Power Through The Subway At the end of the tracks, you'll reach another subway platform with a Tuning Device and a square marked with the letter A. Grab any recordings and files around the room before interacting with the device. You'll be teleported to another subway platform, this time marked with the letter B. Unfortunately, the Tuning Device doesn't have any power, and the cables are snapped on the ground. There are also two Power Nodes, one on each side of the platform. Run over to the electrified node and strike it with your weapon to transfer the current to your Aberrant. Now, quickly rush over to the other node and strike it, which will cause two large blobs of mold to form. Do not destroy the mold, as it will help transfer the current between wires. Once the mold has formed, strike the node, and bring the power back to the original node you hit. This will form another blob of mold, restoring power to the Tuning Device. Hit the node to move the electric current back to your weapon, then go activate the Tuning Device to teleport back to Platform A. Quickly strike the nearby node to restore power to this area and follow the cable up the stairs. The gate will have lifted and you can grab the Calibration Unit. Bring this back to the Tuning Device and place it on the empty square behind the machine. Then activate the Tuning Device to teleport back to platform B. Head up the stairs and strike the electrified node that's powering the floodlight and transfer that current to the unpowered node right by it. This will open the shop gate where you'll find a Calibration Unit and a Health Segment upgrade. Leave the unit there for now and go to the gate that mold in front of it. Destroy the mold to unlock the gate so you can visit the survivors inside. After speaking with them, take the two Calibration Units with the survivors and bring them out into the hall. You will now need to transfer the current you've been using to power the Tuning Devices and bring it to the node that was powering the floodlights by the survivors. This will let you destroy all the outer mold blobs covering the remaining three spaces for the Calibration Units (spots shown above). There will be one blob you have to break at Platform A and two at Platform B. When all the units are in place, activate both Tuning Device A and B. Doing so will summon some Mold enemies you'll need to defeat, including a mini-boss called Sandra. After slaying the Mold, make your way back to the survivors and speak with the doctor to finally complete this quest.
How To Complete The Power Lines Quest In Control Resonant
Full Article
Original Source
Read the full article at Thegamer →KhanList aggregates and links to publicly available news content. We do not host full articles from third-party sources. Always verify important information with original sources.