
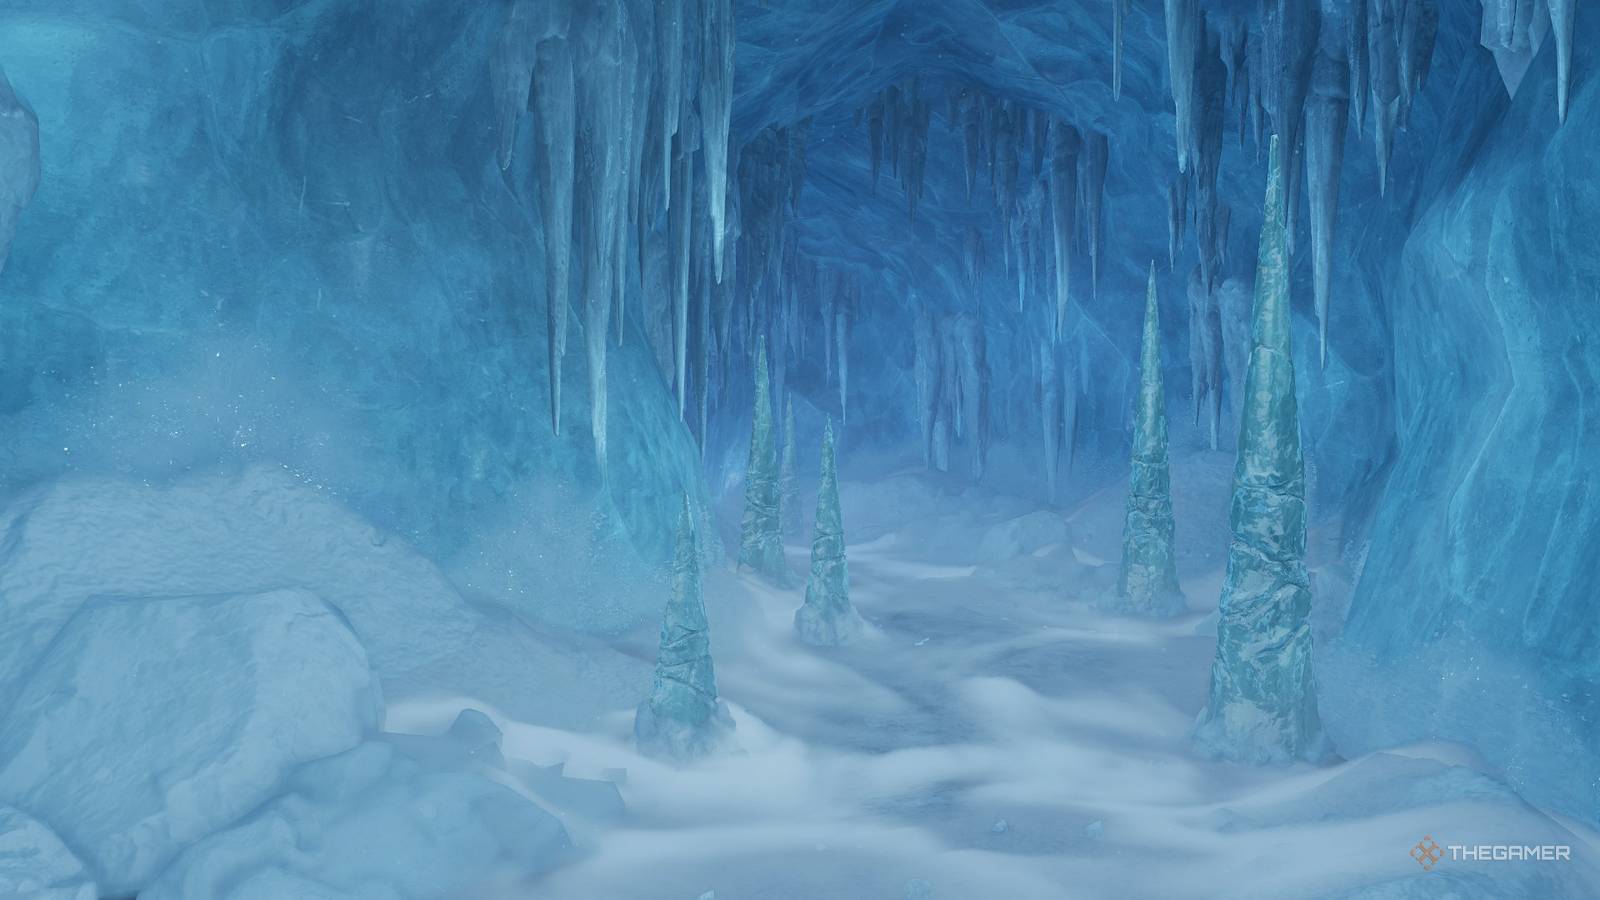
Published Nov 5, 2026, 1:06 AM EST Collin is a Guides Staff Writer at TheGamer who has been writing guides for nearly ten years. He is also a professional game/level designer. More importantly, he's still waiting for a new Ape Escape game to release. There are quite a lot of dangerous places you'll need to explore in The Legend of Zelda: Ocarina of Time remake. From the inside of an active volcano to a haunted temple in the middle of the woods, this game is filled with thematic locations filled with things that want to make Link past tense. One of these locations is the Ice Cavern, which is a mini-dungeon. Unlike a traditional dungeon, the Ice Cavern is not nearly as long, doesn't feature a big boss at the end, and there isn't a sage tied to it. However, the Ice Cavern can still be tricky thanks to its mix of enemies and puzzles. So if you're struggling at all or just want to ensure you find all the Gold Skulltulas during your playthrough, here is a complete walkthrough of the Ice Cavern. Ice Cavern Walkthrough Get The Blue Fire When you enter the Ice Cavern, make your way down the snowy path, and break apart the stalagmites that are blocking your path with your sword. Ignore the small chest frozen in a red crystal for now and equip your Megaton Hammer. Carefully walk across the ice and approach the frozen head sculpture. This is a Freezard, an enemy that can emit a damaging cold breath from a distance and can be instantly killed by a single hit with the Megaton Hammer. Kill the three Freezards in the room to unlock the door, just be careful of the moving spike traps on the ground. The floor is solid ice, so Link will slide when you stop moving, which can cause you to get hit. You can actually use the Freezard's breath to freeze the moving spike traps in ice, making them useless! The next room will trigger a brief cutscene where five diamonds attached to a gate will scatter around a room with a massive spinning blade in the middle. You need to collect all five diamonds by touching them to open the large gate blocking your path. The first one will be directly to your left behind some stalagmites, three of which will be around the rotating blade, and the final diamond requires you to jump from where the gate is, over the spinning blade. Gold Skulltula 1 — Spinning Blade Room In the Spinning Blade Room, look to the left from the door you enter. Up high on the ice wall will be a Gold Skulltula. Stand off to the side, away from the spinning blade and use your Hookshot to snag this token. Make your way through the newly opened door into the next room, which has two Freezards and several Ice Keese. Deal with the enemies and climb the destroyed ruins until you reach a large crystal that has a blue flame poking out around it. Break the crystal to release the Blue Fire, which you can actually store in your bottle. This is the main mechanic of this mini-dungeon, as you will use the Blue Fire to melt away any of the red crystals. It's one Blue Fire per crystal, so make sure to fill as many bottles as possible to save you time. Get The Dungeon Map And Compass Go up the path directly behind where the Blue Fire spawns and dump some on the red crystal encasing the large chest. This will melt it away, allowing you to get the Dungeon Map inside. Refill on Blue Fire and then return to the Spinning Blade Room. Go left when you enter and use the Blue Fire to melt the red crystal blockade. Go down the path and defeat the Freezard between the two moving spike traps bouncing back and forth. You can also use the Freezard's attack to stop the trap from moving, making it easier to cross. Once it's defeated, continue down the hall to a small room with a large chest at the end, some Rupees on the left, and Blue Fire on the right. Inside the chest will be the Compass. Be careful, as quite a few normal Keese are hiding around this room. Check the walls for them, as they will ambush and attack when you get close! Gold Skulltula 2 — Compass Room In the Compas Room, approach the chest where you got this item and look to the left. In a small carved out section of the ice column will be the Gold Skulltula. Kill it with the Hookshot and snag the token. Get The Iron Boots Go back to the Spinning Blade room and use the Blue Fire to melt the lower path to the right this time and follow it into the next room. Take out your bow and shoot all the Ice Keese, before approaching the area with all the different sized pillars. Gold Skulltula 3 — West Block Moving Room In the west block puzzle room, make your way through the stalagmites and approach where you actually move the ice cube around the room. Turn around and face the way you came to find a Gold Skulltula on the wall above your head. Use the Hookshot to kill and snag this token. For this room, you will need to once again collect five diamonds scattered throughout the immediate area. The catch is, you can move a large ice block on the ground that has carved symbols on it. To start, push the block straight ahead into the tall pillar directly ahead of you, and then shove it to the right where the red crystal is on a high ledge. Use the pushable block to climb up to where the red crystal is and then use Blue Fire to melt it away. Behind the crystal will be your first diamond. Once you have it, jump down and shove the ice block off the cliff to the right. Don't worry, it will respawn where it started! This will be useful if you mess up moving it in the future. To start, push the block to the left towards the pillar that is two sections high. Climb up and get the silver diamond on top. Then push it towards the pillar near the back of the room by the Blue Fire. Grab the diamond, then shove the pillar into the single block on the right and then back towards the pillar you shoved it into to get the first pillar. Basically, you are pushing it in a big square pattern going clockwise around the room. You can also shove the block towards the Blue Fire torch along the back wall. When you're next to where the Blue Fire appears, play the Song of Time to spawn a bridge towards a chest with a Red Rupee in it. After you're done in this room, move the block over to where the gate was and climb up. In the next room, the door will lock behind you and a single White Wolfos will spawn. This is a tougher version of the normal Wolfos, which can freeze you in place if they hit Link. Because of this, you want to play defensively, baiting out their attacks and waiting until the White Wolfos spins around. When this happens, attack their spine until they recover. Upon killing the White Wolfos, a large chest will spawn containing the Iron Boots. This will trigger a cutscene with Shiek where you will learn the Serenade of Water and will be informed that you need to save King Zora first. Make sure to fill up on Blue Fire, as you'll need it to release the king from his icy prison!
How To Complete The Ice Cavern In The Ocarina Of Time Remake
Full Article
Original Source
Read the full article at Thegamer →KhanList aggregates and links to publicly available news content. We do not host full articles from third-party sources. Always verify important information with original sources.