
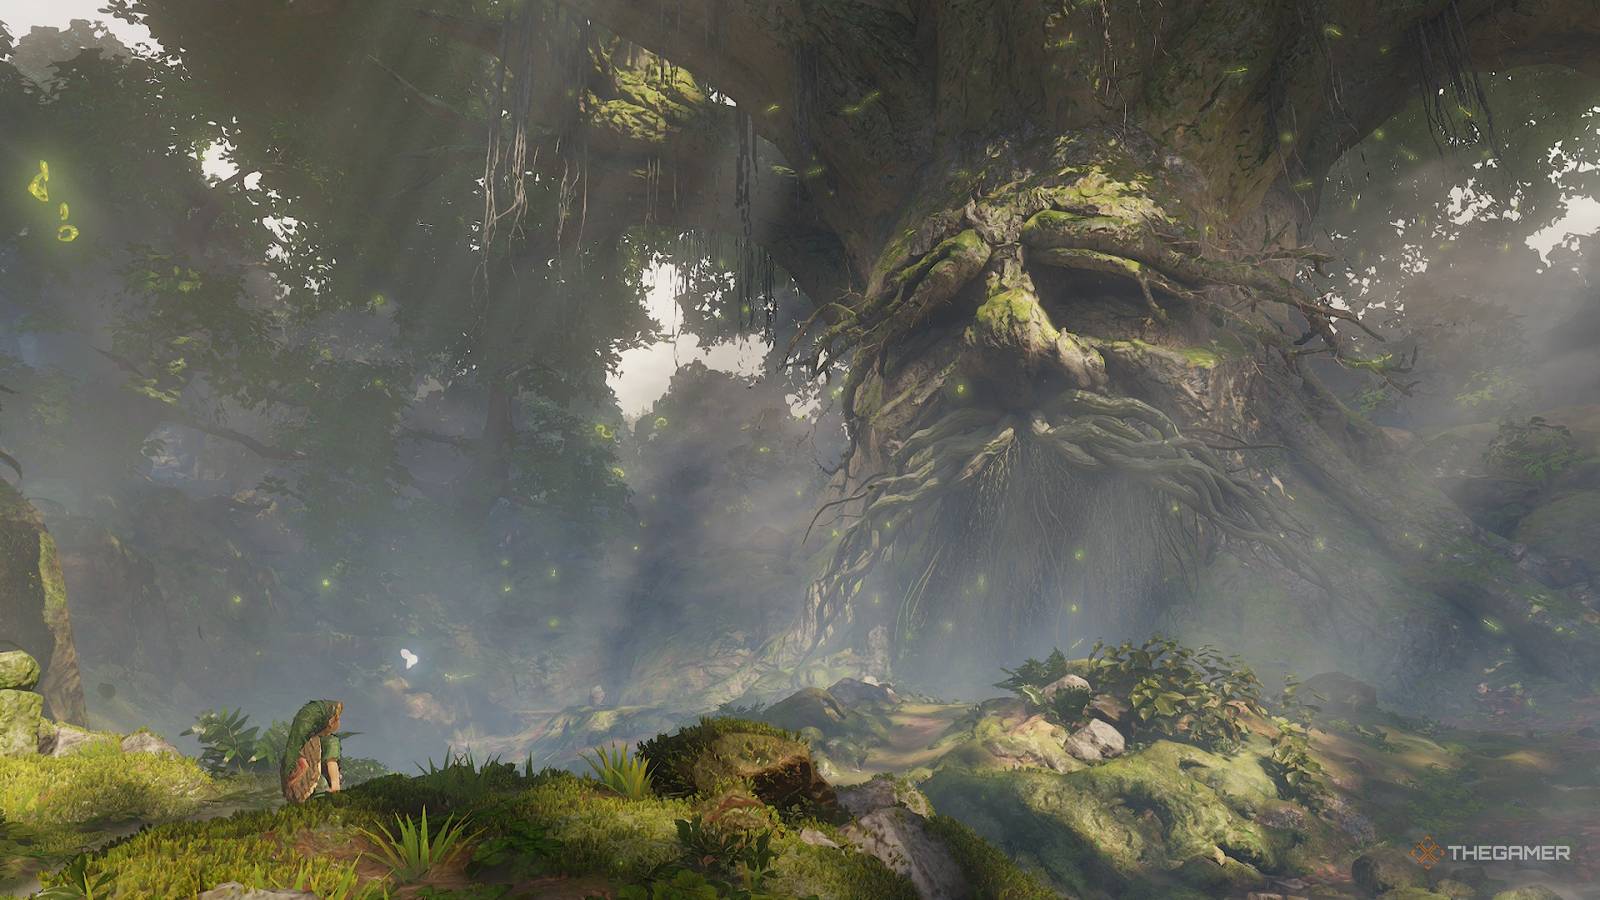
The Legend of Zelda: Ocarina of Time Remake has finally been released, so grab your bottle of milk, load up your bomb pouch, and get ready to set off on one of gaming's most beloved adventures. Along this journey, you will encounter multiple large dungeons which make up a large portion of the story's challenge. The first dungeon you will need to complete is the Great Deku Tree. If you're struggling to beat this or just want to know where all the Gold Skulltulas are located, here is how to fully complete this dungeon and find everything inside it. The Great Deku Tree Walkthrough Upon entering the Great Deku Tree, you will find yourself inside the main trunk of this being. In the middle of the floor is a large spider web. Around the perimeter of this room are various bushes and a new enemy: the Deku Baba. Unlike the version you encountered making your way to the Great Deku Tree, these will lash out at you. Use your shield to block and then strike them a couple of times to kill them. Make a mental note of the spider web for now and head to the wall of vines. Climb up the vines, jump across the gap, and approach the large treasure chest. Inside you will find the Dungeon Map, which you can use to orientate yourself and see what areas you haven't visited. Continue up the path around the main chamber and go through the stone door. Inside, you will encounter a Deku Scrub who hides underground whenever you get close. To defeat this enemy, hold up your shield and wait for it to spit a Deku Nut. This will bounce off the shield and ricochet back to the Scrub, knocking him from the ground. Rush over and slash at him a few times to trigger a brief dialogue exchange. He will explain that you can break your fall if you jump from a high place by holding forward. Get The Fairy Slingshot After beating the Deku Scrub, head through the door behind him to enter the next room. Inside, you will see another large treasure chest at the end of a large broken branch. Run across the branch to have it break apart under your feet, dropping Link to the floor below. Climb up the vines on either side to reach the chest, which contains the Fairy Slingshot. Equip the slingshot by holding down R and then highlighting this weapon. Now, turn and face the Skullwalltula on the vines and lock onto it with Navi. Fire the slingshot at the enemy to kill it, climb the vines, and open the chest to receive a Rupee. Jump back down to where you opened the chest and look at the way you initially entered the room. Above the door will be an eye, so hold down the right trigger to manually aim the slingshot and fire it at the eye. This will cause it to close and drop a stone ladder to the ground that can be used to return to the main chamber. Get The Compass Once you're back in the main room, head to where you found the Dungeon Map, and use the slingshot to kill the three Skullwalltulas on the vines above the chest. If you don't, these Skullwalltulas will attack and knock you off the vines if you try to climb by them. With the enemies dead, go up the vines until you reach the next floor. Head to the door, but don't just rush in, as a large Skulltula will fall from the ceiling. To kill this enemy, approach it until it starts to shake, and then quickly back up before it performs a spin attack. Wait until the Skulltula slows down and attack its glowing blue underbelly. Repeat this twice to kill this enemy, allowing you to access the room inside. Go into the Compass Room and step on the stone switch to your right. This will cause three platforms in the center to temporarily rise up. Jump across them to the other side of the room where the chest is. To the left of the chest will be a Deku Baba, so kill it and then open the chest to obtain the Compass. Now, move behind the chest, cut the grass, and climb through the crawl space to reach a hidden room. Go up the vines to find a small chest with a Rupee in it. Head back to the main Compass Room and go to the door you entered from to return to the main chamber. Gold Skulltula 1 — Compass Room (3F) The first Gold Skulltula in this dungeon can be found in the Compass Room. Before hitting the stone switch, jump down and head to the left side of the room. A Skulltula will drop from the ceiling, so kill it and then climb back up to where the switch is. Step on it to raise the stone platforms, go across them, and head to the opening on the left. Slash at the golden arachnid on the wall to earn your first Skultula Token. Reach The Lower Levels Back in the main chamber, upon exiting the Compass Room, head left up the path. There will be two more Skulltulas you'll need to deal with until you reach the top. You'll find a part where a branch sticks out a bit over the main floor. Walk onto the branch and look down at the spider web. To reach the lower level, you will need to jump from where you are standing to the spider web below. Doing so will cause the web to break, dropping you into the lower level. I recommend making sure you have gotten all the items and Gold Skulltula before doing this; otherwise, you will need to climb back up via a long vine wall, which is fairly tedious. When you reach the lower floor, climb out of the water, and head right towards the stone switch and unlit torch. Gold Skulltula 2 — Lower Level (B1) After landing in the water from falling through the spider web, turn immediately around and face the large vine wall leading back up to the first floor. On the vines will be a Gold Skulltula you can kill via the Fairy Slingshot. Hit it once, climb the vines, and grab your second token. Gold Skulltula 3 — Lower Level (B1) To the left of the stone switch will be another Gold Skulltula on some metal bars. Shoot it with your slingshot and then jump from the stone platform to reach the floating token. Reach The Boss Room With those two Gold Skulltulas acquired, step onto the stone switch next to the until torch to ignite it and burn away the spider web. Open the small chest to get some Deku Sticks and then equip one. Pull out a Deku Stick by hitting the Right Trigger and approach the torch with the stick to ignite it. Quickly, run across the stone platforms to the spider web covering the door and touch the burning stick to the web. This will burn it away, allowing you to access the next room. Head inside and use your shield to dislodge the Deku Scrub. Run over to it and whack away at this enemy until it surrenders. The Deku Scrub will explain that you cannot defeat his siblings unless you deflect their projectiles in a specific order, which is 2-3-1. Use the Fairy Slingshot to shoot the eye over the barred door to unlock it and head into the next room. In the next room there will be a moving platform going across the water that slides under a rotating spike log. To get past this trap, go into the water and dive down in the left corner to press an underwater stone switch. This will cause the water level to temporarily lower, so quickly climb back up to where you entered. Jump onto the platform and ride it, as you will now be low enough that you will pass right under the spiked log. Go through the door to enter the next room and kill the Skultula that drops from the ceiling. After it's dead, move to the left of the large stone block and grab onto it with A. Push the block until it cannot be moved anymore and then climb up it to reach the door to the next room. Kill all the Deku Babas around the torch and then equip a Deku Stick. Use the stick to light the three unlit torches in each corner of the room to unlock the door. When you go into the next room, you will be attacked by the Skulltula right as you enter. Once it's dead, a Gohma Larva will drop from the ground and hatch. Hold up your shield and wait for this enemy to launch itself at you. Block with the shield to stun it before swinging your sword. Once it's dead, look up at the ceiling, equip your slingshot, and shoot the two remaining Gohma Larva eggs to kill them before they drop to the ground and attack. Gold Skulltula 4 Location — Gohma Larva Room (B1) The fourth Gold Skulltula is located in the same room where you encountered the three Gohma Larvas. Take out the Deku Stick and burn away the spider web on the left via the torch. This will let you access the side room. Inside, kill the big Skulltula that drops from the ceiling, before using your slingshot to slay the Gold Skulltula on the vines. Climb up the vines to get the next Skulltula Token. With the Gohma Larva dead, use your Deku Stick to burn away the spider web blocking the path to the right to proceed through the crawlspace. This will spit you back out into the lower main chamber, so approach the stone block and push it towards the water. This will cause it to drop and create a shortcut to where the ignited torch is located. Equip your Deku Stick and head over to the torch. Light the stick and make your way back up the stone block to where the spider web on the ground is. Swing the lit Deku Stick while on the spider web by hitting ZR to burn it away. You will then fall into the water below and reach the lowest level of this dungeon. Approach the three Deku Scrubs, but do not just block and attack each one. You need to ricochet their seeds back in a specific order, which was told to you earlier in the dungeon. The correct order you need to stun the Deku Scrubs is 2-3-1, with one being on the left and three being on the right. Once you block all the shots in the correct order, smack the remaining Deku Scrub with your sword. This will cause him to give up, unlock the door, and leave a Rupee for your troubles. Equip the Fairy Slingshot and head inside the boss room. Defeat Gohma Goham is the first boss of Ocarina of Time and, unsurprisingly, she's fairly easy to actually beat. To start the fight, when you enter the room, look up at her glowing eye on the ceiling. Doing so will trigger a brief cutscene where she drops from the ceiling and begins the boss fight. When it starts, Gohma will protect her glowing eye with her mandibles while she follows you around the arena. Upon getting close, she will raise both of her large limbs and then slam them down in front of her. Once the limbs go up, step back and wait for her to miss this attack. This will cause her to briefly become stunned, making her eye glow green, which is your signal to rush over and attack Gohma with your sword. After getting hit, she will retreat up the wall. Equip your Fairy Slingshot as she climbs onto the ceiling and wait for her to stop moving. Aim the slingshot at her eye and shoot it to stun the boss and send her plummeting to the floor. Gohma will lie there for several seconds, so run over and start hacking away at her until she recovers and uses her mandibles to block her eye once more. If you're not fast enough to take Gohma down from the ceiling, she will produce several Gohma Larvae that will join her in this fight. If this happens, prioritize the larva before refocusing on the boss. You will then need to repeat this same process above at least two more times. Make sure to always wait until you hear the audio cue from Gohma when her limbs are raised, as this indicates she is committing to her frontal attack, and you can backflip away. If you run away too soon, she will not attempt to strike you. Gohma will have no additional attacks or changes during this fight, so keep up the rhythm of baiting out her strikes and shooting her down from the ceiling until she is killed. You can now pick up the Heart Container to gain a full additional heart and complete this dungeon.
How To Complete The Great Deku Tree Dungeon In The Ocarina Of Time Remake
Full Article
Original Source
Read the full article at Thegamer →KhanList aggregates and links to publicly available news content. We do not host full articles from third-party sources. Always verify important information with original sources.