
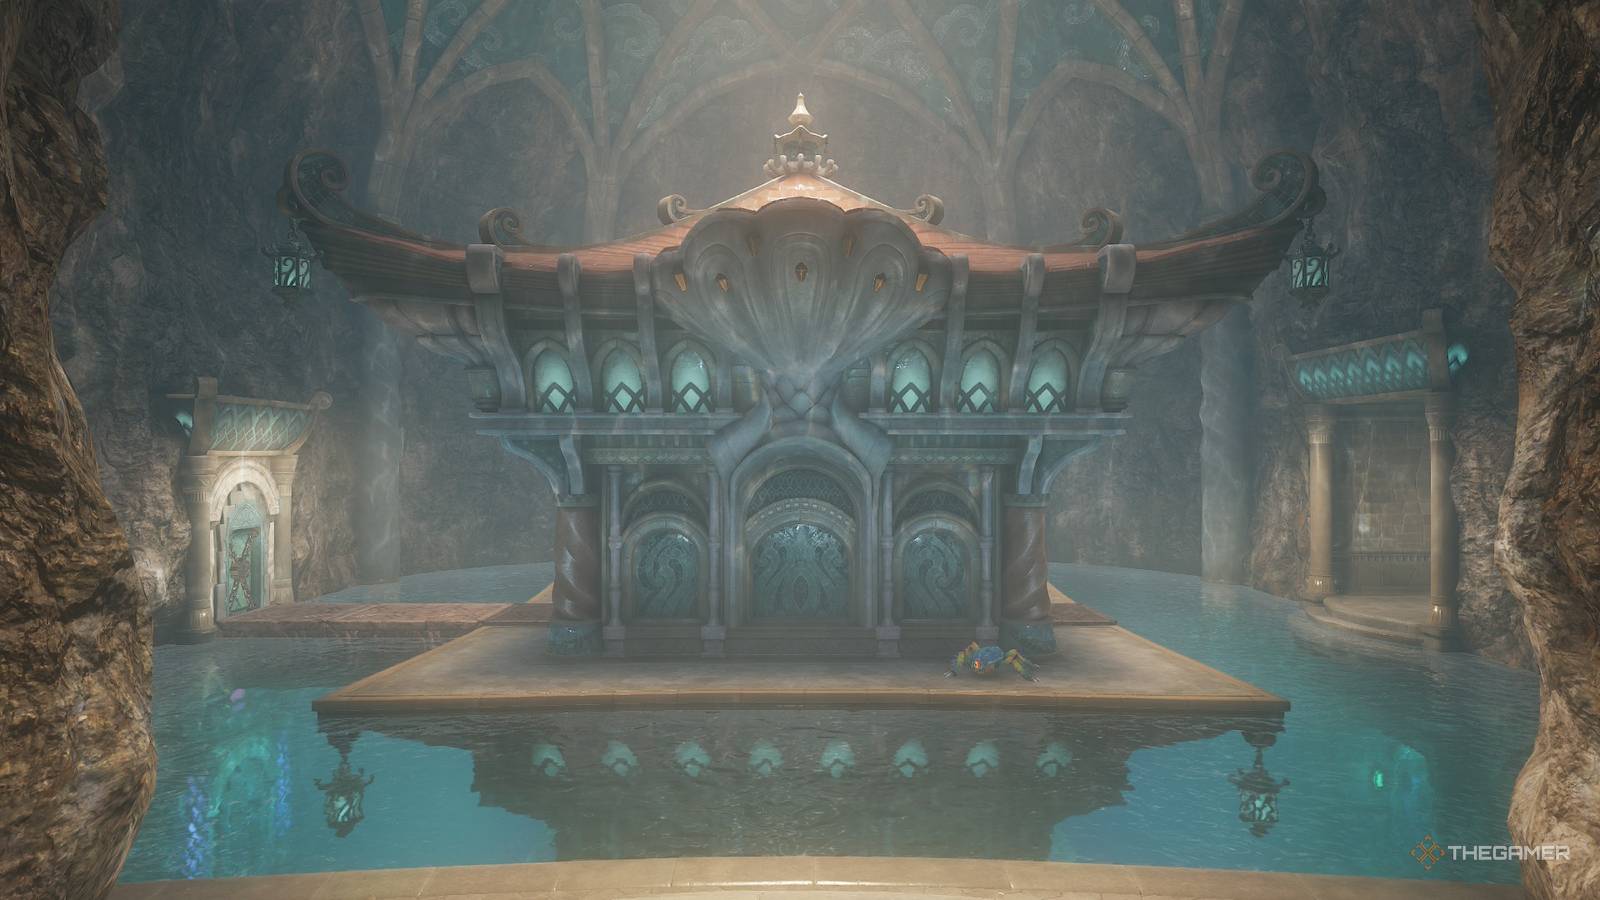
The Legend of Zelda: Ocarina of Time remake has a lot of dungeons you'll need to complete before the credits roll. While some are more memorable than others, one has gained quite the reputation since its initial release. Your third dungeon in the future, the Water Temple, is located at the base of Lake Hylia. If you're looking to complete this dungeon, struggling with any of the puzzles, or just want to ensure you acquire every Gold Skulltula, here is how to fully complete this temple. Water Temple Walkthrough Welcome to the Water Temple, one of the most infamous dungeons in the original game. Known for being fairly tedious, the Water Temple is all about managing the water level of the dungeon and dealing with all types of aquatic enemies. Thankfully, the modernization has alleviated some of the headaches this place can cause. When you first enter, you'll find a large room with a tall, temple-like structure in front of you. This is the Main Chamber, a place that you will be constantly going through, so get ready to know this room intimately by the time this dungeon is all over. Get The Dungeon Map To start, equip your Iron Boots and sink to the bottom of the room. You'll be introduced to an enemy called Spike, which is literally just a big roling ball of, well, spikes. Equip your Hookshot and hit it (or block with your shield) to make the spikes retract, then strike it again with the Hookshot to secure the kill. While underwater, make your way into the right room with the glowing pillars to find Ruto. After the cutscene and dialogue exchange, unequip the Iron Boots and float up while in the room. At the surface, you will find a large chest with the Dungeon Map. Get The Compass Go to the back of the room and stand in front of the Triforce symbol on the wall. Play Zelda's Lullaby on your ocarina to lower the water level in the temple. Jump down the hole behind you to the floor where you met Ruto and equip your bow. Stand by the lit torch and shoot your arrows through the fire at the two unit torches on either side of the locked door. Doing so will ignite the torches, unlocking the door and allowing you to progress. Go through the door, kill all three Spikes, and open the chest to get a Small Key. Head out to the Main Chamber, and on the ground floor to the south side will be a bombable wall. Blow it up, enter, and equip your Iron Boots. Sink to the bottom of the underwater hall and walk down it to encounter a new enemy called a Shell Blade. Use your Hookshot when its mouth is open to kill it. At the end of the hall, unequip your Iron Boots and float to the surface. Step on the stone switch to raise a Hookshot totem, which lets you grapple to the area across from you. Kill the Blue Tektites and then use your Fairy Bow to slay the Like Like next to the other Hookshot totems. Once all the enemies are dead, grapple up to the next raised area and open the chest to get the Compass. Progress Through The Temple Now head to the west side of the Main Chamber on the first floor and look for a large stone block you can push. Shove it down the hall and into the water. Equip your Iron Boots and sink into the water below. Kill the Shell Blade and then go to the end of that room and float back to the surface. You'll arrive at a whirlpool room, which will carry Link around in a circle if he is in the water without the Iron Boots equipped. Sink into the water so you land on the large, horizontal pillar in the middle of the room. Use your Hookshot to then hit the green crystal in the statue's mouth to open a gate. Swim into the gate, equip your Iron Boots, and kill both Shell Blades. Float to the surface to find your second Small Key. Return to the Main Chamber and use one of your Small Keys to open the central tower in the middle of this room. Once inside, use the grapple point above you to reach another Triforce symbol and play Zelda's Lullably to raise the water level up to 2F. Gold Skulltula 1 — Under The Central Tower The first Gold Skulltula can be obtained once you raise the water level up, so the surface is on the second floor. Instead of going out into the Main Chamber, equip the Iron Boots and sink to the bottom of the tower. With the block raised, the opening in the floor will be accessible. Drop down, kill the three spikes, and use the Hookshot on the gem switch. This will open a gate in the ceiling. Float up into the next room to find the Gold Skulltula along the wall. Exit through the door and go to the east side of the Main Chamber to find a bombable wall. Break it open and use your Iron Boots to sink into the hall. Oh look, the Stingers are back. Give them a taste of what their ancestors got in Jabu-Jabu's Belly, killing all four with the Hookshot. Go to the end of the hall, float to the surface, and approach the small geyser of water in the back right corner. Use the Hookshot on the gem switch underwater to the left of the geyser. This will cause it to stop. Step onto the circular platform, then hit the gem switch again to be lifted to a small room with a chest inside that has another Small Key. Return to the Main Chamber once more. Gold Skulltula 2 — Behind The Bombable Wall (2F) The second Gold Skulltula in this dungeon can be accessed when the water level is set so the surface is the second floor. Go to the east side, use the Iron Boots to go to the ground floor, and then enter the room where you initially met Ruto. Unequip them to float to the surface, and you'll see a cracked, bombable wall on the east side. Blow it open, kill the Shell Blades inside, and you'll find the Gold Skulltula on the western wall. Go to the west side of the Main Chamber and use the Small Key to open the door. Inside, you will find another gem switch and a tall geyser of water. Hit the gem switch with your Hookshot or sword to lower the water. Kill the Blue Tektite that jumps down, and then step onto the circular platform. Hit the switch again with your Hookshot to ride the geyser to the third floor. You'll find another Triforce symbol, so play Zelda's Lullaby to raise the water back to where it was when you first arrived. Head to the west side and unlock the door. You'll enter a large chamber with two moving platforms over a bottomless pit. The platform nearest you will just go up and down, while those across the chasm will continuously lower. Grapple across to the platforms on the far side and then use the grapple point on the platforms as they lower to keep pulling yourself higher and higher. Once you reach the top of the waterfall room, go through the door to enter a large chamber with several Blue Tektites on the water's surface. Kill all these bugs, then use your Hookshot on the gem switch to raise three Hookshot totems around the door. Grapple to the one that's facing you and then hit the gem switch a second time to lower the totems. Use the grapple point on the wall to reach the next area, go past where the totem would rise, and hit the gem switch for a third time. Now grapple to the totem, hit the gem switch to lower the totem right next to you, climb on top, and hit the switch a final time to ride it up to the raised section. Go through the door. Defeat Dark Link Perhaps one of the most famous fights in the entirety of The Legend of Zelda franchise, Dark Link is an absolute menace if you're not ready for him. This creature mimics Link's moves and attacks, making it tricky at times to actually land a hit on him. Thankfully, there are a few tricks (and items) that can ease your pain during this mini-boss. To trigger the right, go to the end of the reflection room to cause the doors to lock. Dark Link will spawn behind you on the small island. Approach the island to trigger the fight, otherwise, he will just stand there menacingly. When the battle begins, we have a few options depending on what we've unlocked up to this point. If you have the Biggoron Sword, you can basically just power through this fight by continuously attacking Dark Link. It does a comical amount of damage to him, and while your doppelganger can block, it's not very effective at it. Alternatively, you can always spam Din's Fire if you're near him. Dark Link can't block this move and will keep taking damage from the large AoE (area of effect) attack. For those fighting Dark Link with the Master Sword, things will be a little different. Dark Link is able to mostly match your attacks, blocking by copying your move and causing both swords to clash with one another. You can still hit Dark Link by continuously attacking, but it usually takes around five sword swings in quick succession. The most consistent way to hurt Dark Link is to first perform a jump attack and then follow up with a few sword slashes. Dark Link cannot block this right now, making it easy to consistently hit this enemy and apply some damage before he goes on the defensive. Occasionally, Dark Link will jump onto your sword to aura farm and follow up with a backflip attack, but you can shake it off the blade before that happens. After taking enough damage, Dark Link will become enveloped by shadows and gain access to a Jump Attack and Spin Attack. Your own Jump Attack won't work anymore, as he will dodge and counter. Instead, play defensively and wait until he tries to perform a Spin Attack. Wait for the move out and rush right in as he finishes spinning. There will be a brief window when he can be hit, stunning him for a few seconds. Once you defeat Dark Link, the fog will clear, and you can progress through the previously locked door. In the next room you'll find a large chest with the Longshot in it. This is a Hookshot upgrade that, as the name suggests, vastly increases its effective distance. Use it to latch onto the totems above you, equip the Iron Boots, and sink into the water. Get The Boss Key You'll be in an underground cavern with a ton of deadly whirlpools along the surface. The current is too fast to avoid them normally. Instead, use the Iron Boots to walk underwater, allowing you to avoid the whirlpools from pulling you into the abyss. Gold Skulltula 3 — Whirlpool River Your next Gold Skulltula in the Water Temple can be acquired in the underground cave system right after you get the Longshot. Follow the river underwater, and at the first bend to the right, the Gold Skulltula will be above the water on the wall. You will be underwater during this, so look for the gold shimmer of the spider and use your Longshot to kill it and acquire this token. Progress down the river until you reach an eye switch over a closed gate. Use the Longshot to hit the eye and open the gate, then quickly fire the Longshot at the grapple point before the gate closes on you. Go through the door on the right to emerge into the whirlpool room where you previously got a Small Key. Go back to the Main Chamber and then use the Iron Boots to sink to the lowest floor. Go to where you initially met Ruto, unequip the Iron Boots to float up, and use Zelda's Lullaby to lower the water level. Make your way down to the first floor and go through the door in the Main Chamber's central tower. Skulltula 4 -— Central Tower. Now that you have the Longshot, you can snag the Gold Skulltula on the ceiling of the central tower in the Main Chamber. Use the Longshot to travel up the grapple points, then look up to find the Gold Skulltula in a corner. Use your new tool to kill and snag the token! Work your way up the central tower to the Triforce symbol and play Zelda's Lullaby to raise the water level one more floor. Go to the north side of the Main Chamber and look for an eye switch over a gate. Shoot the eye switch with your bow or Longshot, then quickly hit the grapple point with your Longshot to be pulled into the next room. To your left, you will see a small pool of water. Equip the Iron Boots and sink to the bottom. Along the western wall will be a stone block that you can move. Pull it towards you as far as it can go (which is about a couple of feet), then return to the surface. Now look for a grapple point on the ceiling in a small nook on the western wall. Drop into the water after using the Longshot, equip your Iron Boots, and sink down. Follow the path until you reach the stone block you moved. Push it forward to clear the path, then head right and go to the surface. You will find a chest with the Small Key inside. Return to the main chamber, go into the gem switch room to the west, and ride the geyser up to the Triforce symbol. Raise the water level up to the max height, then immediately use the Iron Boots to reach the bottom of the Main Chamber. Once again, go to where you met Ruto, float to the surface, go to the Triforce symbol, and lower the water level to the bottom floor. Go to the north side of the Main Chamber, drop down into the water, go to the surface, and then use the Longshot to reach the locked door. Open it with your Small Key and head inside. You'll be greeted by several Tektites, so either use the Fairy Bow to kill them from a distance or goad the Tektites over to you via hitting them with the Longshot. With all the Tektites dead, equip the Iron Boots and jump into the water. Make your way across the room, carefully avoiding the rolling boulders and whirlpools on either side. Go through the door, equip the Fairy Bow, and kill the Stingers in the pool. Along the wall to your left you will see three bombable walls. Destroy the middle and either of the side walls. This will reveal a passage behind a stone block, which you can push out into the Stinger pool and onto a stone switch. This will raise the water level in the room, letting you access the raised section. Step on the stone switch to cause geysers to rise up with a Blue Tektite on it. Kill the enemy, cross the gap, and go through the door. Wait for the boulder to pass, then head left. Take another left in the boulder hall to find the chest containing the Boss Room key. Gold Skulltula 5 — Boss Key Room The final Gold Skulltula in the Water Temple can be found in the hallway where the boulder rolls that connects to the Boss Key Room. Look up and along the wall, behind a small waterfall will be the Gold Skulltula. Use your Longshot to kill it and secure your prize. Make your way back to the Main Chamber and, for the final time, work your way up the central tower and raise the water level to the next floor. Then go to the gem switch room to the west and raise the water level again to its max height. Go to the northern side and use the Longshot to reach the raised section. Go through the door, equip your Iron Boots, and carefully walk up the incline. You will need to dodge moving spike straps, but if you stick to one side, you easily have enough time to cross before they bounce back. When you reach the boss door, equip the Longshot, and head inside. Defeat Morpha When it comes to boss fights, Morpha is actually one of the simplest. Unlike Volvagia who deals high damage, area of effect attacks that can make fighting it tricky. Morpha largely relies on brute force and its unpredictable movements. However, don't let the weird appearance fool you; this boss is a lightweight — especially if you have the Biggoron Sword. To start, don't bother fighting Morpha on the central four platforms. Instead, make your way to the outer ring and pull out your Longshot. While in the safety of the water and water tentacles, Morpha is completely invulnerable to all your traditional attacks. The key is to drag the mass of eyes out of the liquid where it can be attacked. To do this, wait until Morpha begins its slam attack. After the second slam, it will perform a third one which causes the tentacle its in to become stationary for a couple of seconds. This is our window of opportunity, so use the Longshot to hit the pink blob and pull it from the water. When this happens, you'll have several seconds to use your sword to damage Morpha before it retreats back into the pool. Make sure to lock onto Morpha when you're attacking, as it will bounce around after a few seconds, making it tricky to hit. Once Morpha gets back in the water, it will emerge and begin spinning the tentacle around in a circle. If it grabs you, mash the A button to break free before it crushes you. If Morpha misses, it will slam the tentacle down again, giving you another opening to wrench it from the water so you can attack it. If you do enough damage, Morpha will unleash a new attack where it summons nine tentacles around the arena. Only one of them contains Morpha, so look for the pink mass and head towards it. Be careful, as the other tentacles will try to slam down when you pass by them. When you get close to Morpha, it will slam down next to you and this time it will move up and down the tentacle when you try to grab it with the Longshot. Pull the boss from the water again and attack. Morpha will then use one of two new attacks. The first is that it summons three tentacles, one of which contains Morpha. It will then begin spinning around in an attempt to grab you like before. Alternatively, it will arrange the tentacles in a row and slam them down in sequence, with the last one being Morpha. Regardless of which move it uses, play defensively and wait for Morpha to slam itself into the ground. This will open it up to being pulled from the water, allowing you to attack and quite possibly finish this boss fight. For those using the Biggoron Sword, you might not even see these moves. This is thanks to the weapon's high damage, allowing you to easily push Morpha between phases and not even give it a real chance to fight back! Once Morpha is defeated, grab the Heart Container, and step into the teleportation circle to finish the Water Temple!
How To Beat The Water Temple In The Ocarina Of Time Remake
Full Article
Original Source
Read the full article at Thegamer →KhanList aggregates and links to publicly available news content. We do not host full articles from third-party sources. Always verify important information with original sources.