
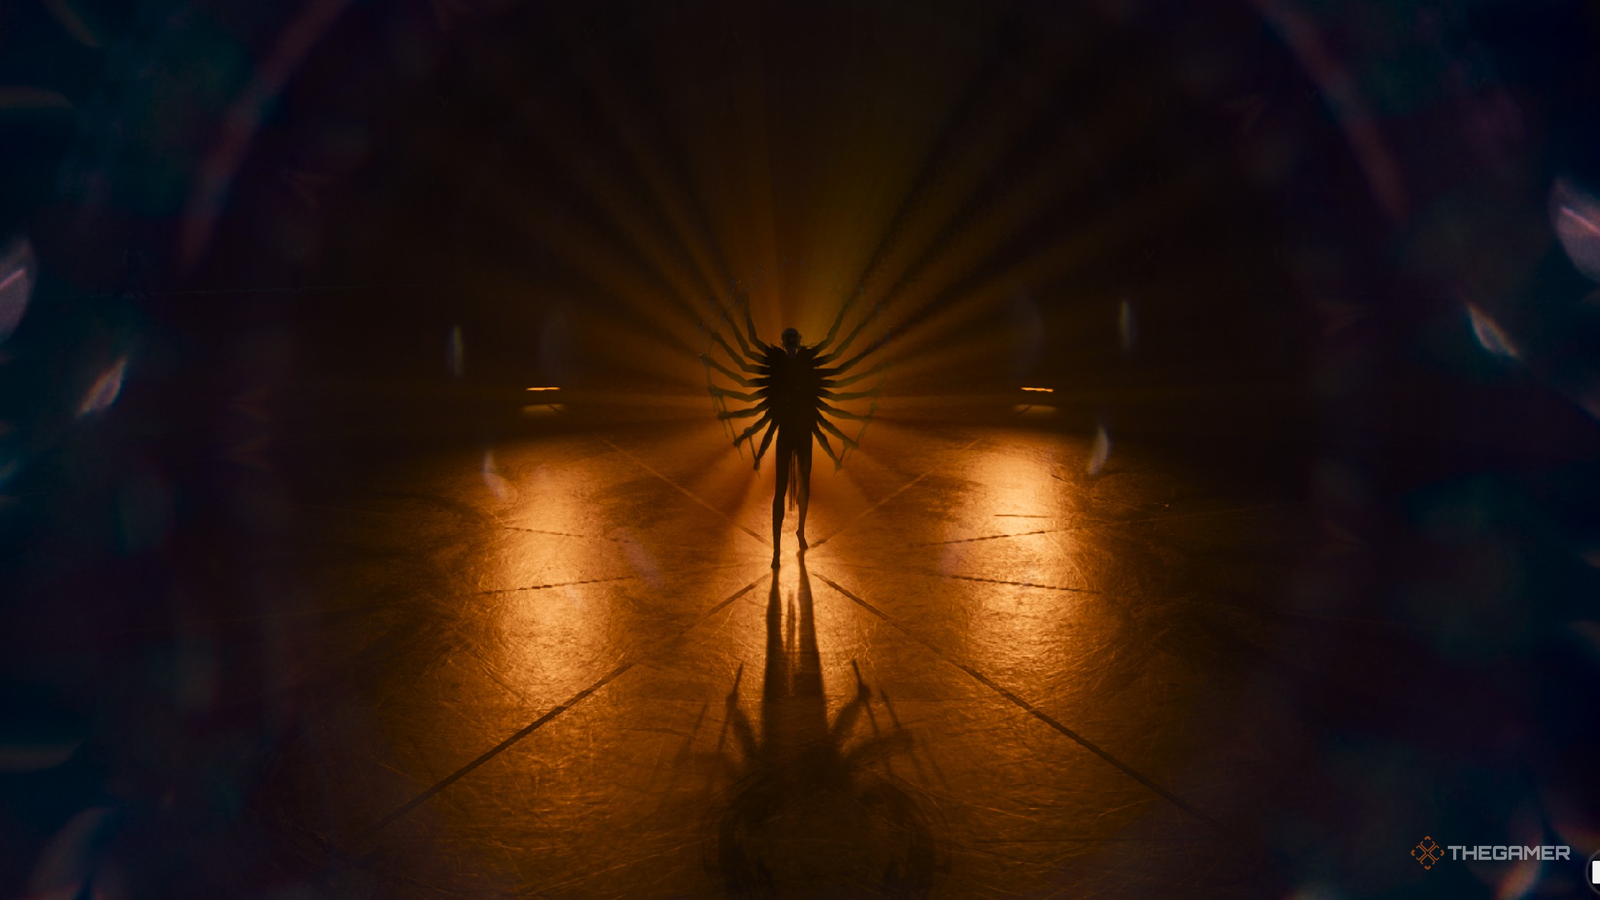
Published Sep 22, 2026, 10:21 AM EDT Collin is a Guides Staff Writer at TheGamer who has been writing guides for nearly ten years. He is also a professional game/level designer. More importantly, he's still waiting for a new Ape Escape game to release. Control Resonant is filled with all sorts of twisted, malformed abominations that want to make you past tense. While most of these come in the form of the Hiss or mold-covered enemies, you'll occasionally encounter other entities that serve as the game's main bosses. One of these is The Dancer, which is a Resonant boss that seems a bit unassuming at first. However, she can be quite a difficult fight since she's broken up across two phases and gets exceptionally tougher during the latter half of the battle. If you're struggling to take down The Dancer, here is how to beat this boss and what you get for your trouble. How To Beat The Dancer Resonant Phase One Before we go into this fight, I recommend being at least at Aberrant Strength 30 and investing in any skills that boost your damage upon a successful perfect dodge are great for this boss. Additionally, the Drill secondary weapon is fantastic if you upgrade it a bit, since it can apply the Weaken status effect, which lets you do more damage to the boss. When you arrive in the theater, the boss will be sitting in the middle of the stage. She will not attack you until you strike her first, so hit her to start the fight. At the beginning of phase one, she will only have access to one move — a spin attack with her batons. She can do this either standing or sliding across the ground towards you. This move can be easily dodged by moving to the left or right, and The Dancer will pause for a couple of seconds after this move. Focus on just playing safe and punishing her whenever she finishes a spin attack. Once she loses a third of her health, The Dancer will incorporate a new move where she thrusts her batons in front of her. This can be chained into two more follow-up strikes, so be ready to avoid them whenever The Dancer performs a thrust move. Again, this entire phase is just about dodging this small handful of attacks while striking her when she's open. It's critical that you play safe here to conserve your health for the next phase. When The Dancer switches to phase two, she will regain all her health and become a bit tankier. Phase Two Here's where things get serious. Right at the start of the fight, The Dancer will launch up into the air and hurl two corpses at you. Be ready to dodge these, as they do quite a bit of damage, but you can avoid them by either sprinting around the edge of the arena or dashing right before they connect. The Dancer will also perform an AoE (area-of-effect) stomp attack when you get close. This move comes out fast, and she will aggressively use it once you get close. Your goal is to bait this move out by dashing in, then quickly dashing back the moment you see her leg raised. Doing so gives you enough time to avoid the attack and open up a nice window to hit her several times before she recovers. She can also launch herself into the air before slamming down across the arena, but The Dancer only appears to use this whenever you put some distance between you. Another attack involves swinging her batons twice in front of her, which you will want to dodge since it does a decent amount of damage. Don't try to dodge attack between swings; you won't have time to hit her without taking a blow yourself. This portion of the fight is all about punishing her ground stop and baton attack, as these often leave her wide open for a couple of seconds. Focus on getting in, hitting The Dancer a few times, and then dodging away before she can counterattack. Additionally, if you keep relatively close to her, she won't use her ranged attack or flying stomp much, making this fight way more manageable. Once she has reached around 50 percent health, The Dancer will introduce a new four-hit baton combo that ends with her ground slam AoE attack. This is her deadliest move, as being hit once usually guarantees you'll be struck a few more times. You can easily lose half your health if you are struck by the entire combo and will be the main reason you die during this fight. Additionally, dodging her AoE slam is a little tricky, as dodging towards her will still result in you being hit. Always dash away from The Dancer during her slam attack, never towards her! That being said, our strategy for beating her hasn't changed. Focus on baiting out her close-range attacks by dashing in and then out to give you an opening to hit her. Things get a little tricky when The Dancer only has a third of her health left as a big spotlight will hover over her. If you are not in the spotlight, you will be forcibly dragged to her feet, which does damage and sets you up to get hit by her. For the rest of the battle, you will want to stay in the spotlight when fighting The Dancer to avoid being thrown back at her. This, understandably, makes fighting her much more difficult, since your room to dodge is greatly reduced, making her melee combo attack that much deadlier. During this portion, you will really need to prioritize dodging her melee combo above everything else. With limited space to move, dodging this attack is key. Only attack once she has finished her combo, otherwise, you run the risk of her counterattack mid-swing and dealing a lot of damage. Keep playing defensively while in the spotlight until you eventually deal enough damage to stun her. When this happens, press L3 to perform an execution on The Dancer, finishing this boss fight. With The Dancer dead, you will gain access to either the Push or Ground Slam ability to use in combat. Which one you prefer is entirely up to you, as they are both quite strong and work in most combat encounters. I prefer the Ground Slam personally, since the sher verticality of the game allows you to really maximize your damage.
How To Beat The Dancer Boss In Control Resonant
Full Article
Original Source
Read the full article at Thegamer →KhanList aggregates and links to publicly available news content. We do not host full articles from third-party sources. Always verify important information with original sources.