
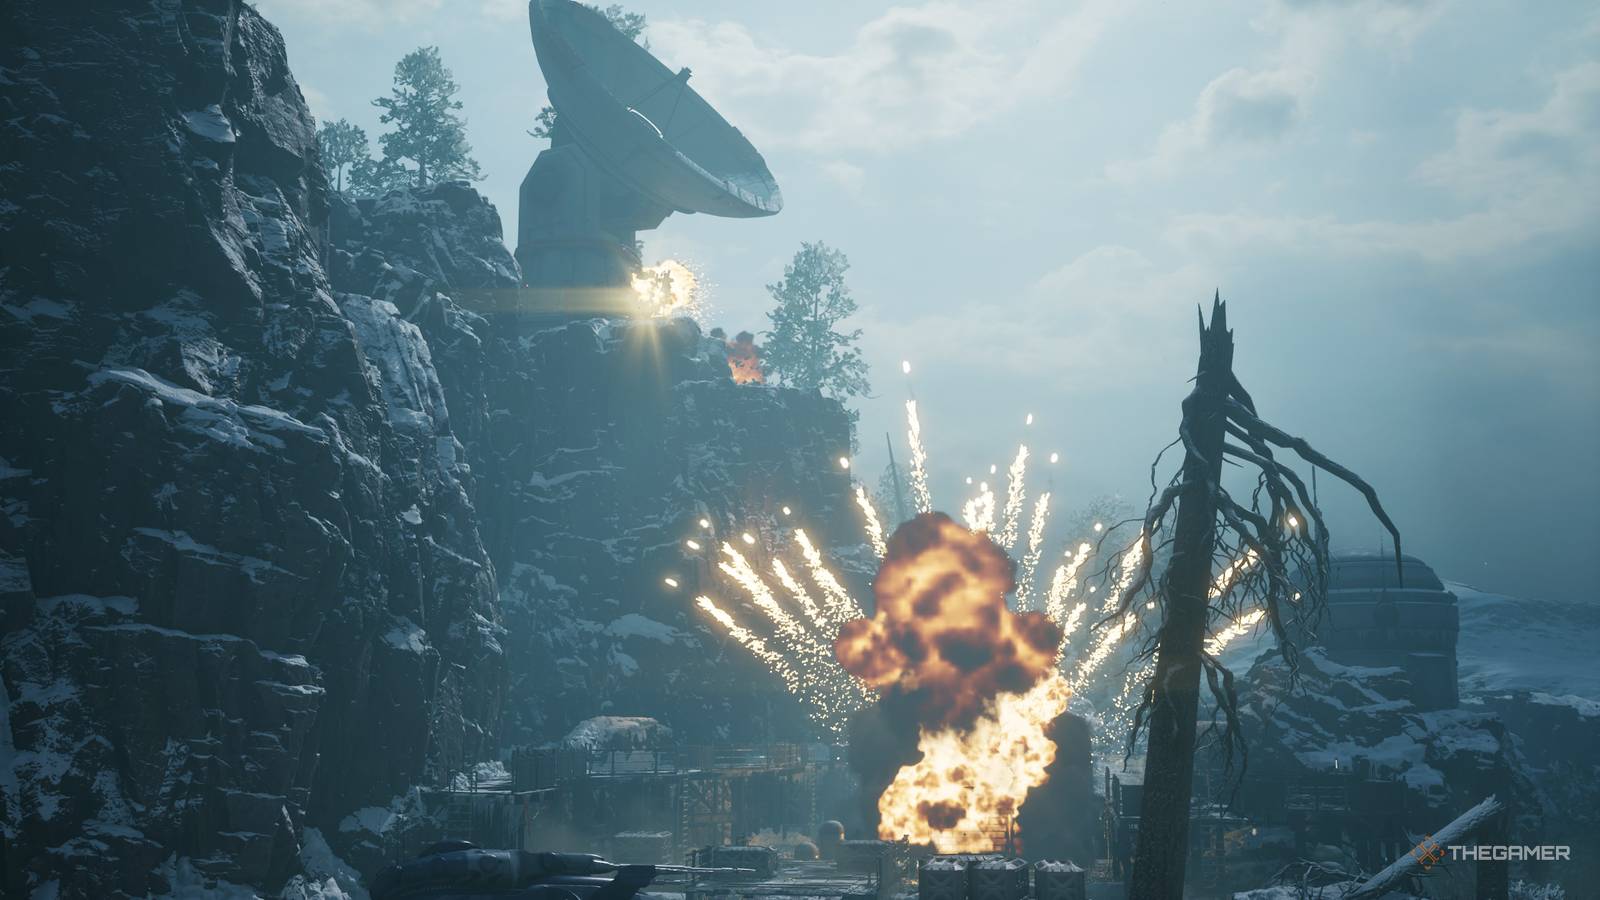
Published Aug 27, 2026, 11:20 AM EDT Collin is a Guides Staff Writer at TheGamer who has been writing guides for nearly ten years. He is also a professional game/level designer. More importantly, he's still waiting for a new Ape Escape game to release. Star Wars Zero Hour is a tactical strategy game where you run a mercenary outfit during the end of the Clone Wars. Taking inspiration from games such as XCOM, players can recruit a variety of different soldiers and scoundrels to fight (and most likely die) alongside you. This is done in missions, which allow players to progress the story, deepen a relationship with a specific character, or just earn some additional rewards. One of these optional missions is Cold Metal. Set on the planet of Kallar, you will need to sabotage a power station that is fueling a Separatist base. It can be a bit tricky since there's a ton of droids you'll need to fight through to reach the bomb plant area, so if you're struggling, here's our full walkthrough of Cold Metal along with what team we recommend using. Before we take on this mission, I recommend recruiting an Astromech droid operator and equipping them with multiple grenades. The Astromech is unique in that it cannot directly use a weapon, with the trade-off of getting two charges for each consumable/throwable item it's carrying. Because of this, equipping the Astromech with Impact Grenades and Droid Poppers makes it great for this mission. It will also be the one who plants the bomb due to its high mobility. The rest of the squad is the player character, Hawks, Trick, and then a Heavy class operator. I also suggest putting a longer-range weapon on Hawk since you'll spawn right next to some premium high ground to help you pick off enemies. Remember, this is just a suggestion, as you can reasonably beat any mission with any combination of operators. This is just who I had an easy time with during my playthrough. When the fight begins, move your long range fighter up the ladder directly on the left and up the ladder. This will provide you with a fantastic vantage point on the large group of droids below you. Speaking of, use the Astromech to toss a grenade of your choice at the biggest group, as this will kill all of them if they're normal Battle Droids. Push the remaining two units onto the bridge cover and use them to focus your damage on the Super Battle Droid, as that will be the biggest, immediate threat. There is also a Commando Droid on the elevated ground to your right, which can also be a problem when left unattended. Thankfully, its highest damage move is a grenade that can be avoided by moving out of the radius before your turn ends. On your next turn, use a grenade from the Astromech and your long-range operator to take out the group on the elevated position to the right. You should be able to kill most, if not all, the droids on this turn, since a lot of them are super weak and the grenades from the Astromech is perfect for countering their numbers. After the second turn, you will be alerted to reinforcements arriving up top, so send Trick up the ladder on the left to join your long-range operator. At the same time, move your Heavy near the sabotage point (but keep to the left) and use your droid to plant the bomb. Doing so will immediately summon more reinforcements on the right and mark the extraction zone in the back. We are going to take the left path to leave this mission, so move both the Heavy and Astromech up the ladder to the catwalk where your other two operators are. Make sure to make use of any remaining grenades the Astromech has, as these enemies are very clustered together when they emerge from the reinforcement position. This means you can kill the majority of the right reinforcements with a single Impact Grenade or Droid Popper. For the reinforcements at the top left, use a mix of Trick's Rocket Strike and blaster fire to shred the remaining robots. Once the top path is cleared, quickly move your forces up onto the catwalk and rush towards the point. If you blew up the reinforcements that emerged on the ground level, all that should be left of them are two Super Battle Droids, which are quite slow. Use their lack of mobility to your advantage and just rush towards the exit. Remember, if more reinforcements arrive, they cannot attack you during the turn they spawn. This allows us to ignore the second wave of reinforcements completely and just prioritize finishing the mission so we have zero casualties!
How To Beat The Cold Metal Mission In Star Wars Zero Company
Full Article
Original Source
Read the full article at Thegamer →KhanList aggregates and links to publicly available news content. We do not host full articles from third-party sources. Always verify important information with original sources.