
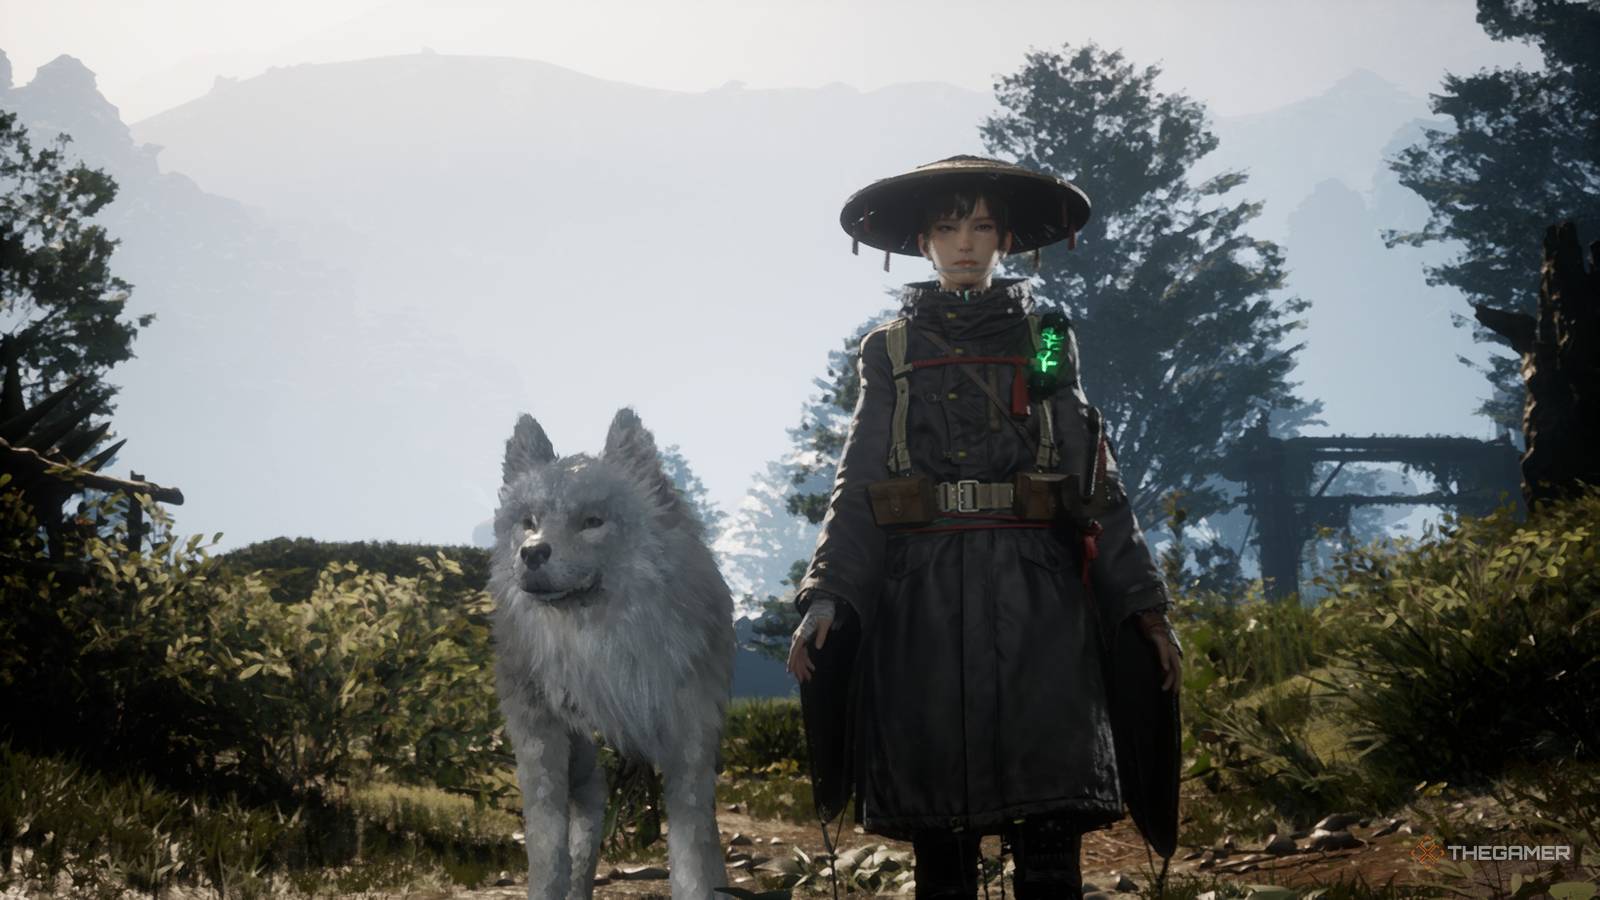
Published Aug 10, 2026, 2:37 PM EDT Collin is a Guides Staff Writer at TheGamer who has been writing guides for nearly ten years. He is also a professional game/level designer. More importantly, he's still waiting for a new Ape Escape game to release. Sharpen your katanas and load your crossbows because Beast of Reincarnation has been released. This action-adventure game places you in the shoes of Emma, an outcast who is tasked with defeating an encroaching blight taking over a post-apocalyptic Japan. Joined by her faithful dog Koo, you'll need to battle all manner of monsters and machines to destroy this encroaching threat. Throughout this game, you will battle a ton of bosses, some of which are easy while others pose a much more difficult challenge. One of the earliest skill checks in the game is the Rangifer, which is a key boss you'll need to vanquish. How To Beat Rangifer - First Fight Before we dive into Rangifer's lair, you will want to ensure you're properly equipped. First, ensure that your sword of choice has been enhanced once so it has the +1 after the name. This will increase its overall damage, which you'll need since the Rangifer has a decent amount of health. Additionally, try to improve your Vitality and Strength to further increase your survivability and damage. This fight is all about testing if you understand how to parry and mix in Koo's abilities to give you openings to strike. When the fight begins, the Rangifer will largely rely on sweeping its massive horns across the ground at you in a 180-degree arc in front of it. Rangifer will launch 2–3 horn sweeps in quick succession. Because of this, you will want to wait to actually attack until the Rangifer's head stops moving. Remember also to hit the block button right before the horn connects with you to parry it and fill up Koo's ability bar. After the second or third horn sweep, Rangifer will lower its head for a couple of seconds to recover. This is one of your main openings to attack, so focus on striking the boss quickly before going immediately on the defensive. Additionally, Rangifer will occasionally launch a large rock at you by burying its horns into the ground before wrenching them up. This can either be parried or blocked, but be ready for it since the Rangifer will use this move if you try to get some distance from the boss. These are Rangifer's only attacks, so as long as you can parry the horn sweeps, this fight is pretty easy to win. As for Koo, you will want to make use of his Higanbana: Seeds and Higanbana: Roots abilities. The former can inflict the burn status effect on Rangifer, while the latter can actually stun Rangifer for a brief moment. Focus on trying to inflict the burn status effect first, as this will require you to hit Rangifer twice with this move. Since you're limited to not repeating the same ability multiple times in a row, use Koo's Seeds, then the Roots, then hit it quickly again with the Seeds. If you're fast enough, there will still be enough burn buildup on Rangifer to ignite it and deal some nice damage over time. This will also stun Rangifer for a few seconds, letting you punish it. For the first half of the fight, play defensively since you get a nice opening for damage after its horn swipe attacks. Once the boss reaches 50 percent health, it will release an orange mist around it to obscure your vision. This isn't as bad as it sounds, so long as you stick close to Rangifer. This will force it to consistently use the horn sweep attack, making it predictable to deal with and easy to constantly fill up Koo's mana bar to launch his attacks. Keep this up, and you will defeat Rangifer and force him to retreat into his lair. How To Beat Rangifer - Second Fight Phase One Unlocked after you find the Blue, Red, and Yellow Keys, this boss fight is another battle with Rangifer, who has access to some new moves. Set at Level 12, you'll want to ensure you've done some exploration around the map and properly enhanced your gear or stats so you can deal with this suped-up version of Rangifer. When the fight starts, Rangifer will use a mix of its previous attacks (horn sweep and throwing a boulder), but will not mix in some new moves that cannot be parried. These can only be dodged (as indicated by the glowing red light right before the boss' attack hits) and will take quite a chunk out of your health bar if you're hit. Its first unblockable move sees Rangifer lift his front legs into the air and slam them down onto you. You can dodge this by moving either back or to the side, but if you can perform a perfect dodge, then you'll be set up to strike while its head is low to the ground. The second unblockable move has Rangifer running away and then slamming its head into the ground to force a line of giant roots to sprout from the ground in a straight line at you. Similar to the previous fight, we are mostly on the defensive during this battle and looking to counterattack anytime it finishes performing the horn sweep attack. This is not only an easy move to parry, but it will almost always provide you with an easy opening to pour on some damage to the boss. You'll also want to make use of Koo's Higanbana: Seeds move once again to inflict burn onto Rangifer so you can easily stun it. Once Rangifer reaches 50 percent health, it will start mixing in two new attacks along with its previous move set. This includes launching three projectiles at you that can be parried from a distance and performing a very strong four-hit horn sweep attack. If you ever see Rangifer glowing, immediately get ready to parry multiple times because it will swing its horns at you four times in quick succession. The Rangifer will also mix in the unblockable foot stomp into its horn sweep combo, so be prepared to dodge after you're finished blocking this attack. Focus on striking after the horn sweep moves and use Koo to consistently bind or burn Rangifer until you deplete its health bar and push this fight to phase two. Phase Two Don't let the new, creepier appearance fool you, as this is mostly the same fight as phase one. Despite the visual change, Rangifer will largely rely on the same attacks, with the sole exception of it performing way more unblockable foot slams than horn sweeps. Due to this, you'll need to perform way more perfect dodges to give yourself windows to punish this boss. Where things get a bit trickier is Rangifer will start using its projectile attacks at closer range or start a combo attack with it. Be prepared to always block if Rangifer has any distance from you, as it will almost always either launch projectiles or jump across the arena to stomp on you. Be prepared to perfect dodge if it is a stomp, as this move does a comical amount of damage and can easily kill you out of nowhere. The big new move that Rangifer performs happens when it hits 50 percent health. The boss will run away and summon a bunch of roots and flowers you can grapple to. Quickly do this to close the gap and attack the boss as this move will heal it the longer it goes on. Use the grapple points to specifically reach the head, as hitting it will stagger Rangifer and give you an opening to do more damage. Rangifer will return to its normal attack pattern until it's finally defeated for good. Just remember, Rangifer may use the heal move again, so make sure to stun it as soon as possible to ensure you don't lose a lot of progress in this fight.
How To Beat Rangifer In Beast Of Reincarnation
Full Article
Original Source
Read the full article at Thegamer →KhanList aggregates and links to publicly available news content. We do not host full articles from third-party sources. Always verify important information with original sources.