
Published Aug 27, 2026, 11:10 AM EDT Collin is a Guides Staff Writer at TheGamer who has been writing guides for nearly ten years. He is also a professional game/level designer. More importantly, he's still waiting for a new Ape Escape game to release. Suit up trooper, Star Wars Zero Company has finally been released. Taking place during the final years of the Clone Wars, you run a mercenary unit that's tasked with completing under-the-table jobs for the Republic. The difficulty of these missions will vary wildly throughout your playthrough, which can be tricky since if an operator dies, they are gone forever. One of the earlier story missions you'll need to complete is Eavesdropping, which has you going to the city planet of Courtsilius to get some intel from local mobsters. The first mission you'll get to use four operators on; here is everything you need to know so you can complete this level without losing anyone. Eavesdropping Mission Walkthrough Before we launch the mission, you will need to pick your three squadmates. While some of this certainly comes down to personal preference, I went with Trick, Kabb, and a Heavy-class operator I recruited. Again, you can use whichever operator you want, but these are the ones I had success with when completing the mission. I also suggest ensuring one of your operators has the Impact Grenade equipped from the Armory. When the level starts, you won't immediately be in a combat scenario, so you're free to roam around a bit. Make your way down the alley towards the three guards blocking your way forward. There are also a few interactable spots along the path to these gangsters that provide additional lore about the area. The guards will inform you that the road is closed, so turn around and go up the small staircase directly behind you. Follow the path, slice the door, and keep going until you trigger a cutscene where you spy on the gangsters. Once you're spotted, a combat scenario will trigger, and you'll need to contend with the leftover enemies. At the start of the fight, you'll be at a slight disadvantage both in numbers and positioning. The Slugrat gangsters will have three enemies positioned on the high ground, two melee enemies on the left, and two additional blaster-wielding foes near the back on either side of the elevated cover. Once you can start moving your operators around, position one on the left side next to the stairs and set them to Overwatch so they can catch any of the melee Slugrats rushing the staircase. We're going to be playing a bit defensively at first to try and thin their numbers out, so use Trick to shoot the gangster on the low ground to the right. He should have around an 80% chance of hitting this enemy and will kill the foe if he does manage to hit him. At worst, you'll blow up that foe's cover, making it easy for another operator to kill. As for the other two operators, use the one on the right to Overwatch the path down from the high ground, and your other ally to shoot at the melee unit to the far left. We need to dampen their aggression, so making them come to us right now is going to be more manageable before we assault their high ground shooters. For your next turn, try to prioritize killing the melee Slugrats closest to you, as they will provide the most trouble if they can close the gap. This may require you to gang up on them via the Call Backup command to ensure they are put down for good. Also, make sure to use your Heavy operator's ability to Taunt and Retaliate to keep them away from your squishier comrades. If you have anyone equipped with an Impact Grenade, use this on your second turn because it will both destroy a lot of the cover the foes above you have and disrupt any Overwatches they may have initiated. This will set you up beautifully to kill them with your longer-range operators, denying them the majority of their damage. On the enemy's third turn, you will get an alert that reinforcements will be arriving both on the ground floor across from where you started and in a very elevated position above you to the right. The enemies on the right will be the biggest issue, as their high ground overlooks basically the entire arena. Kill any leftover enemies from the initial group and try to move at least two operators near the ladder to the right so you can engage them. I also recommend moving an operator to the elevated position on the far left from where you started. This is a great spot specifically for anyone using a long-range weapon, as it gives them a great place to both attack the incoming forces on the ground level while providing an ideal vantage point for Overwatch. Once the reinforcements arrive, move Trick either up the ladder or close to the railing. Your goal is to use his Rocket Strike attack to both heavily damage the enemies and deny them cover. This can be used on ground level and still hit (as shown above), so make sure to take advantage of this to raise your chances of hitting them with blasters. In fact, all four of your operators should solely focus on killing the two on the right first. The other three enemies will take a bit of time to close the gap, so you should have two full turns to kill the Slugrats on the right before refocusing on the remaining gangsters. With only three left, use your entrenched position to set up Overwatch points both on the high ground and side paths to catch any of the melee units when they rush you. This will cause them to get stunned out in the open, making them supremely easy to kill on your turn. Just like at the start, prioritize the melee units, and, once they're dead, surround the sole remaining ranged Slugrat to make him past tense. There will be no more reinforcements, so after you kill this wave, a brief cutscene will play, and you'll have finished the Eavesdropping mission!
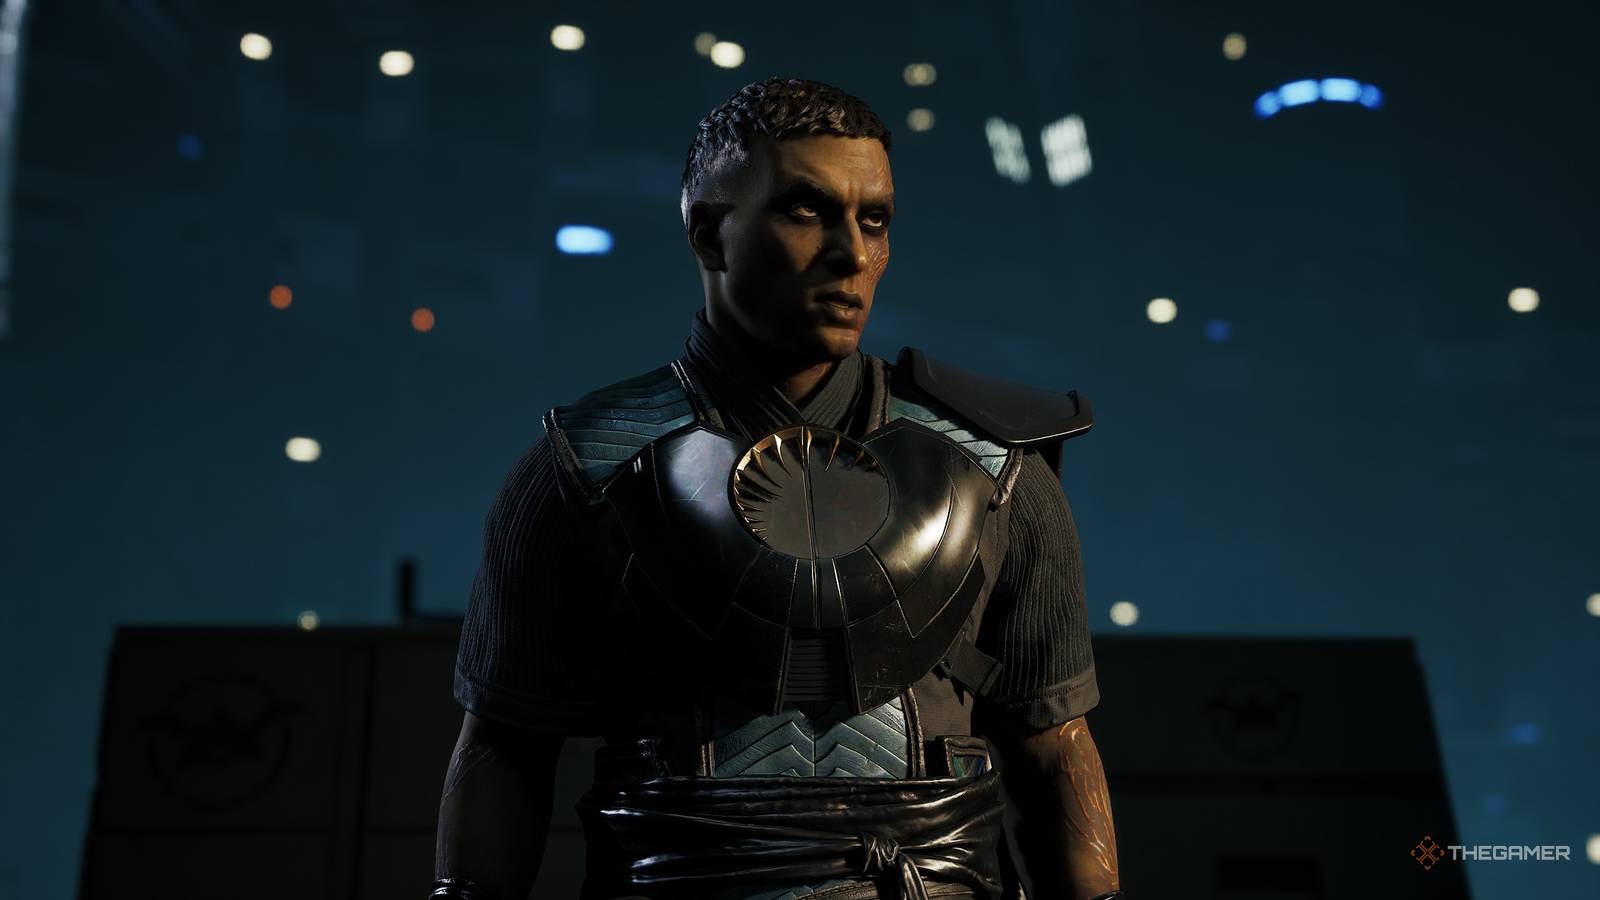
How To Beat Eavesdropping In Star Wars Zero Company
Full Article
Original Source
Read the full article at Thegamer →KhanList aggregates and links to publicly available news content. We do not host full articles from third-party sources. Always verify important information with original sources.