
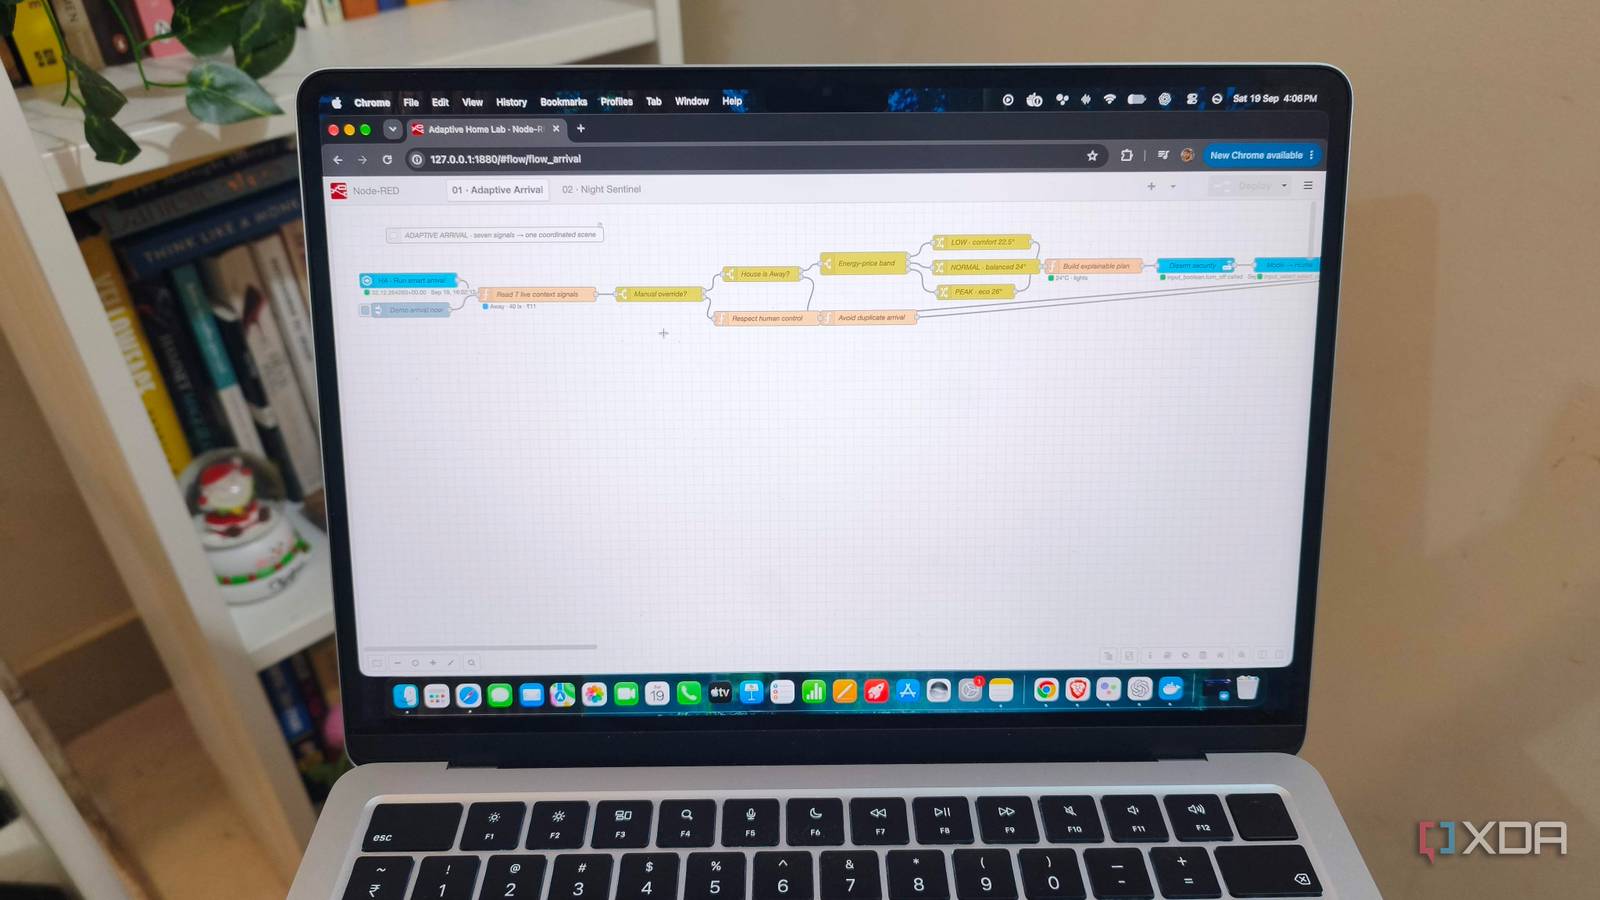
Published Sep 19, 2026, 2:30 PM EDT Anurag is an experienced journalist and author who’s been covering tech for the past 5 years, with a focus on Windows, Android, and Apple. He’s written for sites like Android Police, Neowin, Dexerto, and MakeTechEasier. Anurag’s always pumped about tech and loves getting his hands on the latest gadgets. When he's not procrastinating, you’ll probably find him catching the newest movies in theaters or scrolling through Twitter from his bed. Home Assistant is brilliant at bringing your smart home devices together and automating basic things, like turning on the lights when you step into a room or switching on the air conditioner when your vehicle comes within a certain distance of your house. But if you want to get into more complex automations, Home Assistant is not the best tool. For example, building an automation that turns on the hallway light when motion is detected, but only after sunset, only when someone is home, and not when sleep mode is active, can be a pain in Home Assistant. However, you can easily build something like this once you link Node-RED to Home Assistant. Node-RED makes it easier to build automations The visual editor is a lot better Node-RED is an open-source, flow-based tool for connecting hardware, APIs, and online services. It runs on Node.js and gives you a browser-based editor where you can build automations without writing an entire program from scratch. It’s also lightweight enough to run on something as small as a Raspberry Pi, as well as a home server or Docker container. Although Node-RED is often associated with IoT and smart homes, it is not limited to them. At its core, it takes some input, applies logic to it, and produces an output, which makes it useful for automating all kinds of processes. Automations in Node-RED are called flows. You build them by placing nodes on a canvas and connecting them with wires. Each node handles one part of the automation. For example, one node could receive an event from a motion sensor, another could check whether it is nighttime, and another could turn on a light. If you have ever used n8n you will find Node-RED to be quite similar. Node-RED comes with nodes for many common tasks, including delays, conditions, HTTP requests, MQTT, and debugging. You can also install community-made nodes to connect it with other devices and services. And when the built-in options are not enough, the Function node lets you add your own JavaScript. Linking Home Assistant to Node-RED You can do that in minutes Home Assistant OS provides the simplest way to install Node-RED because its app system handles most of the setup. Open Settings > Apps, select Install app, and search for Node-RED in the app store. Home Assistant includes the community app repository by default, so the Node-RED community app should appear without adding another repository. Install the app, start it, and check its logs to confirm that it loaded correctly. You can then select Open Web UI to launch the Node-RED editor and enable Show in sidebar if you want quicker access later. The app includes a websocket, which supplies the nodes required to communicate with Home Assistant. It also configures the server connection automatically, so you don’t need to enter the Home Assistant address or create an access token. Home Assistant entities should appear when you add a node such as Events: state, Current state, or Action to a flow. If you're using Home Assistant container, you need to run Node-RED separately. After installing Node-RED, open Manage palette, search for node-red-contrib-home-assistant-websocket, and install it. Add a Home Assistant node to the workspace, open its server settings, and enter the address of your Home Assistant instance. You will also need a long-lived access token, which you can create from your Home Assistant profile. I could finally build the automations I wanted Node-RED handled these better One of the automations I wanted was a hallway light that responded to motion without turning on every time someone walked past it. It needed to check whether the sun had set, whether someone was home, and whether sleep mode was active before switching on the light. Home Assistant supports all those conditions, but its editor became difficult to follow once I started placing one check inside another. I could create the individual parts of the automation, but I couldn’t arrange them in a way that remained easy to understand or change later. I recreated the same automation in Node-RED by using the motion sensor as the trigger and connecting it to a series of condition nodes. Each node handles one check, and the flow only reaches the light action when all the conditions pass. If sleep mode is active or nobody is home, the event stops before it reaches the final node. I can see that entire path on the canvas without opening each condition to find out what it does. I ran into the same problem with climate-control automations. Home Assistant works well when an air conditioner only needs a simple trigger, such as a time or location event. My automations needed several states to be considered together, and the growing collection of nested conditions made the logic hard to manage. Node-RED let me place those checks in the order I wanted and connect them directly to the relevant climate action. You can also use n8n I almost always recommend n8n whenever the topic of automation comes up. It makes it incredibly easy to get automations up and running, whether they are related to Home Assistant or just personal workflows you want to automate. A lot of n8n’s features are similar to Node-RED. You get built-in nodes and integrations for common services, and if something is not supported directly, you can usually connect to it through HTTP requests.
Home Assistant couldn't do the automation I wanted, so I linked it to Node-RED instead
Full Article
Original Source
Read the full article at Xda-developers →KhanList aggregates and links to publicly available news content. We do not host full articles from third-party sources. Always verify important information with original sources.