
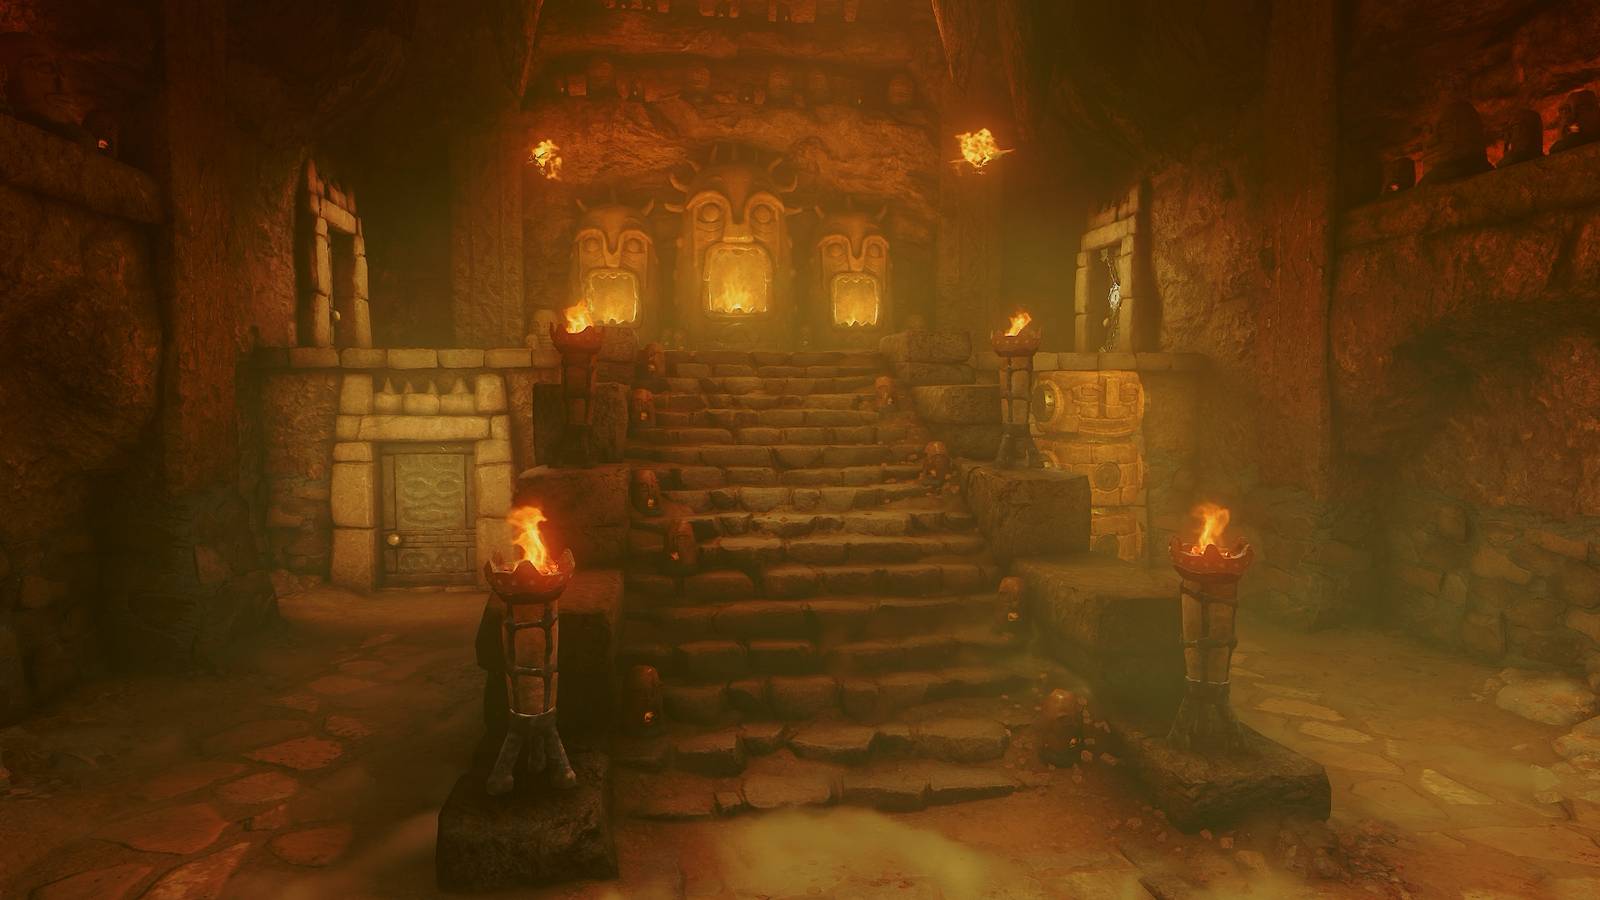
Published Nov 5, 2026, 12:01 AM EST H-O-T-T-O-G-O Image: Nintendo EPD/Nintendo via Polygon The Fire Temple is located inside the Death Mountain Crater in The Legend of Zelda: Ocarina of Time remake, and it's the second dungeon you'll likely encounter as an older Link. As it's the Fire Temple, you'll need to get a Goron Tunic from Goron City to resist the heat before you go inside. However, once you're inside, you'll wish you weren't, as this hot dungeon is full of fire traps and flaming enemies. Luckily, you'll get a heavy-hitting reward if you make it through. Before you start, we also recommend unlocking the Scarecrow Song by playing a song for the scarecrows at Lake Hylia as young Link, and then replaying the song for them after you time travel. Here's how to complete the Fire Temple dungeon in Ocarina of Time remake. Part 1: Finding the dungeon map and compass Head up the stairs and enter the door on the left. You'll reunite with Darunia, who will tell you that Ganondorf resurrected Volvagia, an evil dragon. He'll ask you to rescue the nine Gorons trapped inside the Fire Temple before entering the boss room. Graphic: Johnny Yu/Polygon | Source images: Nintendo EPD/Nintendo via Polygon After the cutscene, jump across the platforms to your left and step on the button to free the first Goron. Then, open the chest to get a small key. The Goron will tell you about the rock hanging from the ceiling, but you can't reach it at the moment. Instead, head back to the main room. Graphic: Johnny Yu/Polygon | Source images: Nintendo EPD/Nintendo via Polygon Open the room across from you with your small key. To your left and right, you'll spot a bunch of platforms floating on top of lava. For now, jump across the platforms on your left, but be careful as the square platforms will start to sink when you touch them. Quickly make your way to the doorway and step on the button inside to free the second Goron. Open the chest inside to get a small key. Graphic: Johnny Yu/Polygon | Source images: Nintendo EPD/Nintendo via Polygon Now, make your way across the platforms to the opposite side of the room. We recommend running over to the rock wall as fast as you can, and then dealing with the Fire Keese flying around. Once they've been dealt with, blow up the rock wall with a bomb. Free the Goron inside, and open the chest to get another small key. Graphic: Johnny Yu/Polygon | Source images: Nintendo EPD/Nintendo via Polygon Return to the center of the room, and look to the north side of the room. You'll see a cube on top of a high platform. Jump across the floating platforms and wait on the square platform. This platform will actually launch up into the air rather than sink. Walk onto the platform just below the cube, and play the Song of Time. This will teleport the cube down to you. Climb the cube and head through the door. Graphic: Johnny Yu/Polygon | Source images: Nintendo EPD/Nintendo via Polygon In this room, you'll need to deal with Flying Tiles, which are literally tile monsters, and a Like Like, which looks like a giant worm. Block or hit the tiles like normal. For the Like Like, you need to avoid its attack and then go in for a hit. After you deal with them, grab the Gold Skulltula on the eastern wall. Graphic: Johnny Yu/Polygon | Source images: Nintendo EPD/Nintendo via Polygon Return to the previous room, and open the door on the east wall. There will be a fire pillar that shoots out of the ground, but there's nothing you can do in this room for now. Unlock the door ahead, and climb up either wall. Be careful of the Keese on the walls, though! Make your way to the north side of the room, and push the stone cube off the ledge. Then, drop onto the stone cube, and the fire pillar will launch you to the next floor. Graphic: Johnny Yu/Polygon | Source images: Nintendo EPD/Nintendo via Polygon In this room, you'll encounter Torch Slugs, which are slugs that attack when their back is on fire. Avoid the slugs, and quickly climb up the steps to find a blue, diamond-shaped object. Look to the right of the object to see a cube. Pull it out of the wall and place it below the fire. Then, hit the diamond-shaped object, which will swap its light to pink and turn off the fire. Climb to the top of the steps, and then shoot the diamond-shaped object with your Fairy Bow. Climb up the wall to the third floor. This room is full of hot orbs that roll on a predetermined path. If you look at the floor near the orbs, you'll see where they'll roll. As you're walking around the room, wait for the orbs to pass you first, and then walk on by. There are four different paths you can take in this room: Quick left: Leads to a chest with the dungeon map Left corner: Nothing Quick right: Leads to a rock wall hiding a Gold Skulltula Right corner: Leads to a captive Goron First, take the quick left to get the dungeon map. Then, take the short path to the right, and blow up the rock wall to find a Gold Skulltula. Continue along the right path and step on the stone button to free the Goron. Open the chest to get a small key. Graphic: Johnny Yu/Polygon | Source images: Nintendo EPD/Nintendo via Polygon From the Goron, turn around and take the path to the right to find a locked door. Open it using the small key to enter the small room at the center of the area. Shoot the eye above the door on your right, and then head through the door. Turn right to find a chest with the compass. Part 2: Reaching the secret scarecrow Go back to the previous room, and go through the door on your right. Graphic: Johnny Yu/Polygon | Source images: Nintendo EPD/Nintendo via Polygon You'll enter a room with a bunch of metal platforms floating above lava. As soon as you jump on the metal platform, a wall of fire will appear behind you, so you'll need to quickly run to the end of the room. There is a platform with a locked door about halfway through the room, but you don't have any small keys at the moment. Additionally, a few Red Bubbles will spawn, but you can just run by them. Graphic: Johnny Yu/Polygon | Source images: Nintendo EPD/Nintendo via Polygon Push the red cube at the end of the room, and you'll end up back in the eastern half of the room. Remember the southern corner that had nothing there? Well, on the higher level, there's a captive Goron. Hop your way over, free them, and collect the small key. Graphic: Johnny Yu/Polygon | Source images: Nintendo EPD/Nintendo via Polygon Make your way to the center of the room, where you'll find a big rock pile. Blow it up with a bomb, and drop into the resulting hole. Free the Goron inside and collect the small key in the chest. Climb back up, and head back to the platform next to the cube you pushed onto the ground. Stand near the cube, and play the Scarecrow Song. If you don't have the Scarecrow Song unlocked, you'll need to make one by the scarecrows at Lake Hylia as young Link. Then, you'll need to replay the song for the scarecrows after you've traveled into the future. Graphic: Johnny Yu/Polygon | Source images: Nintendo EPD/Nintendo via Polygon Hookshot to the scarecrow above, and then Hookshot to the platform, which will take you to the fourth floor. Go through the door, and climb up the netting. At the top, you'll find a door and a Gold Skulltula. Image: Nintendo EPD/Nintendo via Polygon Go through the door, and walk toward the edge in front of you. Look to the right, and you'll see another Gold Skulltula on the wall. Use your Hookshot to retrieve it. Graphic: Johnny Yu/Polygon | Source images: Nintendo EPD/Nintendo via Polygon Then, step on the button to the left. This will create targets that you can Hookshot to, but they're slowly descending back into the ground. You'll need to quickly run up the stairs, Hookshot to the first target, jump over to the next platform, and then Hookshot to the final target. On the final platform, you'll find three chests that contain 90 rupees total. Part 3: Getting the Megaton Hammer Graphic: Johnny Yu/Polygon | Source images: Nintendo EPD/Nintendo via Polygon Return to the room with the moving wall of fire and metal platforms. Now that you have a small key, you can open the door near the center of the room. Head inside, and you'll find yourself in a room with a bunch of obstacles. There are rotating pillars spewing fire, fire mazes, fake doors, and rolling red orbs again. For now, don't trust any unlocked door. Graphic: Johnny Yu/Polygon | Source images: Nintendo EPD/Nintendo via Polygon First, head north. Walk past the rotating fire totem, and then walk toward the rightmost pillar, but don't pass it just yet. If you look at the ground, you'll notice lines between each pillar and wall. Some of these lines will turn into walls of fire, but only if you get too close. As a result, this area turns into a maze with "invisible walls." As an aid, we've marked every fire wall on the image above. Graphic: Johnny Yu/Polygon | Source images: Nintendo EPD/Nintendo via Polygon Walk to the left of the rightmost pillar, and then go into the open area on your right. Free the Goron here and collect the small key in the chest. Go back to the starting staircase, and now head south. Make your way through the fire maze to the locked door, and open it with your small key. Continue through the next door, where you'll find yourself in another fire maze. Go right first, and make your way to the northern corner. Pick up one of the stone cubes, and bring it back to the door you just came through. If you look northwest, you'll see a stone button in the middle of the maze. To get there, follow the path to the left. Place the stone cube onto the button to turn off all the fire traps in this area (except for the rolling balls). Graphic: Johnny Yu/Polygon | Source images: Nintendo EPD/Nintendo via Polygon Open the locked door to the west, and head inside. In this room, you'll face off against a Flare Dancer, which is a humanoid creature that cannot take damage while it's on fire. To put out the fire, use your Hookshot on its metal chest piece. Then, chase it down and attack it with your sword. If you're having a hard time catching it, run the opposite direction to cut them off. The Flare Dancer will jump back into the fire, so you'll need to repeat the process a few times until you defeat them. Later on in the fight, they'll occasionally twirl and cover themselves in more fire, but just keep firing your Hookshot at them. They will explode before they die, so make sure to take a few steps back! Graphic: Johnny Yu/Polygon | Source images: Nintendo EPD/Nintendo via Polygon After you defeat them, a platform will drop over the fire in the middle of the room. Step onto it to go to the next floor. Go into the next room, and climb up the netting on the wall. Look over the ledge to the south, and throw a bomb flower at the diamond-shaped object. Pick up another bomb flower, throw it at the diamond-shaped object, and quickly run across the line on the floor. Climb up the netting after the wall of fire disappears. Graphic: Johnny Yu/Polygon | Source images: Nintendo EPD/Nintendo via Polygon There's a button ahead of you, but don't step on it just yet. After you step on the button, a spiral staircase will lift out of the ground, and you'll need to run across it as fast as you can. We recommend jumping over to the stairs ahead of you to save some time. At the top, you'll find a chest with the Megaton Hammer inside. Part 4: Finding the boss key Graphic: Johnny Yu/Polygon | Source images: Nintendo EPD/Nintendo via Polygon Go back down the spiral staircase, and you'll find a large circular platform. Hit it with your Megaton Hammer, and the platform will fall to the lower level. Break the decorated stone statue at the end of the hall with your hammer to reveal a door. Go inside, take care of the Fire Keese, and hit the button with your Megaton Hammer to create a staircase. Go down the stairs and through the door at the bottom. Hammer the circular platform and drop into the hole. Break the black rocks with your hammer, and you'll find a room with another time cube. Play the Song of Time (A - L - R - A - L - R) to get rid of the cube, and drop into the resulting hole. Hit the button to free the Goron, and collect the small key. Walk onto the circular platform ahead of you, and hit it with your hammer. Remember the huge rock hanging from the ceiling near the boss room? This will drop the rock from the ceiling. Return to the starting room, and find the decorated stone statue beside the stairs. Hit it with your hammer, and open the door behind it. Graphic: Johnny Yu/Polygon | Source images: Nintendo EPD/Nintendo via Polygon This room is full of Torch Slugs. Hit one with your Megaton Hammer, and the rest of the slugs will flip over. Quickly deal with them all, and the door to the next room will unlock. Go through the door, and take out the Flying Tiles and Like Like. Then, hit the black rock with your hammer to reveal a Gold Skulltula. Break the stone statue and go to the next room to find another Flare Dancer. Like before, use your Hookshot to pull out the metal piece in their chest, but if they're running just a little to fast, you can now use the Megaton Hammer to knock them off their feet. Don't forget to open the chest in the middle of the room to get a red rupee after you defeat them. Head into the room to the south, and hit the button with your hammer to free the final Goron. Then, open the chest to get the boss key. Go through the door to the south, and make your way to the boss room. Part 5: Defeating the Fire Temple boss, Volvagia Image: Nintendo EPD/Nintendo via Polygon When you're ready to take on the Subterranean Lava Dragon, Volvagia, go into the boss room and jump into the arena. Throughout the fight, Volvagia will cycle through three different moves: Volvagia will poke their head out of one of the holes, and start breathing fire. Volvagia will fly out of a hole and do either of the following attacks: Circle around the arena, and after a short period, they'll fly in your direction and breathe fire on the floor, leaving lines of fire. Fly to the center of the arena and shriek, causing flaming rocks to fall from the ceiling. Volvagia will submerge itself in one of the holes, and lava will start to spurt out of the holes until Volvagia finally pokes their head out of one of them, starting the cycle over. When Volvagia first pokes their head out, you'll want to essentially play Whack-a-Volvagia with your Megaton Hammer. Run over to them as fast as you can, and hit them. If they start breathing fire, you'll have to approach them from the side. Once you hit them with the hammer, they'll fall over, and you can slash away at their head. Graphic: Johnny Yu/Polygon | Source images: Nintendo EPD/Nintendo via Polygon After, they'll launch out of a hole and either start circling the arena or fly to the center. If they fly around the arena, try to follow them along the edge of the arena. When they fly at you, the resulting lines of fire will only cover a tiny area of the arena. At first, they'll only fly at you once, but as the fight progresses, they'll do this attack at least twice. Graphic: Johnny Yu/Polygon | Source images: Nintendo EPD/Nintendo via Polygon If they fly to the center of the arena, flaming rocks will start to fall from the ceiling. Avoid standing in any shadows, and wait for this attack to subside. Once Volvagia submerges themselves in the lava, you'll essentially just need to wait until they pop out again. Early on in the fight, Volvagia will emerge out of the third splashing hole. However, later on in the fight, multiple holes will splash at the same time, so you'll need to do a bit of guessing. The lava will splash multiple different holes before Volvagia finally decides to come out of one of them. Try to keep a bit of distance from the holes, as Volvagia can do damage to you if you're too close. Then, repeat the process by smacking their head with a hammer, and hitting them with your sword until you defeat them. As a reward, you'll get a Heart Container, and you can exit the Fire Temple afterward via the ring of white light.
Fire Temple dungeon walkthrough in Ocarina of Time
Full Article
Original Source
Read the full article at Polygon →KhanList aggregates and links to publicly available news content. We do not host full articles from third-party sources. Always verify important information with original sources.