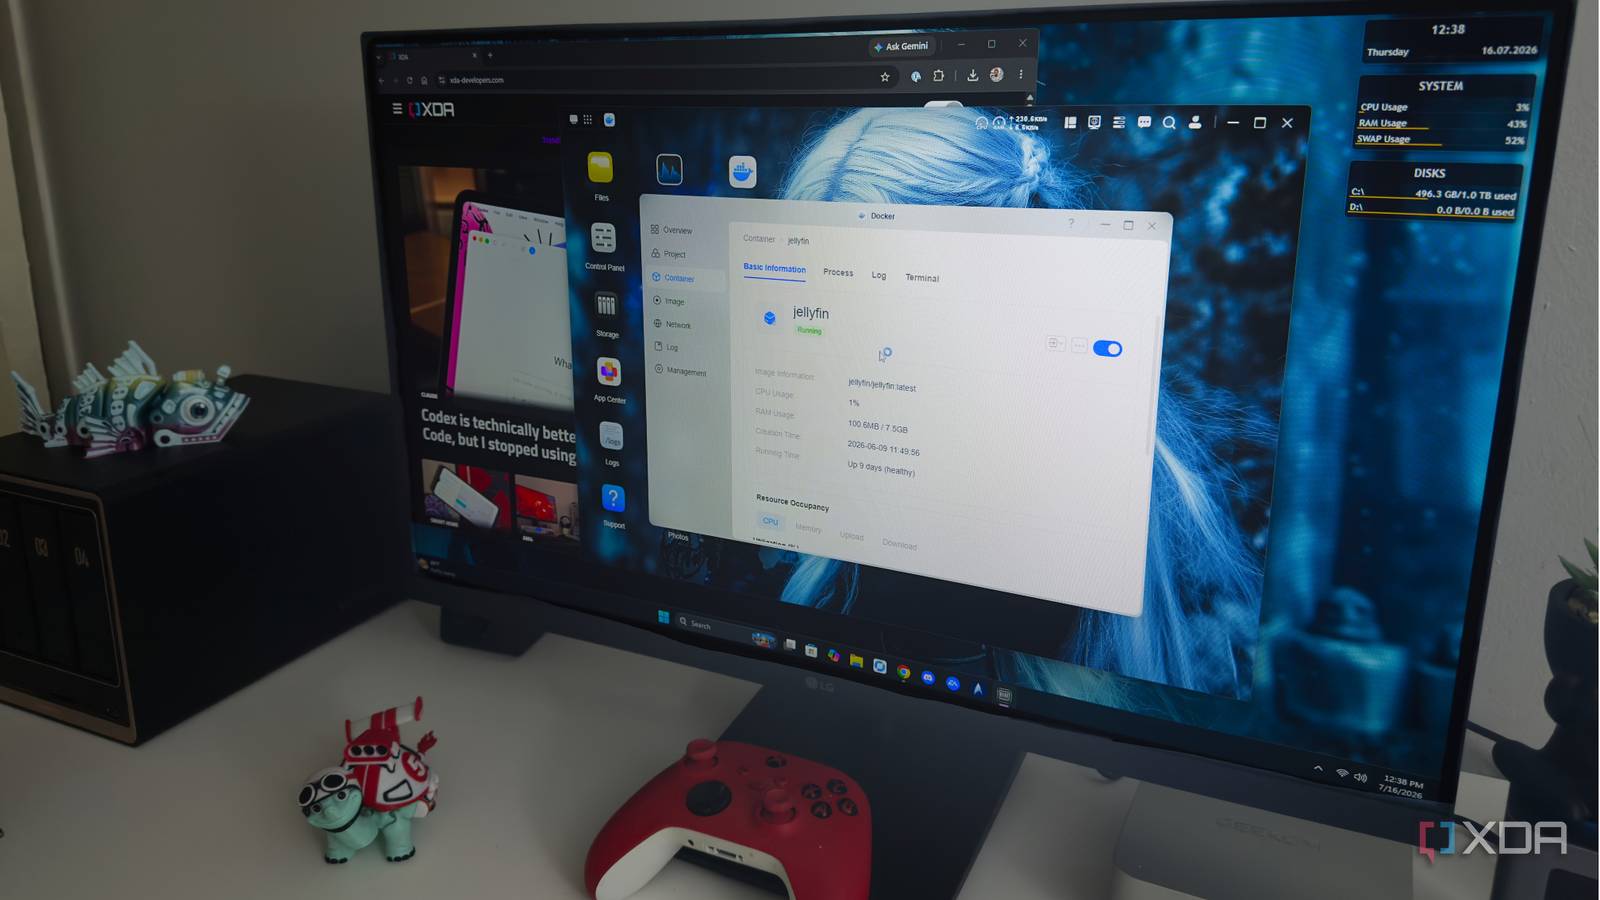
Installing Jellyfin in Docker feels almost too easy at first. You pull the image, map a few folders, expose the web interface, and before long your media library is showing up on every screen in the house. Compared with installing Jellyfin directly on a server and managing it there, the container approach feels clean and contained. Then you need to find a plugin file, inspect a database, clear a cache, or figure out which folder Jellyfin is actually reading, and the neat little setup starts asking questions you probably didn’t write down the answers to. Docker hides the file structure you eventually need Container paths and host paths are not interchangeable The first problem is that Jellyfin sees a different filesystem from the one you see on the Docker host. Inside the container, directories may be called /config, /cache, or /media, but those paths don’t necessarily exist on the host under those names. Docker connects them to other locations selected during setup, either via a clear folder mapping or a managed volume. Searching the NAS for /config because Jellyfin mentioned it in a log gets you nowhere unless you first translate that container path. Docker keeps the installation tidy, but a little documentation keeps it understandable. None of this feels important during installation because Jellyfin handles the paths without drawing much attention to them. It writes settings to /config, stores temporary data in /cache, and scans any folders you mapped as media libraries. The server works, the clients connect, and there’s no reason to start digging through directories just to prove that you can. I certainly didn’t, because a working media server gives you plenty of encouragement to leave it alone. That changes the first time you need to touch something outside Jellyfin’s web interface. In my case, the question was simple enough: where were the plugin files? There wasn’t one useful answer because the path inside Jellyfin’s container wasn’t the same as the location on the NAS. I had to stop looking for a folder with the expected name and instead trace the mapping back through Docker. Volume mappings matter more than the install screen suggests Your original Docker choices determine every later repair Volume mappings look like routine setup fields when you create the container. You point /media at your library, give /config somewhere persistent to live, and continue through the rest of the form. It’s easy to treat those entries as plumbing you’ll never need to see again. In reality, those few choices decide whether later maintenance takes two minutes or turns into a hunt through storage locations that all look vaguely plausible. A bind mount is usually the easiest arrangement to understand because it connects a visible host folder directly to a path inside the container. A host folder named jellyfin-config, for instance, could be mounted as /config. You can browse the host folder normally, include it in backups, and inspect it without opening a shell inside the container. There’s still an abstraction involved, but at least the two ends of it are easy to identify. Named Docker volumes keep the same data persistent, but they’re less obvious when you’re browsing the NAS filesystem. Docker manages the storage location, and the actual files may sit somewhere you’d never think to visit during ordinary file management. That arrangement isn’t wrong, and it may be exactly what the installer or NAS application expects. It just means the answer to “where is this file?” begins with Docker inspection rather than the file browser. Media paths can create the same confusion, especially when several libraries are mounted separately. Jellyfin might refer to /movies, /shows, and /music, while the host uses completely different dataset or folder names. A log entry that points to /movies/Example Film only tells you what Jellyfin can see from inside the container. You still have to check the mount configuration before you know which real directory that path represents. A little inspection reveals what the interface conceals Docker includes the tools needed to untangle all of this. You can inspect the container, review its mounts, open a shell inside it, and trace each internal directory back to its source. Once you know what you’re looking for, the process usually isn’t difficult. The annoying part is learning that you need to do it only after ordinary file browsing has already wasted your time. Inspecting the Jellyfin container shows the source and destination for every mount. The destination is the path Jellyfin sees, while the source is the host folder or Docker-managed volume where the files actually live. That distinction sounds obvious once it’s written out, but it’s easy to miss when a log only mentions the container path. It also explains why editing a similarly named folder elsewhere on the host can have no effect. Opening a shell inside the container helps when you know the kind of file you need but not its exact location. You can browse Jellyfin’s side of the filesystem, confirm whether a plugin is present, and check whether a cache folder contains what you expected. Many NAS platforms expose some of the same information in their container settings, though it’s often buried on an edit page or in an advanced panel. The answers are there, but Docker rarely puts them where you first think to look. The abstraction still creates unnecessary maintenance friction Easy deployment does not guarantee easy troubleshooting later It’s fair to say this confusion is avoidable. Docker expects you to understand mounts, persistent storage, and the difference between the host and container filesystems. If you document everything during installation, there’s little mystery left when you return months later. That’s technically true, but it also asks people to prepare for a troubleshooting problem they haven’t encountered yet. The task that sends you looking is often minor, which makes the detour more irritating. You may only need to remove a plugin file, confirm where a database is stored, or clear cached artwork after Jellyfin refuses to update it properly. Once you reach the correct directory, the actual fix might take less than a minute. Finding that directory becomes the job, even though it wasn’t the reason you started troubleshooting. There’s also room to make matters worse by editing the wrong copy of something. An old installation, an abandoned configuration folder, or a previous migration can leave behind directories that appear legitimate, so changing a file and restarting the container may accomplish nothing. The practical answer is to treat the mappings as part of the Jellyfin installation rather than disposable setup fields. A few lines noting which host path maps to /config, where the cache lives, and how each media library appears inside the container can save you from retracing the whole setup later. A path shown in Jellyfin’s logs usually refers to the container’s filesystem, not the folder structure you see on the Docker host. Before deleting a plugin, clearing a cache, or changing a configuration file, inspect the container’s volume mappings and confirm which host directory is mounted to that internal path. Otherwise, you may end up editing an abandoned folder from an older installation or a directory Jellyfin never reads. Jellyfin in Docker remains worth the extra homework Clear mappings keep the convenience without the confusion Even with that frustration, I’d still rather run Jellyfin in Docker than install it directly on the NAS operating system. The container keeps the application separate, makes upgrades easier to control, and gives me a clearer way to recreate the service without rebuilding the whole server. Those benefits matter even more once the NAS is running several other services. I just don’t confuse easy deployment with knowing how the deployment works anymore. The best improvement is to slow down when assigning the storage paths. A plainly named host folder for Jellyfin’s configuration is much easier to recognize later than a volume identifier you’ve never seen before. Keeping the configuration, cache, and media mappings distinct also makes troubleshooting less ambiguous. It adds a little thought to the install, but not much actual work. It’s also worth inspecting the finished container once while everything is behaving normally. Confirm where /config leads, check how the media folders are mounted, and find the plugin directory before you urgently need it. That may feel unnecessary when Jellyfin is working, and honestly, it probably will. Still, it’s much easier to learn the layout when you aren’t also trying to repair something. Docker’s convenience works best when its paths stay visible Jellyfin in Docker is really easy to install, and none of this changes that. The mistake is assuming the clean setup process means the files behind it no longer matter. Docker reorganizes them behind mounts, volumes, and internal paths, but eventually Jellyfin will give you a reason to look. Once those mappings are documented, maintaining the server becomes much less frustrating. The same lesson applies to nearly every container running on a home server. You don’t fully understand a service until you know which data survives the container, where that data sits on the host, and what path the application uses to reach it. Jellyfin just makes the gap more noticeable because its plugins, configuration, metadata, cache, and media paths all become relevant sooner or later. Docker keeps the installation tidy, but a little documentation keeps it understandable. Docker Docker makes installing servers like Jellyfin easy, but maintaining them does require careful documentation.
Docker hides your Jellyfin files, and you'll need to find them the hard way
Full Article
Original Source
Read the full article at Xda-developers →KhanList aggregates and links to publicly available news content. We do not host full articles from third-party sources. Always verify important information with original sources.