
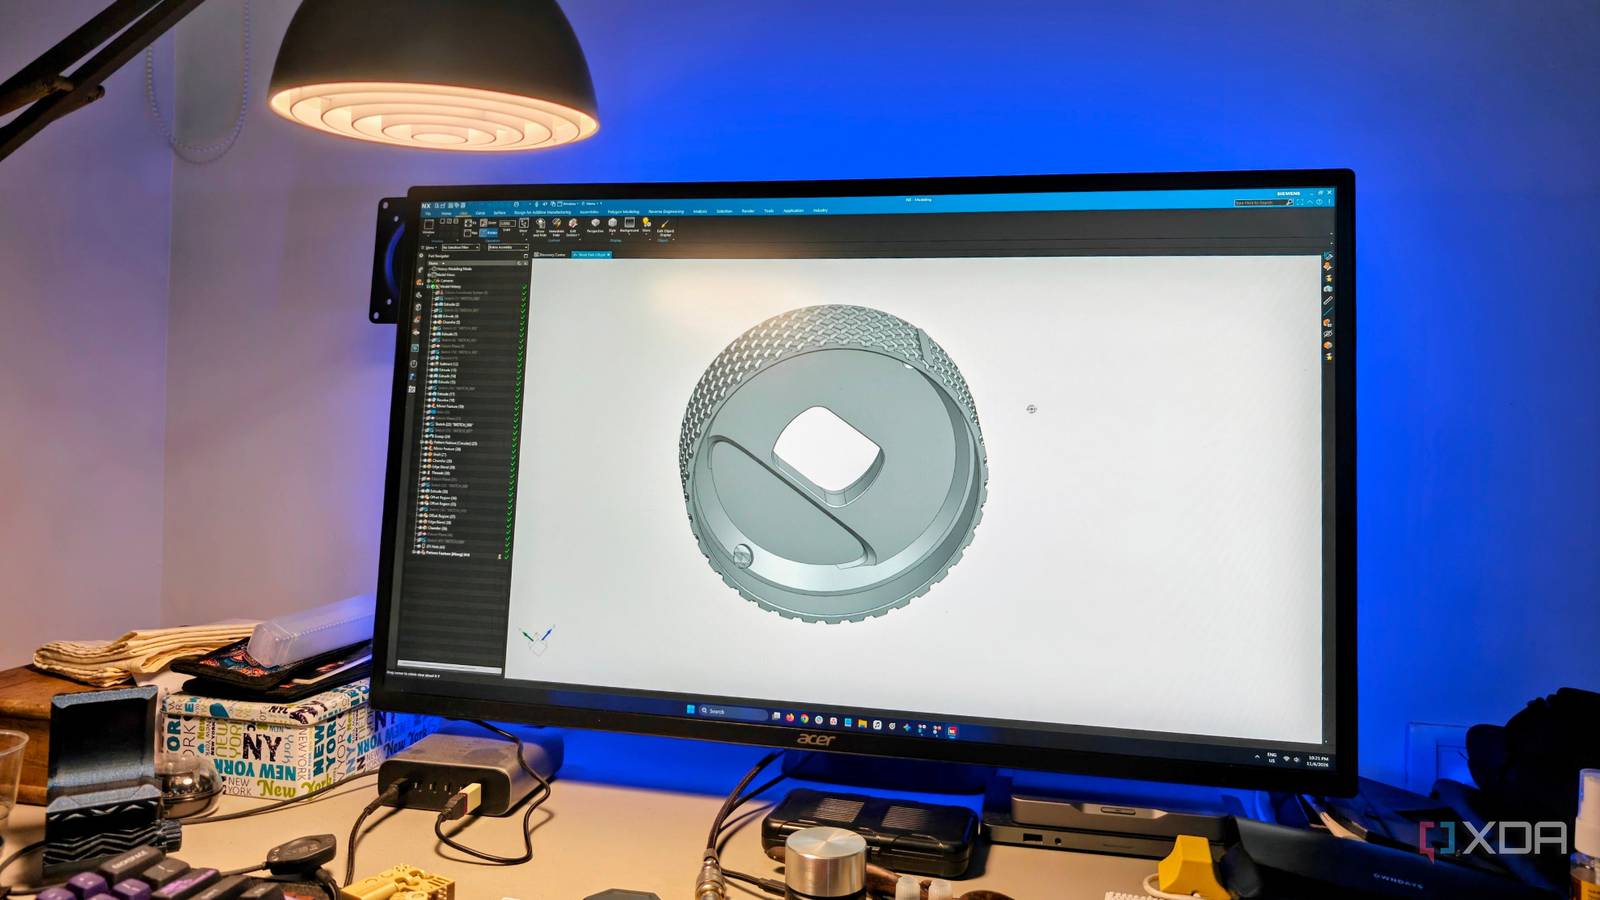
Published Nov 7, 2026, 11:00 AM EST A seasoned mechanical design engineer turned tech reporter and reviewer, Chandraveer brings more than four years of consumer tech journalism experience to the table, with bylines at Android Police and iPhoneHacks. He's written about everything from UI and UX changes across various apps to emerging software and AI trends. At XDA, he showcases his versatility in the tech reporting space with articles rooted in personal experiences and frustrations. Chandraveer's passion for consumer tech spills over into hobbies such as mechanical keyboards, photography, and 3D printing. With an academic background in design and manufacturing, his insatiable curiosity spans beyond the digital domain. Chandraveer's downtime is an eclectic mix of reading fiction, practicing calligraphy, conceptualizing new products, and enjoying an expansive FLAC audio library. A good design you see online typically ends up bookmarked in my browser or user profile, and if it stays there long enough, it eventually materializes on my print bed. I've used this approach to evaluate what I really need and what's just infatuation or passing appreciation for a well-designed model. That said, I've never found printing models off the internet as intrinsically fulfilling as designing my own models and mashing Print on a well-calibrated machine. Every 3D printing journey eventually reaches a point where the creative freedom of holding an item you saw online after a few hours grows old. It gives about as much excitement as receiving the mail, even if the print solves a longstanding problem you've faced. However, making the switch to designing your own prints is easy, and often made out to be more intimidating than it is. I'm a mechanical design engineer, so you might think it's easy for me to say, but that's far from true. Anyone can design custom prints. What do you need to get started? Gumption, a computer, time, and dimensions Getting started with designing something printable has a learning curve that's scalable. You'll get a head start and have an easier time with an engineering, design, or arts background, but the main prerequisite remains: your ability to visualize complex objects in sufficient detail from multiple angles. You'll need this because every CAD model is a body created after a sequence of operations using traditional shapes and tools like straight lines, curves, extrusion, drilling, trimming, and joining. Visualizing a solid body that solves a problem is the first step. You don't need to start with a super-complex first project or print everything you design, but like language, your design skills improve the more you design. My first model was a simple calibration cube with rounded edges, and I was elated by it. Doing your own design work is incredibly empowering, even if you don't want to do all the legwork. I've had several models from the internet that downloaded fine and printed cleanly, but refused to assemble or function as intended because of a tiny flaw, like a mismatched thread pitch or incorrect tolerances. With the skill to design items comes the ability to repair them as well. Sure, you'll need to reprint, but you can resolve the issues in the design phase instead of sanding away in plastic later. This also describes the ethos of iterative design. When it's your own design, even a test print of a small component or a few layers can be all-telling. Therein lies the challenge of creating these models in a digital CAD environment. And that brings me to the choice of modeling tools. Picking the right software is critical Switching later due to limitations feels like starting from scratch Broadly, CAD modeling can be parametric or non-parametric. Tools for the latter include Blender and Rhinoceros 3D, and they're comparable to sculpting. While you can undo changes, the tool doesn't log how a model was created, so you can't edit a step upstream. Engineering teams use parametric models for iterative design changes because adjusting an upstream dimension forces all subsequent operations and features to update. I'd suggest sticking with parametric tools unless you're planning to create animé figurines, busts, and other freeform models with organic shapes. Most functional prints are parametric, but freeform modeling is way simpler in Blender and its likes. Picking a CAD tool carefully is critical because you'd hate to run into licensing or tooling restrictions you might only realize once you're committed to a software package. Moreover, switching software proved challenging for me because while fundamental operations are shared, specialized tools can have unique names and keyboard shortcuts. The shortcuts are essential for a smooth workflow, and they add up quickly to make a noticeable difference between a brisk professional and a slower amateur. I'd recommend starting with Autodesk's Fusion 360. While it isn't free software, most of what a beginner needs is available in the permissive free license, including 3D printing staples like parametric modeling and customizable STL exports and direct connection to your slicer of choice. Fusion is also a great choice if you're eligible for the free Student license. Dimensions to round things off And good design principles With the software selected, you just need the final ingredient for a useful print: dimensions. You'll still need exceptional visualization skills. If you're a vivid dreamer, or someone who can picture it in your head or envision yourself using something while you talk about it, designing should be no problem. With the downstream updates in parametric modeling I mentioned earlier, you can easily create a basic form first, then dimension it until the model is fully constrained. I'd also like to mention that, beyond the basics of a good print, a handful of design guidelines optimize models for your print bed. I've made them second nature, and I always suggest that beginners incorporate these design features into their files from the get-go. I've been in situations where they've made the difference between a clean print and a failed first layer. When designing elaborate custom items like my mouse wrist rests, I use a rule of thumb to ensure my models turn out right. I prefer using the same tools one would use in the real world to manufacture a product. For instance, I'd prefer using the Toroid tool instead of using the Revolve command on a circle sketched some distance away from the central axis. I also name features in the Feature Tree, so they're easier to identify when I revisit the model months later. "Extrude (23)" doesn't help much, then. If you're up for it, you could also run non-destructive simulation testing without even printing a model once you know the design inside and out. You have to start somewhere I was doing CAD long before I dipped my toes in 3D printing, but if I were starting out today, I'd still think of designing my own parts as an inevitability instead of an optional part of the hobby. You can even design for commercial use, as I did with my wrist rests, because you don't need to release the source files every time (though it builds the community and helps other beginners). IPR protection challenges aside, this road has helped many recover their printer investment and turn a profit. Oh, and did I mention the design process is immensely fulfilling?
Designing your own 3D printer parts is far easier than it looks, and it fixes problems downloads never will
Full Article
Original Source
Read the full article at Xda-developers →KhanList aggregates and links to publicly available news content. We do not host full articles from third-party sources. Always verify important information with original sources.