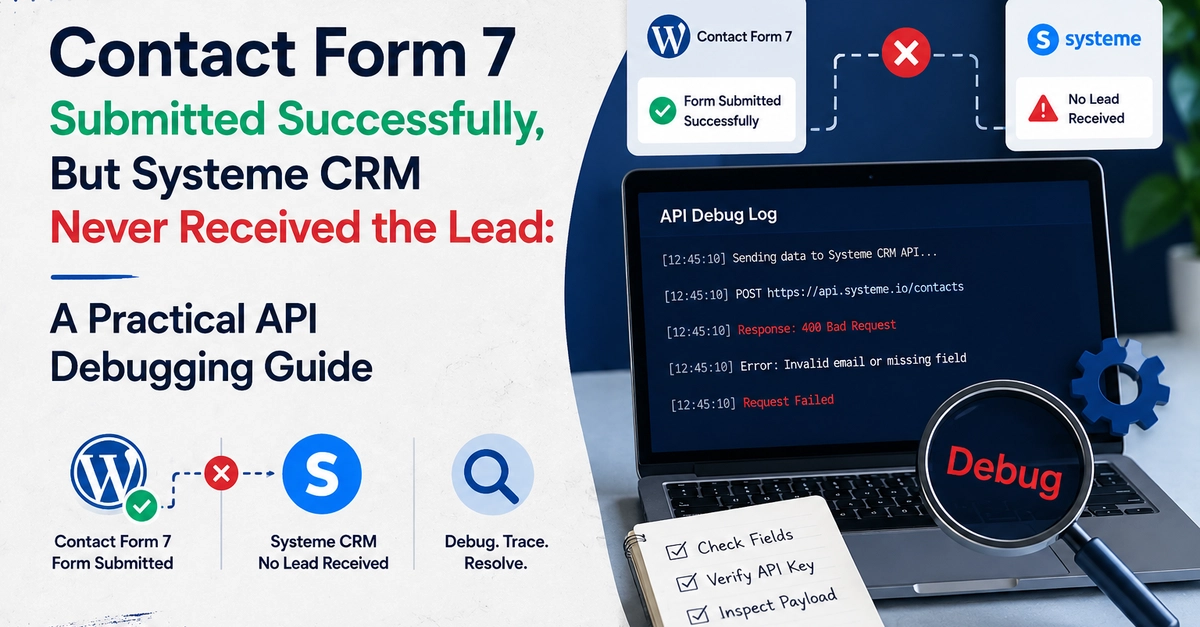
Your Contact Form 7 form can work perfectly from a user's perspective and still fail to deliver a lead to your CRM. The visitor fills out the form. The browser shows a success message. The WordPress form appears to have submitted correctly. But when you open Systeme CRM, the contact is nowhere to be found. This is one of the most confusing problems in form-to-CRM integrations because a successful form submission does not necessarily mean a successful API request. The complete workflow has multiple stages: Visitor ↓ Contact Form 7 ↓ WordPress ↓ API Request ↓ Systeme CRM ↓ Contact Record ↓ CRM Automation Enter fullscreen mode Exit fullscreen mode A failure at any stage can break the workflow. The key to debugging the integration is to stop treating the form submission as a single event and start checking each stage separately. First, separate the two different types of success There are two different questions: Did Contact Form 7 submit the form? This is a WordPress-side question. Did Systeme CRM accept and process the API request? This is an API and CRM-side question. These are not the same thing. A form can successfully collect: Name: John Doe Email: john@example.com Company: Example Inc. Enter fullscreen mode Exit fullscreen mode while the API request fails because: the endpoint is incorrect authentication is missing the request method is wrong the JSON payload is invalid the CRM expects different field names a required field is missing The first debugging step is therefore to identify exactly where the data flow stops. Step 1: Confirm that Contact Form 7 is collecting the expected data Start at the beginning. Look at the form fields: [text* your-name] [email* your-email] [tel your-phone] [text company] [textarea your-message] Enter fullscreen mode Exit fullscreen mode The important values are the actual field names: your-name your-email your-phone company your-message Enter fullscreen mode Exit fullscreen mode A common mistake is to assume that the visible label is the field name. For example: Visible label: Full Name Field name: your-name Enter fullscreen mode Exit fullscreen mode The integration needs the submitted field value associated with the actual field name. Before investigating the CRM, confirm that the form is collecting the expected values. If the value never exists in the Contact Form 7 submission, no API configuration can send it successfully. Step 2: Check whether the API request is actually being made The next question is: Is WordPress sending a request to the CRM at all? A successful form submission does not automatically prove that an external API request was made. The integration needs to send a request to the correct endpoint. For example: POST https://api.example.com/contacts Enter fullscreen mode Exit fullscreen mode The exact endpoint depends on the API documentation of the destination system. If the request is sent to: https://api.example.com/contact Enter fullscreen mode Exit fullscreen mode instead of: https://api.example.com/contacts Enter fullscreen mode Exit fullscreen mode the form may still appear to work while the external request fails. This is why API debugging should begin with the request itself. Step 3: Verify the HTTP method APIs usually expect a specific HTTP method. Common methods include: GET POST PUT PATCH DELETE Enter fullscreen mode Exit fullscreen mode For creating a new contact, the API may expect POST. For updating an existing contact, it may expect PUT or PATCH. Using the wrong method can result in errors such as: 405 Method Not Allowed Enter fullscreen mode Exit fullscreen mode or a response that does not perform the expected operation. The method should always be checked against the API documentation. Do not assume that every endpoint accepts POST simply because the data is coming from a form. Step 4: Check authentication and authorization Authentication is one of the most common reasons an API request fails. The receiving API may require: an API key a bearer token basic authentication an OAuth token a custom authorization header For example: Authorization: Bearer YOUR_TOKEN Content-Type: application/json Enter fullscreen mode Exit fullscreen mode If the authorization header is missing or incorrectly formatted, the API may return: 401 Unauthorized Enter fullscreen mode Exit fullscreen mode or: 403 Forbidden Enter fullscreen mode Exit fullscreen mode These errors mean the request reached the server but was not authorized to perform the requested action. A common mistake is having the correct token but sending it in the wrong format. For example, the API may expect: Authorization: Bearer YOUR_TOKEN Enter fullscreen mode Exit fullscreen mode but receive: Authorization: YOUR_TOKEN Enter fullscreen mode Exit fullscreen mode The value may be correct, but the header format is not. Always check the exact authentication format required by the destination API. Step 5: Check the request headers Headers tell the receiving API how to interpret the request. A JSON API commonly expects: Content-Type: application/json Enter fullscreen mode Exit fullscreen mode The API may also require additional headers for authentication or versioning. For example: Content-Type: application/json Authorization: Bearer YOUR_TOKEN Enter fullscreen mode Exit fullscreen mode If the content type is incorrect, the API may not parse the request body as expected. This can lead to confusing situations where the request technically reaches the server but the API behaves as if the fields are missing. Step 6: Inspect the JSON payload This is where many integrations fail. Suppose Contact Form 7 collects: your-name your-email your-phone Enter fullscreen mode Exit fullscreen mode The CRM may expect: { "first_name": "John", "email": "john@example.com", "phone_number": "+1 555 123 4567" } Enter fullscreen mode Exit fullscreen mode The outgoing payload needs to contain the structure expected by the receiving API. A payload such as this: { "your-name": "John", "your-email": "john@example.com", "your-phone": "+1 555 123 4567" } Enter fullscreen mode Exit fullscreen mode may not work if the CRM expects: { "first_name": "John", "email": "john@example.com", "phone_number": "+1 555 123 4567" } Enter fullscreen mode Exit fullscreen mode The data is present, but the field names are not what the API expects. This is a field-mapping problem. Step 7: Check required fields A CRM may require certain fields before creating a contact. For example: email: required first_name: optional phone: optional Enter fullscreen mode Exit fullscreen mode If the form allows a visitor to submit without an email address, the CRM may reject the request. The integration should therefore account for: required fields optional fields empty values validation rules The form validation and API validation should work together. A form may consider a field optional while the CRM considers the same information required. That mismatch needs to be resolved before the integration can be reliable. Step 8: Check custom field mapping Custom fields are another common source of problems. A WordPress form may contain: company lead-source project-type budget Enter fullscreen mode Exit fullscreen mode The CRM may store those values under completely different custom field identifiers. The integration needs to map: company → CRM company field lead-source → CRM lead source field project-type → CRM project type field budget → CRM budget field Enter fullscreen mode Exit fullscreen mode If the field identifier is incorrect, the API may: ignore the value return an error create the contact without the custom data This is why field mapping should be tested one field at a time when debugging a complex integration. Step 9: Check the API response Do not stop after sending the request. The response is one of the most useful debugging tools available. A successful response might indicate that the contact was created. An error response may tell you exactly what went wrong. For example: 400 Bad Request Enter fullscreen mode Exit fullscreen mode usually indicates a problem with the request data. 401 Unauthorized Enter fullscreen mode Exit fullscreen mode usually indicates an authentication problem. 403 Forbidden Enter fullscreen mode Exit fullscreen mode usually indicates that the request is not allowed. 404 Not Found Enter fullscreen mode Exit fullscreen mode usually indicates an incorrect endpoint. 500 Internal Server Error Enter fullscreen mode Exit fullscreen mode indicates a server-side problem that may require further investigation. The important thing is to inspect the actual response instead of assuming that the form submission was successful. Step 10: Confirm the CRM contact record Even when the API returns a successful response, check the actual CRM record. Verify: Was the contact created? Is the email address correct? Is the name stored correctly? Are custom fields populated? Was the contact duplicated? Was the expected tag applied? The API response tells you what the server reported. The CRM record tells you what actually happened to the data. Both are useful. Step 11: Confirm the automation after contact creation Creating the contact is often only the first step. The next workflow may include: New Contact ↓ Apply Tag ↓ Add to Campaign ↓ Start Email Sequence Enter fullscreen mode Exit fullscreen mode If the contact is created but the expected automation does not run, the problem may be in the automation configuration rather than the API request. For example, the automation may depend on: a specific tag a specific field value a form subscription event a campaign enrollment action A successful contact creation does not automatically guarantee that the next workflow will start. Test the entire chain. A practical debugging checklist When a Contact Form 7 to Systeme CRM integration is not working, check the following: Form Does Contact Form 7 receive the expected values? Are required fields validated? Are the field names correct? Endpoint Is the API URL correct? Is the correct API version being used? Is the endpoint available? Request Is the HTTP method correct? Are the required headers present? Is the content type correct? Authentication Is the API key or token valid? Is it being sent in the correct header? Does the token have the required permissions? Payload Is the JSON valid? Are the field names correct? Are custom fields mapped correctly? Are required fields included? Response What HTTP status code was returned? What error message did the API provide? Was the request accepted? CRM Was the contact created? Is the data correct? Did the expected automation start? This checklist is much more effective than repeatedly submitting the form and hoping that the next attempt works. The challenge of writing custom integrations Developers can build the entire workflow manually. A custom implementation may need to: hook into the Contact Form 7 submission retrieve the submitted values map the fields build the JSON payload configure authentication send the API request handle the response log errors This is a reasonable approach when the integration is highly customized. However, the same process needs to be repeated whenever another form or API is introduced. For WordPress sites that need a reusable configuration layer, a direct API connector can handle the endpoint, HTTP method, headers, authentication, field mapping, payload, and request logging. Contact Form to API is designed around this type of Contact Form 7 to external API workflow, allowing an existing WordPress form to send data to external systems without requiring a completely new form implementation. The important point is that the integration should make the data flow easier to inspect and troubleshoot. The real lesson: debug the data flow, not just the form When a CRM does not receive a Contact Form 7 submission, the first instinct is often: “The form integration is broken.” That description is too broad. A better debugging question is: “At which point did the data stop moving?” Did Contact Form 7 collect the data? Did WordPress trigger the API request? Did the request use the correct endpoint? Did authentication succeed? Was the payload valid? Did the API accept the fields? Was the contact created? Did the automation start? Breaking the workflow into these individual questions makes the problem much easier to solve. Final takeaway A successful Contact Form 7 submission is only the beginning of a form-to-CRM workflow. The complete integration needs to move data through several stages: Contact Form 7 ↓ WordPress ↓ Field Mapping ↓ Authentication ↓ API Request ↓ Systeme CRM ↓ Contact Record ↓ Automation Enter fullscreen mode Exit fullscreen mode If a lead is missing from the CRM, check each stage instead of treating the entire integration as one black box. Once the endpoint, request, authentication, payload, response, contact record, and automation are checked separately, most integration problems become much easier to identify. For a complete implementation guide focused specifically on the WordPress setup, see How to Connect Contact Form 7 with Systeme CRM in WordPress.
Contact Form 7 Submitted Successfully, But Systeme CRM Never Received the Lead: A Practical API Debugging Guide
Full Article
Original Source
Read the full article at Dev →KhanList aggregates and links to publicly available news content. We do not host full articles from third-party sources. Always verify important information with original sources.