
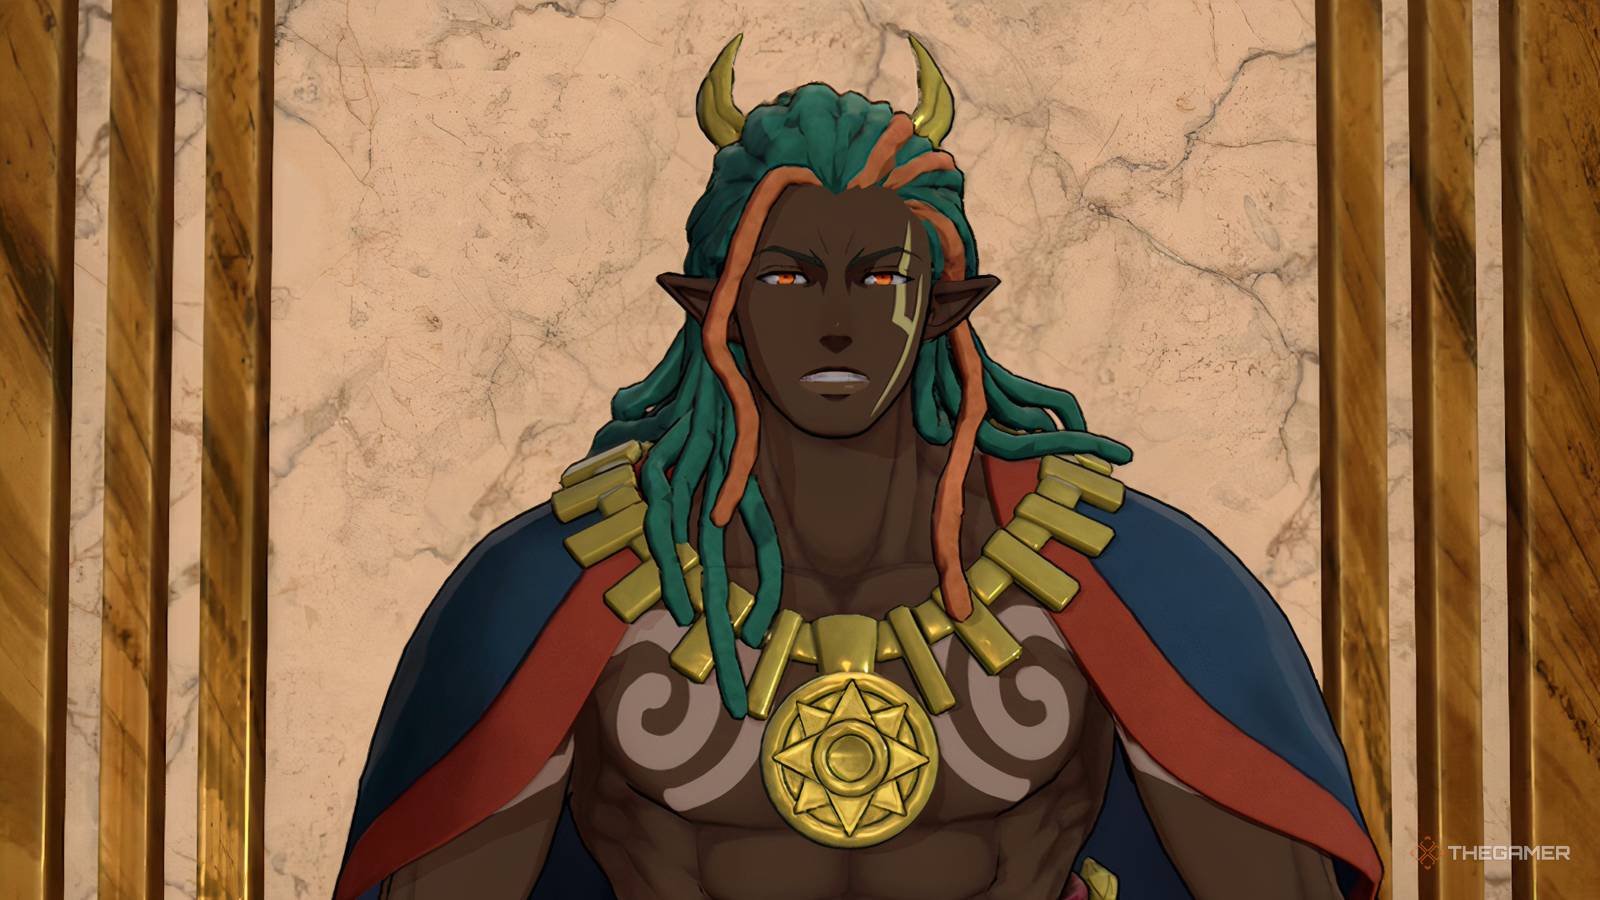
Fire Emblem: Fortune's Weave - Best God Blessings To Focus On Published Sep 23, 2026, 2:30 PM EDT Ryan Thompson-Bamsey has been an Editor at TheGamer since 2021. He has specialized in RPGs, grand strategy games, and visual novels, reviewing major releases in franchises from Square Enix, Larian Studios, and Paradox Interactive. Ryan has served multiple times on the jury for the Indie Cup awards, and has mentored many emerging writers in the games industry. He has covered some of the biggest releases of recent years, including leading the site's coverage of Baldur's Gate 3, Dragon's Dogma 2, and plenty of other massive RPGs. Temple Service gradually develops six Blessings in Fire Emblem: Fortune's Weave, but they do not provide equally valuable rewards at every level. Since volunteering consumes Motivation that could have supported another activity, choosing the right god first can make later battles substantially easier. Kalla is the clear initial priority because its first level already provides the game's most transformative Blessing effect. Aurora becomes the strongest follow-up investment once both of its damage reductions are available, while the remaining gods depend more heavily on your army and preferred tactics. Which Temple Blessings Should You Develop First? You can equip four Blessings before battle, and using one consumes Divine Sand. Kalla costs 20 Sand on Normal and 40 on Hard (before any boons that reduce cost), for example, so its extraordinary first-level effect should be saved for turns when several units can exploit the bonus. Temple Service accommodates two characters, costs one Motivation each, and progresses more quickly on the corresponding god's holy day. Rank God Boons Important Breakpoint Description 1 Kalla Avoid +50 Speed +5 Move +2 Level 1 Its enormous Avoid bonus can carry an entire turn immediately; later levels make an already exceptional Blessing even better. 2 Aurora Halve physical damage Halve magical damage Neutralise Underworld Boon Level 2, Level 3 in Part 3 It becomes a universal defensive answer at Level 2, while Level 3 is crucial against many undead enemies. 3 Smyrnos Magic Hit +50 Magic Range +1 Magic +5 Level 2 Extra range lets magical units attack, heal, and provide support from positions that would otherwise be impossible. 4 Credna Vision +5 No weapon-durability cost Attack first during enemy phase Level 3 Preventing durability loss effectively allows unrestricted Combat Art use for one turn. 5 Jurah Neutralise effective damage Prevent follow-ups Prevent criticals Level 2 It can remove several ways that vulnerable units are unexpectedly defeated, although each effect is comparatively situational. 6 Mars Physical hit +50 Recover HP upon defeats Strength +5 Level 1 A dependable offensive Blessing for physical armies, but its later upgrades are less transformative than those above it. Best Temple Blessing Priorities Develop Kalla immediately: Kalla does not need all three levels to become overpowered. Avoid +50 dramatically reduces the danger faced by your entire deployed army for one turn, allowing ordinarily risky advances, enemy-phase engagements, and emergency retreats. Avoid is never as certain as direct damage reduction, but a bonus this large can still overturn encounters long before the other Blessings reach their best upgrades. Speed +5 and Movement +2 are excellent additions rather than necessary investments. The Speed bonus can create follow-up attacks while preventing enemy follow-ups, and extra Movement makes it considerably easier to reach bosses, objectives, and endangered allies. Secure Level 1 first, develop Aurora, then return to Kalla when you can afford the additional Temple visits. Develop Aurora to Level 2: Aurora's first level halves physical damage, making it a reliable alternative whenever Kalla's Avoid bonus feels too dependent on chance. The Blessing becomes far more versatile at Level 2, when it also halves magical damage. At that point, Aurora can protect the army against almost any conventional enemy formation and is particularly attractive on Hard because it costs only 20 Sand. Do not overlook its final level when approaching Part 3. Neutralising Underworld Boon prevents undead enemies from using that protection, which becomes vital in several late-game battles. Aurora therefore has two meaningful targets: reach Level 2 during the main routes, then finish Level 3 before Part 3's undead-heavy encounters. Choose your third investment based on your army: Smyrnos is the strongest general recommendation for a magic-heavy army because Level 2 increases magical range. Credna suits Combat Art users, as its second level removes the only actions that normally consume weapon durability. Jurah protects fragile, armoured, mounted, and flying units from specific enemy advantages. Mars immediately fixes unreliable physical accuracy and later supports aggressive attackers.
Best Temple Blessings — Fire Emblem: Fortune's Weave
Full Article
Original Source
Read the full article at Thegamer →KhanList aggregates and links to publicly available news content. We do not host full articles from third-party sources. Always verify important information with original sources.