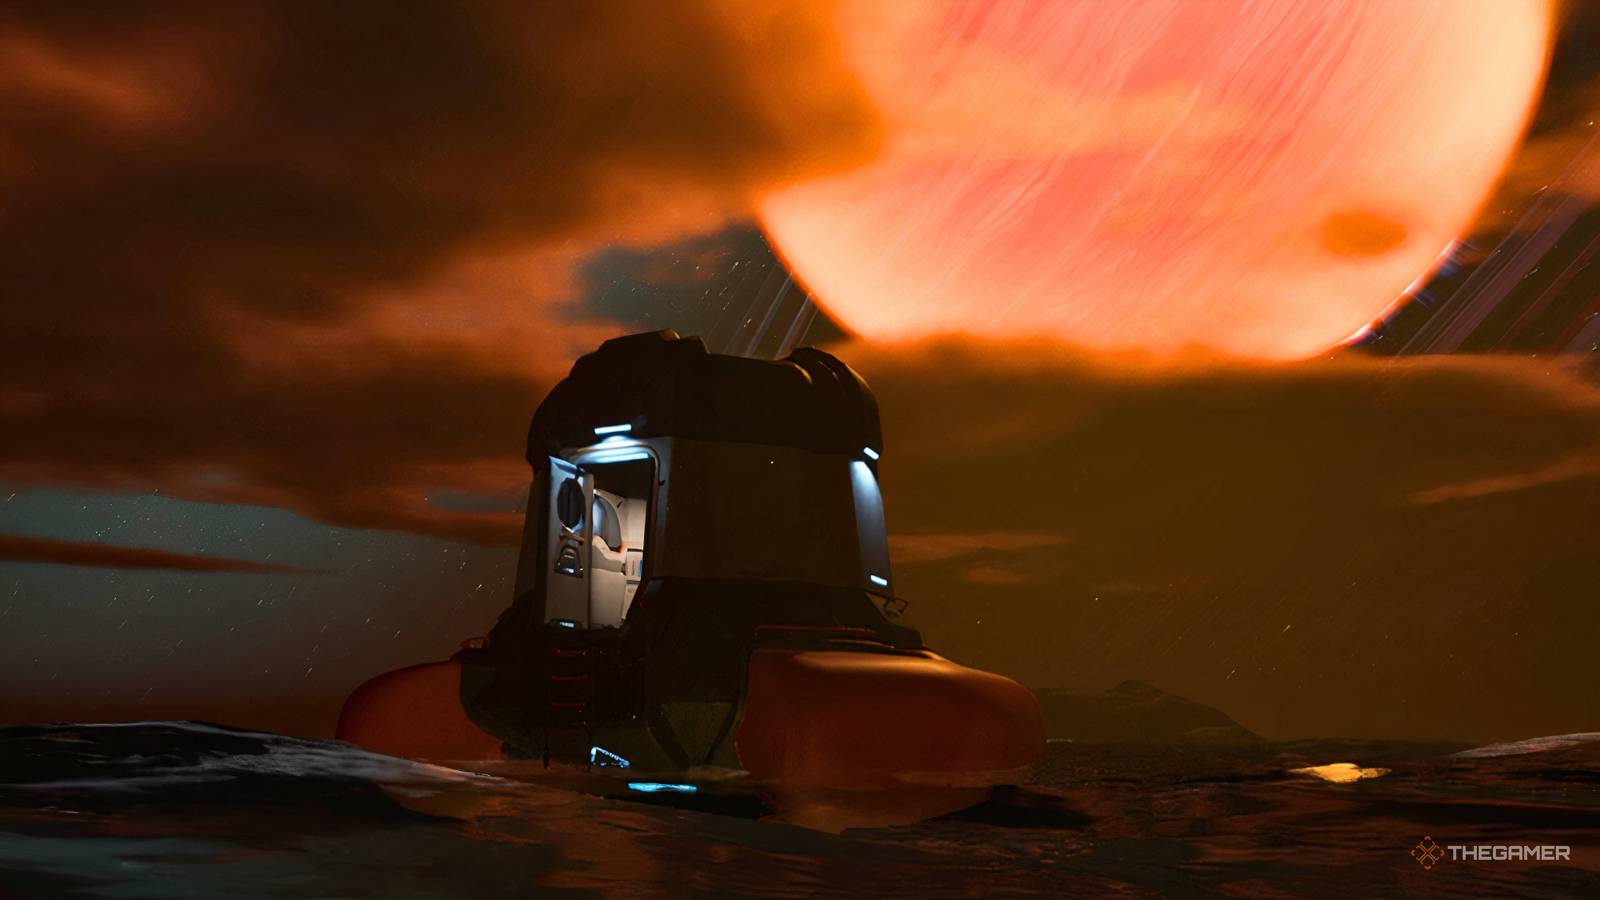
Once again, we find ourselves stranded in the middle of a mysterious ocean on an alien planet and must figure out a way to make the most of a horrific situation. Don't be mistaken, though, despite similarities to the first game, Subnautica 2 takes place on an entirely new planet with new marine life, challenges, and methods of survival. Whether you're just looking to survive or turn this poisonous planet into a 5-star resort, there are a few things you'll want to pay attention to from the start to give yourself an easier time. With the right preparation and any luck, you might even find yourself not constantly teetering on the edge of death. Prioritize Expanding Your Lung Capacity Once you have your first opportunity to hop into the water, you'll quickly realize that the amount of time you can spend there without needing to surface is not conducive to productive gameplay. To fix that, you'll need to craft Air Tanks, which should be your number one priority. There are currently two Air Tank variants to worry about, the Standard Air Tank and the High Capacity Air Tank. Try to get a Fabricator built on a custom base as soon as possible, so you aren't dealing with the limited function of the one on the lifepod. The Standard Air Tank must be built first, as it's required to build the High Capacity one, but you'll start the game with this recipe. As for the High Capacity Air Tank, you'll need to scan fragments of it to unlock the recipe. Using your handheld scanner, you should be able to find and scan the fragments you need at some of the nearby wreckage sites. From there, the materials needed for the recipes are relatively easy to get. However, the High Capacity one will require a Processor to be built at your base first, so you can convert materials into Ingot. After you've built both recipes, you should have plenty of air to explore thoroughly and gather materials that were previously at depths beyond your reach. Related Subnautica 2: Where To Find Quartz Quartz is an important resource that you need for the different chips in Subnautica 2, and here's how you can easily farm it. Bring Any Portable Storage You Find Back To Base Another thing you'll also learn rather quickly is that your storage is extremely limited. Your lifepod will only contain one small wall locker, and that's it. Eventually, you'll be able to build your own base and start crafting larger storage units, but until then, the only way to expand your storage is to use portable storage containers. These small handheld containers generally appear at least once per wreckage site, and should always be brought back to your base when found. You will be forced to hold it with both hands, so I'd recommend finishing up any other tasks at the site first before taking it back to your lifepod. You can also just throw loose materials on the ground in your lifepod or base if you're just entirely out of storage options. Now, you can use these when you go out to give you a way to carry more materials, but this is frankly a bit annoying to do since you have to put them down to use any of your tools, so the better option is to leave them in your lifepod or base and use them as a way to free up room in your inventory. This will allow you to build up a small stock of various materials early on in the game. Default To Your Scanner While Exploring As you start to progress through the game, you'll eventually be able to fill out your toolbar to the max, but the one thing that should always remain at the front of the list is your handheld Scanner. It's one of the first tools you'll get access to in the game and allows you to scan and identify everything from marine life to minerals and create a data entry for it. Building these data logs is what will eventually allow you to construct these items for your base, which is why you mustn't miss an opportunity to scan anything. Keeping your Scanner handy makes it easy to grab a quick scan of things and identify what's available for scanning. Some items will take several unique scans to unlock the recipes, while others will only require a single scan to be able to craft them yourself. Even if you've already unlocked a recipe, it's still worth scanning repeat items, as you'll be rewarded with free Titanium for doing so. Get Your Own Base Up And Running ASAP While the lifepod is nice enough, you should try to get your own base up and running as soon as you unlock the Habitat Builder. Rooms and basic amenities primarily just require Titanium to build them, which also just happens to be the most plentiful resource, so it shouldn't be too difficult to get something started within the first few hours. One reason for doing this is that the Fabricator on the lifepod is busted, so it won't allow you to build every recipe you may have access to, but the one on your base will. Furthermore, your base will allow you to create more storage options, gain access to vehicles, and build new equipment that will make navigating this planet a breeze. That said, you will likely struggle to power it early on, so you may end up limited to using most of these things during the day with the help of your solar panels. For that reason, you should also make it a priority to seek out Bioreactor fragments once you have a sizable base built. Use Your Compass And Scanner Station For Location Tracking Thankfully, unlike Subnautica, Subnautica 2 doesn't require you to build your own compass to have any sense of direction in these open waters. While it's certainly not a map, it's still not something to overlook, since it will be your primary early-game method of tracking where you've found certain materials and wreck sites that you need to return to later when you have a specific tool. You'll be able to see your compass at the top of your screen, along with your depth in meters. So, when you find a new material that's a pain to track down, like Silver deposits, it's a good idea to have a look at your depth, since this is the primary factor that determines where a mineral spawns, as well as the direction and distance from a static point, like your lifepod or base. Eventually, you'll also unlock a Scanner Station, which can be built on your base, that will lead you directly to spawn locations for materials and wreck sites. That said, it's still in your interest to attempt to memorize what direction each wreck site is in using your compass, so that you know which ones you've already been to and which ones you may need to return to. If you happen to stumble on Beacon Fragments that you can scan, this will allow you to unlock the ability to mark locations, which is yet another way to help with location mapping. Stock Up On Food And Water This should go without saying, but aside from air, your two main concerns that you'll need to consistently monitor are your calorie and water intake. Your calorie intake is your food, which has a plethora of options to satisfy it, and your water intake is exactly what it sounds like, but will primarily come from Water Slugs. You do also have a health bar, but unless you're regularly antagonizing angry fish or intentionally swimming through poison, this shouldn't be a difficult thing to keep in check. You'd think that these levels would stay in good standing for a decent amount of time after satisfying them, but you'll be surprised by just how fast they reach dangerous levels. For that reason, it's a good idea to keep a small supply of water and some form of food at your base, and to have at least one of each on you while exploring. As mentioned, water is crafted from Water Slugs, which are everywhere and even glow at night to make them easier to find, so there's no reason to ever run low. Food can be made from most of the fish swimming near the lifepod, and will likely be your primary source early on. Later on, you will be able to craft better alternatives, but for now, fish aren't friends. You can consume these materials raw if you don't have time to make it back to base to cook or convert them, but you won't get the same amount of restoration as the prepared versions, so that should only be your go-to in extreme circumstances. Keep An Eye Out For Oxygen Tunics And Air Pockets While you're still working on expanding your oxygen capacity, Oxygen Tunics are something to keep an eye out for. Oxygen Tunics are plants found on the sea floor that generally have a blue glow to them and will continuously expand and release air bubbles. These can allow you to stay underwater beyond your traditional capacity if you swim directly into the air bubble, which is especially helpful if you're at significant depths and don't want to make your way all the way to the surface just to come straight back down. Additionally, if you're exploring caves, another thing you can keep an eye out for is air pockets at the top of them. Exploring caves is a great way to find new materials, but it can start to induce panic the deeper you go. Thankfully, most caves will have an air pocket every few sections where you can stop and replenish your oxygen before continuing. Don't Go Anywhere Without An Air Bladder A convenient little item that you'll be able to craft early on is an Air Bladder. Essentially, the Air Bladder is a little container of air that can either be used to give you a small replenishment of oxygen or used to release air and pull you to the surface. Once used, it will be empty, but you can easily replenish it by reaching an oxygen source. If your Air Bladder is in your inventory, it will not automatically replenish when you reach an oxygen source. You must equip it or put it in your toolbar to refill it. If it's already in your toolbar, it will refill automatically. The Air Bladder is something you should always have at least one of in case of an emergency. It could mean the difference between life and death, or more importantly, losing anything you've collected on this expedition, since it can pull you to the surface significantly faster than you can swim there. If you're not in an emergency, using it to prolong your exploration in deep wreck sites is also useful. Batteries are the source of power for just about every tool you'll carry in your toolbar. Though they last a fair amount of time with frequent use, it's also not ideal to have one of them die on you when you're miles away from a Fabricator. For this reason, it's a good idea to carry at least one, two if you have most of the tools unlocked, so you have a backup power source if one of them dies. It's not essential if you don't have batteries to spare, but it's one of those things where, if you don't bring them, you'll wish you had, and I've personally needed to swap batteries several times throughout expeditions. Pin Recipes To Make Your Life Easier This last tip is rather small in theory, but it immediately makes your life easier when you frequently get in the habit of using it. When you're looking at recipes for the Fabricator, you'll have the option to pin them to the top right portion of your screen. Yes, you can always access them by going into the menu, but that gets a bit tedious when you're doing it fifteen times on one trip. Not to mention, if the main thing you're trying to build requires two other things you also need to build, it can be annoying to keep track of everything you're missing and try to memorize if any of these things both need the same material. So, that's where pinning comes in. Since you can pin several recipes at one time, you can pin your main recipe and the recipe of items within that recipe. For example, in the image above, I have the main recipe I need pinned as well as the recipes for two items that are part of that main recipe. This allows me to keep track of everything all at once, so I know exactly what I need to go back to base and build this item. Again, it seems like a minor thing, but the time saved with this small change, which requires almost zero additional effort, is huge. Next Subnautica 2: Where To Find Copper Copper is one of the crucial resources you'll need in Subnautica 2, and here are the places you can visit to farm it.
Beginner Tips And Tricks For Subnautica 2
Full Article
Original Source
Read the full article at Thegamer →KhanList aggregates and links to publicly available news content. We do not host full articles from third-party sources. Always verify important information with original sources.