
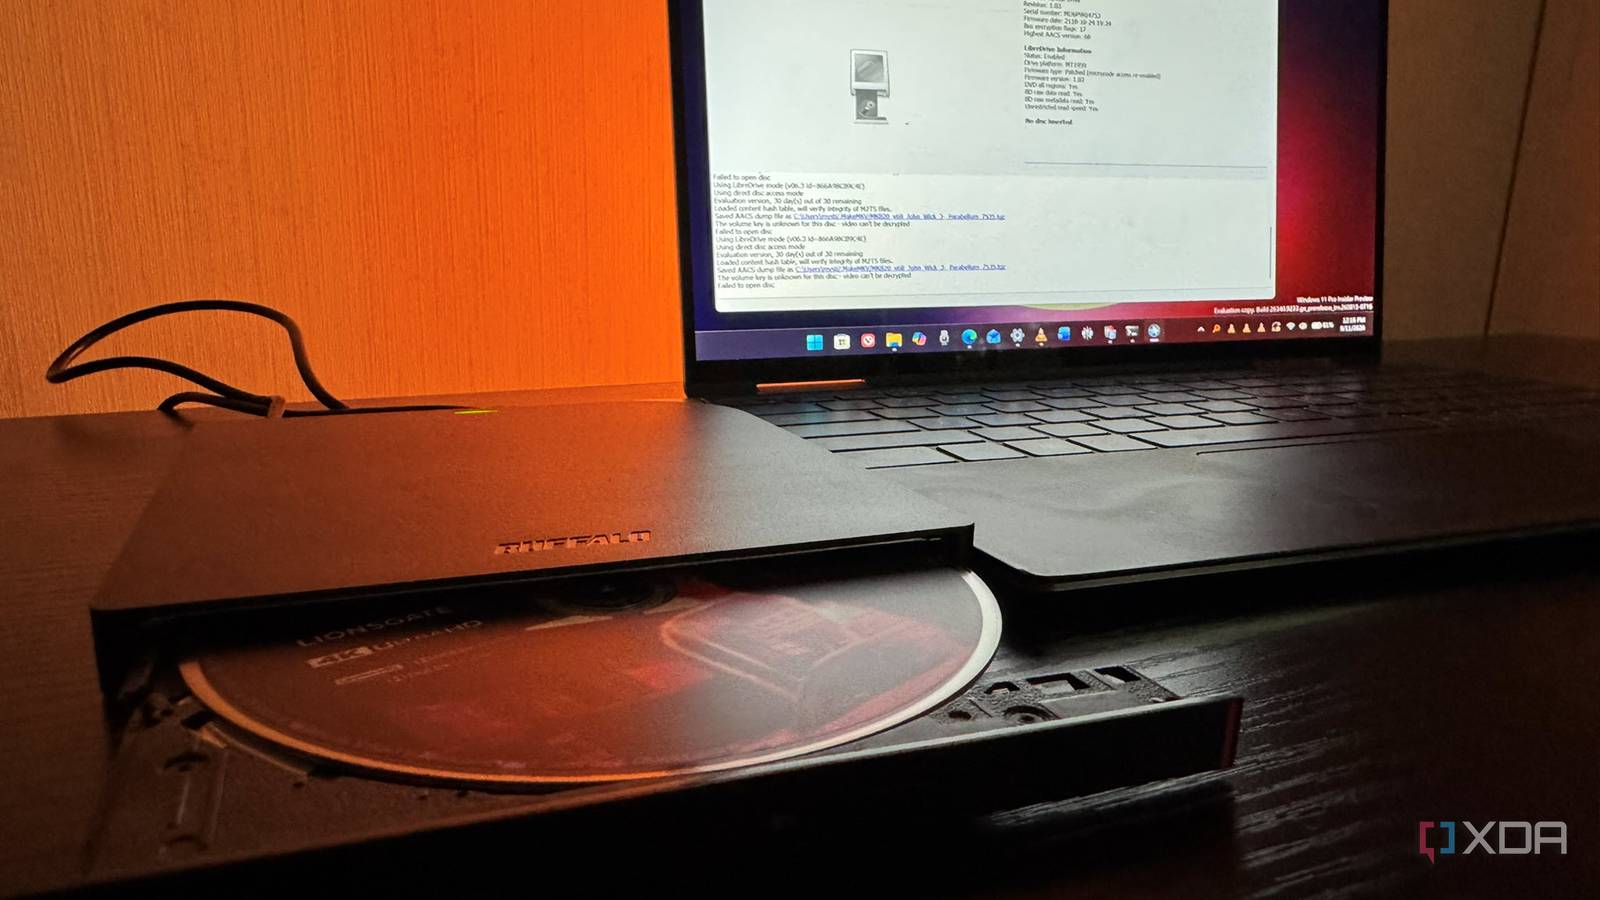
Published Oct 11, 2026, 8:30 AM EDT Based in rural Minnesota, Brian Burgess worked in IT for 10 years before finding his passion for writing about consumer technology. Brian earned his degree in computer and network technology in 2000. He held various IT positions, including help desk support, router installations for IBM, database administration, and other associate network administration roles. He's been a personal technology journalist for 18 years and has written thousands of articles about Microsoft products and services, Android, iOS, streaming, and more. He has written for notable tech sites including XDA, InformationWeek, How-To Geek, Byte, groovyPost, and others. When he is away from the keyboard, you will hear him playing guitar, working outdoors, and watching Star Trek. I've enjoyed self-hosting my media on my Jellyfin server for years. I used Plex for years, but I lost interest when it began paywalling features and streaming services became the norm. However, once I realized I wasn't getting my money's worth from lousy streaming picture quality, I went back to Blu-ray, specifically UHD 4K discs. Around the same time, I started dabbling with Jellyfin. I had multiple discs and wanted the fastest way to rip them to my server. After several mishaps over the years, I found a process that works. It produces high-quality, lossless files I can add to Jellyfin quickly for viewing. Getting a reliable drive I found the right drive to read and rip I started ripping DVDs and 1080p Blu-rays with a 2010-circa LG WH10LS30 drive. When UHD 4K discs arrived, six years later, it was too old for them. I later ended up with an ASUS BW-16D1HT to rip 4K discs. That drive wore out, and I eventually got a pre-flashed Buffalo BRXL-PUS6U3B, so I wouldn't have to worry about the ripping process. I could have flashed my own, as I'd done before, but I needed a drive ready out of the box because I was on a deadline. I'm satisfied I paid the extra $100 or so for the pre-flashed Buffalo. I had the seller confirm it worked as claimed (with screenshots) before I bought it. Since it arrived, I haven't had any problems ripping different Blu-ray disc types, i.e., dual-layer (BD-66) or triple-layer (BD-100). I have peace of mind knowing that each time I pop in a new movie or show, it will work — unless the disc is massively smudged and scratched. My ripping has slowed recently, and I wanted an external drive that I could move between machines if needed. Settling on a process I stopped changing settings for every movie I eventually decided to stick to a simple, straightforward ripping method instead of re-encoding files based on the movie and space concerns. When I first started ripping 4K drives with MakeMKV, I also re-encoded the files with HandBrake into smaller files to save storage. However, each movie varies, and I got tired of worrying whether the result would be reasonable picture and audio quality. That added an extra, time-consuming step. I may still re-encode some disc remuxes with HandBrake, but for the most part, I keep things simple. I choose the movie, audio track, and subtitles (if needed), then point the output file straight to the right folder in Jellyfin. I put another disc in and repeat the process. The lossless MKV files are larger, but I don't waste time re-encoding. Spacing it out I don't need to rip all my discs at once When I first started out, I thought I needed to rip my entire Blu-ray collection at once. I spent weekends and late nights ripping all my shows and movies so they would be available on my server. At some point, I realized I didn't need to put in that much work. Sure, it's good to have a library, and I like to get some titles sooner rather than later, but the work never ends. Now, with a dedicated machine, I can rip Blu-ray discs at my leisure. I still have multiple box sets, show seasons, and movies to add to Jellyfin, and that's OK. For example, I've already exhaustively ripped the 1080p version of Game of Thrones and still haven't ripped a single disc from the 4K box set. How many times can I watch that series anyway? Also, storage isn't cheap, and I'm running low. Slowing down 4K rips lets me plan out my storage needs more thoroughly. A single-purpose system I moved from my multitasking PC to a dedicated ripping machine Another essential step in my 4K Blu-ray ripping journey was getting a new machine that didn't choke on the process. I started out ripping 1080p Blu-ray on a roughly 13-year-old Dell XPS 8700 desktop, proving the latest and greatest machine isn't necessary for Blu-ray ripping. The right optical drive matters more than the latest CPU and RAM. I moved on to an HP Omen, which also served as my production box. It eventually sounded like it was gasping when I ripped a disc earlier this year. I'm embarrassingly not good at upgrading my hardware. I run PCs until they almost die, then revive them like turning my old Windows Home Server into a dumb NAS. That's why I bought a reasonably preconfigured ABS system as a dedicated ripping machine to improve my workflow. It's not just ripping; it's also managing files, re-ripping when needed, and re-encoding when necessary. With all my other processes running on my other machines, I figured it was time to get a dedicated ripping PC. I could have reformatted my aging HP Omen with a lightweight Linux distro and made it a dedicated ripping system, but I used it elsewhere. I didn't need to waste time building a ripping machine; the affordable prebuilt PC will do the trick. It didn't have the most modern or powerful hardware. I just wanted a machine to rip discs to Jellyfin that I know will last for several years. Finding your own perfect 4K Blu-ray ripping workflow I have been perfecting my workflow over the years and will undoubtedly learn more as I progress. Ultimately, having the right drive for ripping discs was key. If you have a large disc catalog, a dedicated system is a good choice. But don't worry about ripping everything to your server overnight; there's plenty of time. Whatever your journey, find the right ripping techniques that work best for you.
After years of ripping my 4K Blu-rays to Jellyfin, I’ve finally perfected my setup
Full Article
Original Source
Read the full article at Xda-developers →KhanList aggregates and links to publicly available news content. We do not host full articles from third-party sources. Always verify important information with original sources.