
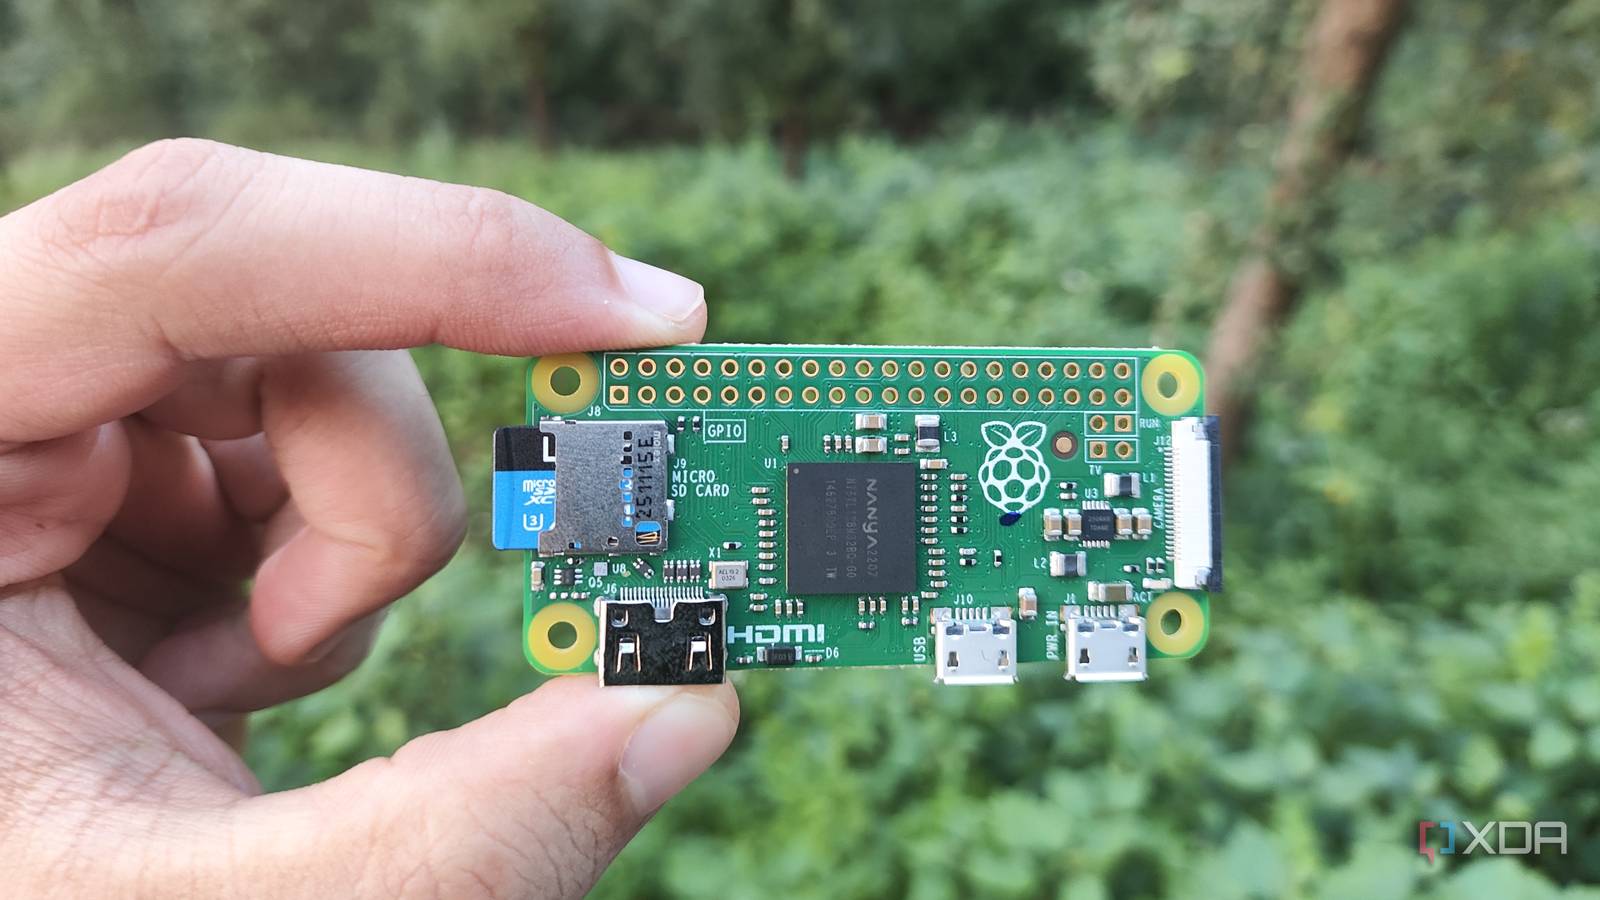
Published Sep 15, 2026, 3:31 PM EDT Ayush Pande is a PC hardware and gaming writer. When he's not working on a new article, you can find him with his head stuck inside a PC or tinkering with a server operating system. Besides computing, his interests include spending hours in long RPGs, yelling at his friends in co-op games, and practicing guitar. With the price of every Raspberry Pi single-board computer hitting the unhinged mark, the original RPi Zero is the only one that’s still in the affordable range. Unfortunately, it’s a tad too outdated and underpowered for anything other than simple projects that can leverage its GPIO pins in 2026 – and that’s something I recently learned when attempting to deploy typical Docker containers on the SBC. However, the experiment made me realize that it’s still possible to run specific services by compiling/installing them directly instead of relying on Docker images. Tailscale is one such application, and with a little bit of fine-tuning, the Raspberry Pi Zero that I was about to toss in the attic became an essential part of my home lab’s networking stack. Remote access has always been messy for my CGNAT-bound network A self-hosted WireGuard instance needs some workarounds Credit: Although I can access my self-hosted arsenal on my LAN, exposing them to the Internet is a real hassle for my home lab, and it’s all due to the Carrier-Grade NAT restrictions on my current ISP. You see, CGNAT circumvents the IPv4 shortage by mapping the same IP address to multiple users, but it also makes opening ports on my router impossible without looking into workarounds. This also extends to self-hosted VPN setups like WireGuard, so I’d have to rent a cloud platform with a static public IP address and use it as a gateway for a locally-configured WG server. Alternatively, I could rely on paid VPN solutions, but both options involve paying regular subscription fees for extra services. And since I switched to self-hosted platforms just to avoid spending hundreds of bucks on subscriptions, I’d rather not burden my wallet with yet another recurring payment. Tailscale solves this problem with its mesh VPN setup But enabling it on every server, VM, and app is a bit of a pain Tailscale creates a mesh network for my devices, where they can communicate with each other over an encrypted WireGuard connection. Thanks to the UDP hole punching mechanics of this setup and its reliance on coordination servers, Tailscale manages to bypass the CGNAT curse afflicting my home lab. The best part? Tailscale does so without forcing me to pay a dime or requiring my credit card numbers, and connecting new devices to an existing tailnet is as easy as installing the Tailscale packages and using its neat web UI to authorize said system. For a simple home lab setup, configuring Tailscale on a single server doesn’t take too long. But for my home lab, where I’ve got everything from cluster nodes to self-hosted containers running within virtual machines, installing a Tailscale instance everywhere would be a bit of a pain, especially since I often wipe my nodes clean every time I need to work on fresh experiments. That’s where a Tailscale subnet router + Raspberry Pi Zero combo comes into the equation… My RPi Zero exposes all my LAN devices to my tailnet This underpowered SBC is surprisingly useful as a Tailscale subnet router For the uninitiated, a subnet router acts as a gateway to advertise routes to the other devices on a subnet. As such, it exposes all the systems, ranging from server nodes to individual containers and even printers, on this subnet to a tailnet, and it’s how I spare myself the effort of installing the Tailscale client on every service and device in my arsenal. As for my Raspberry Pi Zero, I’ve equipped it with DietPi to keep the underlying distro’s processing overhead as minimal as possible. Installing Tailscale was fairly simple, as the curl -fsSL https://tailscale.com/install.sh | sh command pulls the mesh VPN’s setup script and executes it. Once I’d run sudo tailscale up, the command generated a registration link for my Raspberry Pi Zero, which I tossed into a web browser on my PC. Once I’d logged into my account, I added Raspberry Pi Zero to my tailnet. As for the subnet router, I pasted the following set of commands from the Tailscale docs to enable IP forwarding on my Raspberry Pi’s terminal: echo 'net.ipv4.ip_forward = 1' | sudo tee -a /etc/sysctl.d/99-tailscale.confecho 'net.ipv6.conf.all.forwarding = 1' | sudo tee -a /etc/sysctl.d/99-tailscale.confsudo sysctl -p /etc/sysctl.d/99-tailscale.conf Finally, I ran sudo tailscale set --accept-routes and sudo tailscale set --advertise-routes=192.168.0.0/24 on the SBC before switching to my Tailscale console and agreeing to let my RPi Zero serve as a subnet router. This weak SBC still has some utility in 2026 To be perfectly honest with you, the original Raspberry Pi Zero is far too underpowered for modern projects, especially with its outdated CPU and merely 512MB of RAM. If anything, the RPi Zero 2W is superior to it in every way, but with the RAM shortage causing the SBC’s prices to inflate past the red zone, the original Pi Zero is the only member of the Raspberry Pi family that doesn’t sound like a terrible investment. And while I wouldn’t recommend using this SBC for bulky projects, ultralight services such as a Tailscale subnet router work surprisingly well with this pint-sized board. Tailscale
A "mere" Raspberry Pi Zero runs the most essential service in my home lab
Full Article
Original Source
Read the full article at Xda-developers →KhanList aggregates and links to publicly available news content. We do not host full articles from third-party sources. Always verify important information with original sources.