
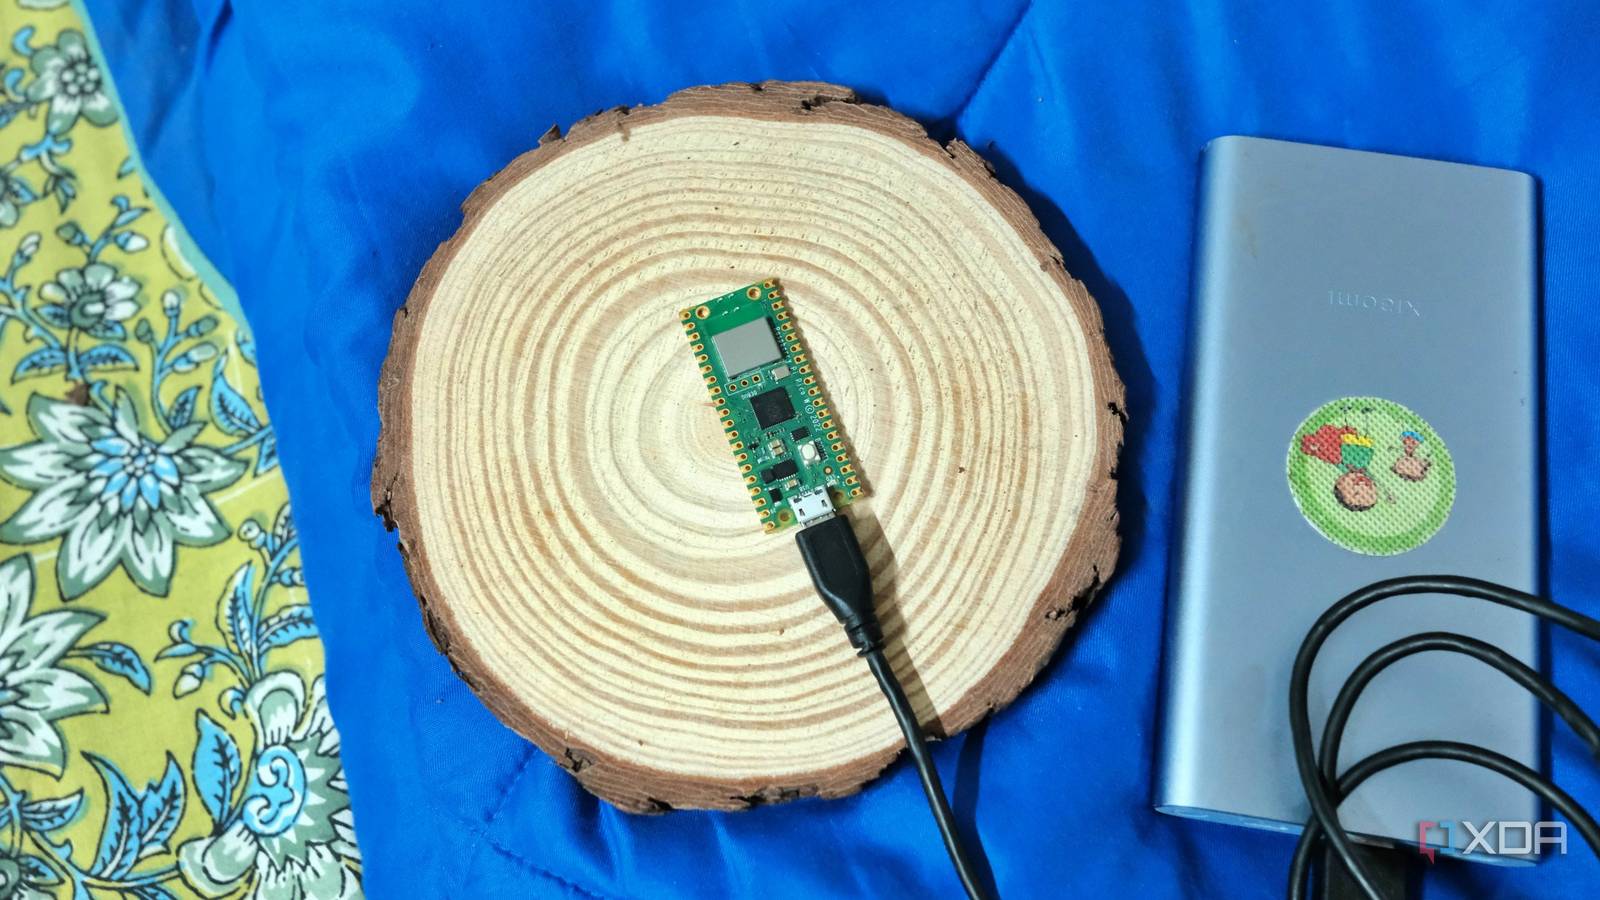
Published Nov 20, 2026, 11:00 AM EST Samir Makwana is a technology journalist and editor from India since past 18 years and his work appears on MakeUseOf, HowToGeek, GSMArena, BGR, GuidingTech, The Inquisitr, TechInAsia, TechWiser, and others. He has written news, features, and gadget reviews for national technology media publications. His passion is to help people with their technology problems and gadget purchases. For that, he has worked for some of the biggest international technology publications, covering news, explainers, how-to guides, listicles, and product-buying guides. He has worked as an editor and managed teams since 2015. His expertise broadly covers computers, smartphones, game consoles, headphones, smart home products, browsers, and apps. Every microcontroller project I start seems to turn into a growing shopping list. A couple of sensors, a few wires, a breadboard, resistors, a level shifter I forgot to order, and my shopping list for a $7 board more than a Raspberry Pi. Little did I realize that the Raspberry Pi Pico 2 W doesn’t need any of that. To build a useful project, it has built-in Wi-Fi and Bluetooth 5.2, so all I need is a USB cable to power and program it. Here are the four projects that put those radios to work without extra hardware. Scan your Wi-Fi without a laptop Get channel and signal strength details MicroPython’s network module can scan for nearby access points. Each result includes the SSID, BSSID, signal strength (RSSI), channel, and security type details. You can run the scan every few seconds, and you have the basics of a Wi-Fi site survey tool. You won’t need to rely on a phone app. The Pico 2 W can connect to your existing network and serve the results on a small web page. A table of nearby access points, channels, and signal strengths can help you spot overlapping networks and weak coverage areas. Power it with a USB bank and walk around the house to compare readings in different rooms. You can also see if neighbors’ routers are crowding the same 2.4GHz channels. The only caveat is that the Pico 2 W has a 2.4GHz radio, so it won’t detect 5GHz networks. It won’t give you a complete picture of a dual-band or tri-band setup. However, you can understand congestion on the 2.4GHz band, where many smart-home devices operate. Detect who is at home over BLE Signal strength as distance The same board can scan for Bluetooth Low Energy advertisements using MicroPython’s Bluetooth support and the aioble library. Advertisements expose each device’s address, name, Received Signal Strength Indicator (RSSI), and advertised services. As someone carrying a BLE tag or fitness tracker moves closer, its signal gets stronger; as they move farther away, it weakens. You can set an RSSI threshold to estimate whether a known tag is nearby. Display those results on a local web page, and the Pico becomes a basic BLE presence detector. But this setup has two catches. First, RSSI changes with walls, people, orientation, and whether the tag is in a pocket or backpack. You need to treat it as in-range or out-of-range rather than relying on accurate distance measurements. Also, phones randomize their Bluetooth addresses for privacy, making them less reliable targets. A tag or accessory that has a fixed address is a better fit. Passive scanning listens for nearby devices advertising themselves. Meanwhile, active scans can request additional information from devices that support scan responses. You don’t need to pair it with a device to detect its advertisements. Build your own network monitor A tiny LAN dashboard running on the Pico 2 W Tracking devices connected to your home network usually means opening the router’s admin page. Pico 2 W can host a simpler alternative. Connect it to Wi-Fi, open its IP address in a browser, and view a dashboard showing online and offline devices. MicroPython handles the monitoring logic, while a lightweight web server displays the result. Start by listing the devices to monitor, including their IP addresses and hostnames. If your router lets you access its connected-client list, use that to populate the dashboard with device names, MAC addresses, and connection types. The Pico then checks each device every two minutes using an availability check, such as a TCP connection or HTTP request. For example, you could check whether Home Assistant responds over HTTP or whether a Linux server accepts a connection on SSH port 22. The dashboard shows device names, connection types, and last-seen information. Not every router exposes its connected-device list in a way Pico can access, so manually configuring a few devices is a perfectly reasonable starting point. Also, if a device blocks a particular connection, it may fail the check and falsely show the device offline. Keep the history short, since Pico’s memory and flash storage aren’t suited for a lot of monitoring data. Monitor MQTT from a web page Live topics without a client app Running Zigbee2MQTT with a Mosquitto broker in Home Assistant keeps smart home messages in one place. But inspecting what a device publishes requires opening another interface. The Pico 2 W can act as a lightweight MQTT viewer. Install the umqtt library, connect it to your broker, and subscribe to a topic filter for a particular device or room. Incoming messages rest in a short in-memory buffer and appear on a small web page, showing the topic and payload for each entry. The page can refresh every few seconds to show new messages without a separate MQTT client app. This helps when troubleshooting a sensor, checking Zigbee2MQTT state updates, or verifying whether an automation-related topic is being published. The Pico has limited memory, so subscribing to every topic in a busy home can overwhelm its small buffer. Limit the payload’s length, filter by room or device, and retain only a few dozen messages. Unless you save the messages to flash, the history disappears on the reboot. All it takes is a USB cable None of these projects need a sensor, a breadboard, or even a soldering iron. You can use a Pico 2 W board and a USB cable to kick off a project. The Wi-Fi and Bluetooth radio do the heavy lifting, and the rest depends on the firmware. Whether you have a flaky router, need to know who is at home, or check which MQTT topic escapes without reporting, you can pick a relevant project. Dealing with MicroPython will make your afternoon worthwhile and put those Pico boards to use. Raspberry Pi Pico 2 W Raspberry Pi Pico 2 W is the wireless version of the new Raspberry Pi’s low-cost microcontroller board, built on RP2350: a new high-performance, secure microcontroller. With a higher core clock speed, double the on-chip SRAM, double the on-board flash memory, more powerful Arm cores, optional RISC-V cores, new security features, and upgraded interfacing capabilities, Raspberry Pi Pico 2 delivers a significant performance and feature boost while retaining hardware and software compatibility with earlier members of the Raspberry Pi Pico series.
A $7 Raspberry Pi Pico 2 W and a USB cable are all you need for these 4 projects
Full Article
Original Source
Read the full article at Xda-developers →KhanList aggregates and links to publicly available news content. We do not host full articles from third-party sources. Always verify important information with original sources.