
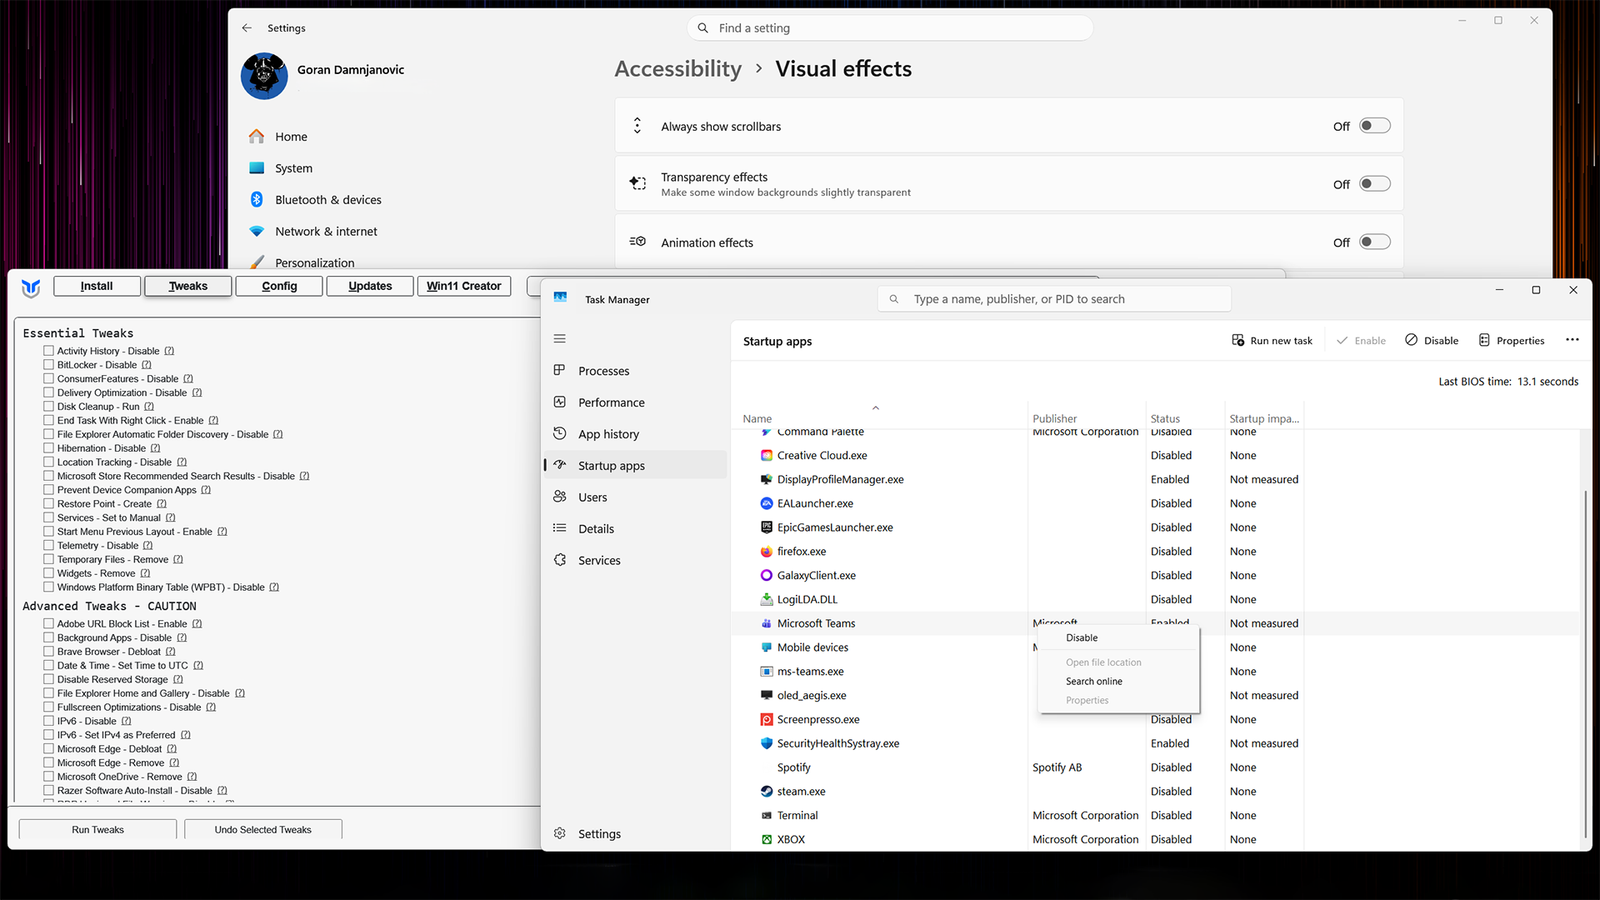
Published Aug 15, 2026, 6:30 AM EDT Ever since he got his first smartphone, the legendary Nokia 6600, back in 2005, Goran became obsessed with technology. This obsession had only gotten worse after he received his first gaming PC a couple of months later. He fell in love with video games in the early '90s, shortly after embarking on his gaming journey with the Sega Master System II and SNES. Since then, he has built dozens of PCs, played thousands of games, and authored hundreds of articles about PC hardware, gaming hardware, and video games. He knows everything there is to know about the PC gaming and PC hardware space, and while his console gaming knowledge isn't as comprehensive, he considers himself a console veteran. Goran has almost a decade of experience writing about tech and video games for numerous web publications including TechSpot, TechPowerUp, and EsportsHeadlines. He has been writing for How-To Geek since December 2022. When he isn't gaming or deciding which component of his PC to upgrade next, you can find him strolling around Novi Sad while listening to music and contemplating what to play next. Windows 11 is bloated, there are no two ways about it. The operating system eats up too much memory, Windows Search is slow and infested with Bing online results, and the amount of background tasks and services makes it feel sluggish on many PCs. Microsoft itself admitted this a while ago and has been making strides throughout 2026 to make the overall Windows 11 experience snappier, with the company's latest push focusing on making Windows 11 more responsive on PCs with 8GB of RAM. Luckily, you can make your Windows 11 installation faster and more responsive right now, without waiting for Microsoft to do its magic. All it takes is changing a few settings, disabling some stuff, and running a Windows debloating tool or two. Disable animations and transparency effects One of the easiest ways to make Windows feel snappier While animations give Windows 11 a healthy dose of aesthetic pleasantness, they do use up resources and make every action take just a tad longer than it would without them. Take into account just how many actions an average Windows user performs each day—probably in the realm of hundreds—and all those fancy animations add up. Disabling animations is probably one of the fastest and most effective ways to make Windows feel faster. You can disable every single animation with a press of a button by opening Settings and going to Accessibility > Visual effects. Once there, simply disable the Animation effects toggle. While you're at it, you could also disable transparency effects located in the same menu. While transparency effects likely won't improve performance on newer and beefier PCs, they can help on older systems powered by weak CPUs and integrated graphics, and equipped with 8GB of RAM or less. Alternatively, you can selectively disable just the animation effects that bother you by typing Advanced system settings into Windows Search, opening Performance Settings, and then unticking only the effects you don't need. Disable unnecessary startup apps Disabling startup apps can improve your PC's startup time, and more Disabling startup apps is another way to make your PC feel faster. While you likely won't improve overall performance, you can improve boot-up time, make Windows more responsive just after it boots—because there will be fewer apps launching as soon as you log in—and free up some of the memory taken up by startup apps you don't need. If you own a laptop, you can even prolong battery life a bit. To disable startup apps, open Settings, go to Apps > Startup, and disable every app you don't need. In my case, out of 20 startup apps in total, I only allow four to start with Windows. You can go a step further and disable various other startup processes with Autoruns, a very handy tool that's part of Microsoft's Sysinternals suite. With it, I managed to remove certain leftover entries from apps I no longer had on my PC, as well as a few annoying game launcher processes that started with Windows even though I had disabled the related game launchers from starting with Windows. Lastly, you also have the option to stop apps from running in the background, which can free up memory and CPU resources. Or at least remove Copilot Windows debloat tools can be very effective at removing various bits of Windows bloat you don't need or use, which can free up a considerable amount of memory, reduce the number of background tasks, free up some storage space, and make Windows 11 use fewer CPU resources. While you might not feel a big difference if you own a high-end PC, Windows debloat tools can make a world of difference on old and slow machines. My recommendation is Chris Titus' WinUtil, which is one of the most popular Windows debloat tools out there. My colleague Faisal wrote a guide on using WinUtil to debloat your Windows 11 installation, which I highly recommend going through if you end up using the program. Aside from WinUtil, Winhance is another robust Windows debloat tool you can use, with my colleague Nick creating a guide on how to debloat Windows 11 with Winhance that you can peruse. If you'd rather not use a Windows debloater, you could at least remove Copilot since it can take up a lot of RAM. For instance, the new Copilot app can use around 500MB of RAM while running in the background doing nothing. I wrote a guide on how to do this with a handy PowerShell script called RemoveWindowsAI. Disable unnecessary Windows services Not very effective on newer PCs, but it can improve performance on older machines By default, there's a massive number of background services running on every Windows 11 system. While they don't use much memory or CPU resources individually, disabling some of them can make old and underpowered PCs faster. For instance, I disabled a number of services on my partner's desktop PC, which has only 4GB of RAM and is powered by an old Pentium G4560 CPU. Doing so made the thing more responsive and reduced its memory usage. If you want to see how and which services to disable, check out my guide. Switch Windows power mode to Best Performance Can be effective if you own a laptop If you own a desktop PC, especially a newer machine with a powerful CPU, changing Windows power mode to Best Performance likely won't result in Windows working or feeling faster. But if you own a laptop, switching to Best Performance can net you a noticeable performance improvement. It's because, by default, Windows uses Balanced power mode, which can lower your CPU's performance state and park some cores when the system is idle or during light tasks. Then, when you perform a demanding action (like opening an app or doing a demanding task in a program such as Photoshop), Windows will ramp up the CPU. However, the time it takes for the CPU to ramp up can result in noticeable stuttering that lasts for a moment or two. To switch to Best Performance power mode, open Settings, go to System > Power & battery, and switch Power mode to Best performance both when plugged in and on battery. Personally, I keep Best Performance mode active on all my Windows handheld PCs and haven't noticed any major downsides, but you may notice higher thermals when idle, as well as shorter battery life on your laptop. Disable online results in Windows Search Or disable Windows Search entirely Now, disabling online results in Windows Search won't improve overall Windows performance, but it can make Windows Search faster. To do this, open PowerShell and type the following: reg add HKCU\Software\Microsoft\Windows\CurrentVersion\Search /v BingSearchEnabled /t REG_DWORD /d 0 /f Then restart Windows Explorer, or restart Windows if the change doesn't take effect. You can also disable Bing web results in Search from the Registry Editor, but the PowerShell method is faster. Alternatively, you can flat-out disable Windows Search and use an app such as Everything instead. To disable Windows Search, press Windows + R to open the Run box, type services.msc into the box, and hit Enter. Now locate the Windows Search service, right-click it, click Properties, and disable it by selecting Disabled as the Startup type, and then clicking Apply. There are other ways to make Windows faster The tweaks and tools I shared above aren't the only ways to make Windows snappier and more responsive. For instance, you can also optimize your workflow, which can make the whole experience of using Windows feel faster because you won't waste time on unnecessary actions. Similarly, freeing up space on your PC can result in a snappier system if your SSD is filled to the brim.
6 guaranteed ways to make Windows faster without upgrading hardware or overclocking
Full Article
Original Source
Read the full article at Howtogeek →KhanList aggregates and links to publicly available news content. We do not host full articles from third-party sources. Always verify important information with original sources.