
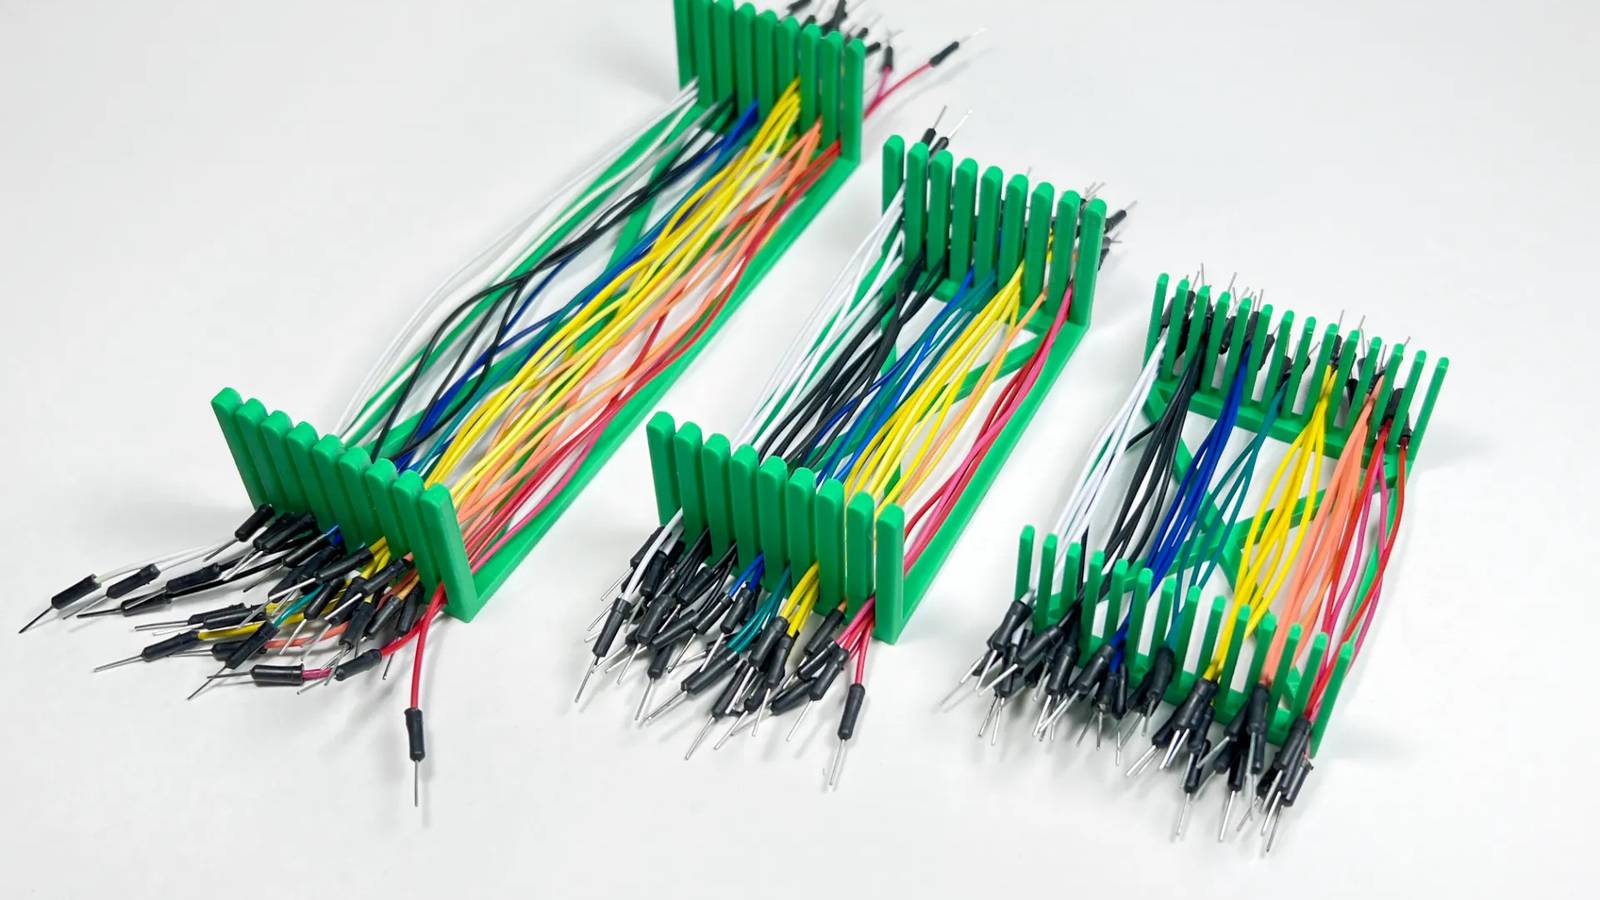
Published Aug 7, 2026, 9:00 AM EDT Tim has been covering technology for almost 20 years, in that time spanning a broad range of topics from security to product reviews. He is especially focused on the Apple ecosystem, productivity, and consumer advice. Over the years Tim has written thousands of articles, reviews, and round-ups in addition to producing video content and original photography. A graduate of journalism, he found his footing as a freelancer with a laptop and loves how he is able to work from practically anywhere. Now a Senior Editor for iPhone, Mac, and Smart Home at How-To Geek, Tim still loves to write. He can also be found crafting round-ups and productivity posts for the Zapier blog. Earlier in his career Tim spent nearly a decade as a writer and eventually Apple section editor for MakeUseOf. Tim currently lives in Brisbane, Australia. Outside of work he loves to hike and work out, play video games, and spend quality time with his wonderful partner and two cats Inka and Roger. One of the best things about the ESP32 and similar microcontrollers is the price. They only cost a few dollars each and can be put to good use in all manner of projects, from simple guides you follow along to complex projects you plan over weeks or months. Almost all of these projects require additional parts and components, many of which you can 3D print for next to nothing. Breadboards No soldering required A breadboard lets you build electronic circuits without a soldering iron by providing a grid of small holes into which you can attach wires and headers. They’re primarily used for testing and prototyping ideas, but there’s nothing stopping you from using them in a more permanent capacity if you don’t own a soldering iron or can’t be bothered to learn. Since a breadboard is mostly made up of non-conductive plastic, you can easily 3D print your own at home. There are tons of designs available, like this one from MakerWorld user NodX, which uses a modular design. You can clip more of these boards together in case you need more space for more components. Once you’ve printed the board, you’ll need to tuck some aluminum foil into the small gaps between each breadboard row so that signals and current can be carried where they need to go. A jumper wire organizer A place for everything Credit: kymberlea.ryan on MakerWorld If you’re using a breadboard, you’ll need some jumper wires too. These allow you to quickly bridge connections between components and pins, but like any length of wire, they can become messy and tangled in no time. An untidy workspace will only slow you down, so keep it tidy by 3D-printing some jumper wire organizers. There are all manner of designs available, with BoredCAD’s organizers coming in three common sizes: 74mm, 95mm, and 155mm. Another design that caught my eye is the Gridfinity jumper wire box, which the author says is “intended to be tight, hurt your fingers tight,” so the contents don’t spill everywhere when you’re rummaging around. Helping hands for soldering Everyone can use a helping hand Credit: CafeAsh / MakerWorld Let’s say you’re ready to move on from the breadboard to the soldering iron. Soldering is a valuable skill that can help you save old electronics and create brand new ones. It requires a bit of know-how and plenty of practice, plus a steady hand and a suitable work area. Helping hands can greatly improve your soldering station by literally holding components in place while you work. You can buy these from hardware and hobby stores, or you can 3D print your own at home. Take a look at the helping hands from MakerWorld user CafeAsh, which the author recommends you make from PETG and screw down to your work surface for maximum stability. Cable connectors Print them as you need them Credit: Darky Projects / MakerWorld Cable connectors make it possible to connect multiple lengths of wire together easily and remove them again when you need to. They’re not exactly expensive to buy, but it’s hard to argue with the convenience of a 3D printer whenever you want to produce them on demand (and in a color of your choice). Darky Connectors by MakerWorld user Darky Projects come in two, four, and six pin versions and require a few self-tapping M2 screws (which you should already have lying around). Development board organizers Prevent bent pins and lost components Credit: karo.kalori / MakerWorld As you start to take on more microcontroller projects, you’ll find yourself amassing a growing collection of boards, components, batteries, displays, breadboards, and more. Keeping these things organized will not only help your space remain productive, but it can also prevent damage to your components—particularly bent pins, which can be almost impossible to straighten. Thankfully, there are a good number of organizational prints available. One good-sized project is the dev board organizer by MakerWorld user karo.kalori. This features spaces designed to fit boards like the ESP32 and ESP8266, Arduino UNO and Nano, plus Raspberry Pi Zero 2 W and Pico 2. It should also fit many small displays, relays, power banks, batteries, and more. For a simpler Gridfinity-friendly setup, check out the Gridfinity dev board bins. Seeed Studio XIAO ESP32C3 The Seeed Studio XIAO ESP32-C3 is the perfect budget-friendly microcontroller for smart home projects. With Wi-Fi and Bluetooth built-in, it also features a super deep sleep mode for low power usage when it isn't doing anything. The compact size makes this ideal for building smart home projects, and ESPHome allows it to easily integrate into Home Assistant. Bambu Lab P2S Build Volume 256x256x256mm Printing Speed 600mm/s The Bambu Labs P2S 3D printer is ready to go out of the box and can have you printing within 15 minutes. It features up to 20-color printing with the AMS unit, has an upgraded built-in camera for remote monitoring and time lapses, and has an enclosed body for printing even high-temperature filament. Looking for more in the way of organization? Check out the IKEA Skadis and its expansive ecosystem of 3D printed accessories.
5 useful parts to 3D print for ESP32 and other microcontroller projects this weekend (Aug 7 - 9)
Full Article
Original Source
Read the full article at Howtogeek →KhanList aggregates and links to publicly available news content. We do not host full articles from third-party sources. Always verify important information with original sources.