
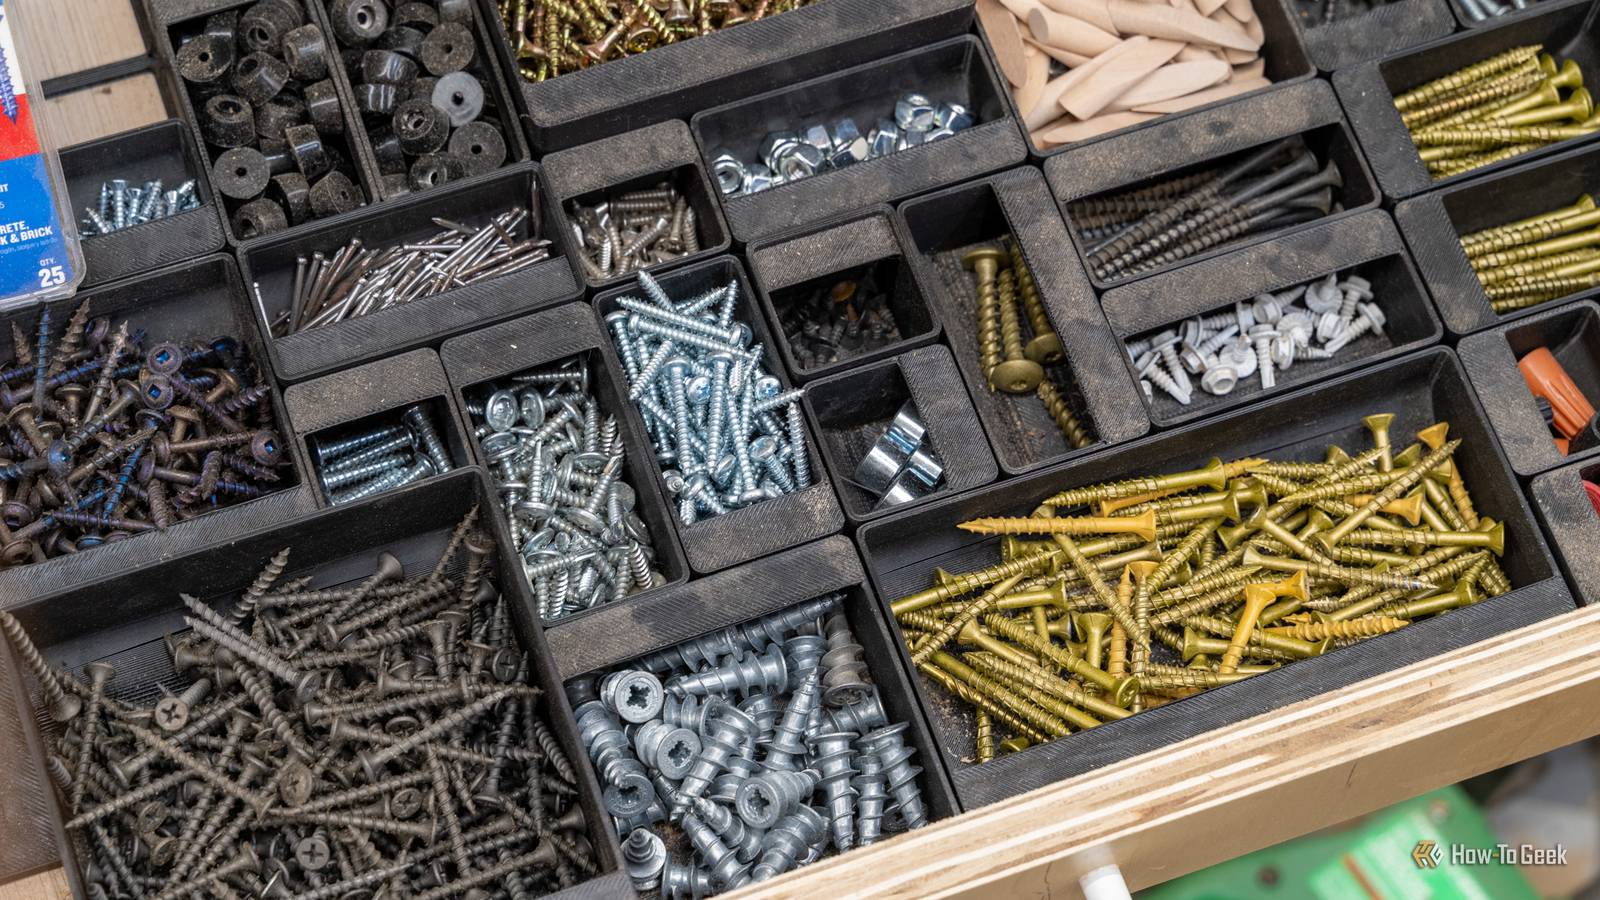
Published Oct 28, 2026, 12:00 PM EDT Patrick Campanale has been in the tech space for well over a decade, specializing in PC/gaming news and reviews, as well as maker-focused products to build small businesses. With a start in technology back in 2010 surrounding the Palm/webOS ecosystem, Patrick spent his formative years developing mobile applications as well as blogging for various publications, eventually leading to starting his own website in 2014. After running a technology blog for a few years, he stepped out of that role and into the world of high-end custom PC manufacturing and building, with a focus on YouTube video production and overclocking. Then, in 2017, Patrick joined the 9to5Toys team as an editor/writer/reviewer with over 14,000 articles being published during his time there, ranging from deals and roundups to in-depth reviews on the latest technology, video games, 3D printers, and more. In his free time, Patrick loves to create projects from wood using various robots and methods, including leveraging the technologies of CNCs and lasers. If Patrick isn't working on a computer or playing video games, he's likely in his 2-car garage workshop creating something unique. In addition to all this, Patrick is also the media director at his local church where he feels God has called him to serve, and he loves every minute of it. A rainy weekend stuck indoors is the perfect excuse to put your 3D printer to work on the house itself. While it hums along, you can line up new cabinet pulls without eyeballing them, replace that broken clip nobody sells anymore, and finally get the junk drawer under control. None of these projects need a garage full of tools, and by Sunday night something in your home will actually work better than it did on Friday. A drilling jig makes new cabinet hardware look professionally installed I'm never eyeballing a cabinet pull again I have made drawers and cabinets a handful of times, and I’ve always hated how difficult it was to get the drawer pull or handles in the right spot. They make professional tools that help with this, but I was on a budget and didn’t want to drop the money on them. At the time, I also didn’t have a 3D printer to make my own. If I were working on installing new cabinet hardware again, I would absolutely just 3D print my own guides. There are tons of jigs out there for almost anything you can think of when it comes to cabinet hardware. You could make a fixed jig that is specific to your project, or download an adjustable jig that helps get things lined up no matter what the shape of your project looks like. For something like this, PLA will be fine. I would possibly recommend putting a metal sleeve in the hole if you want it to last for more than a project or two, however. Printing a replacement part beats hunting for one that isn't sold anymore Calipers and a little patience go a long way Credit: Tim Brookes / How-To Geek I think one of the best parts of owning a 3D printer is being able to make just about any part you could want. For instance, if you have an item around the house that needs a replacement part but it’s no longer sold, you can just 3D print it yourself. There are many common parts already modeled on sites like Printables, Thingiverse, Thangs, or MakerWorld. However, the best part of 3D printing is that you can make it yourself if you can’t find one that already exists elsewhere. Just grab a pair of calipers and start measuring. Free tools like Tinkercad or FreeCAD are a great place to start. Fusion also has a free tier, as does Shapr3D. All of these tools have a bit of a learning curve but there are plenty of YouTube tutorials that you can watch to master them in a weekend. Before 3D printing a replacement part though, do keep in mind where that part will be installed. If it’s something that is near heat, like a dishwasher clip, vacuum motor support, or even a clip for blinds, you’ll want something with a bit more heat resistance like PETG. For just about everything else, PLA will be just fine. Just remember to print thin test slices first before printing the entire replacement part to make sure you have your measurements and fitment down before committing to the full print. Custom drawer dividers to finally tame that kitchen junk drawer Gridfinity makes it modular, but custom sizes work too Credit: Patrick Campanale / How-To Geek I’m a huge fan of Gridfinity. I have it in many of the drawers in my garage, and I’m also working to outfit the drawers in my office with it too. Gridfinity isn’t just for those places though. It can also be a great upgrade for that kitchen junk drawer you’ve been ignoring for years. Gridfinity is built on a 42mm grid system that has two parts: the baseplate and the actual bins. You can use an online Gridfinity generator to generate the baseplates needed to outfit your drawer, and then there are thousands upon thousands of bins to browse through on most online file websites. If you’re not a Gridfinity fan, or just want something simpler, you could also just 3D print some dividers or bins that just sit in your drawer. This is a simpler approach as it doesn’t require any baseplates, but the bins can slide around since there’s nothing locking them into place. Whatever route you decide to go, take some time this weekend and get that junk drawer organized. You’ll probably find something in there you lost years ago and have been looking for. A printed wall system turns the garage into a workshop worth hanging out in MultiBoard worked so well in my office that the garage is next Credit: Patrick Campanale / How-To Geek I don’t know about you, but I’ve just never been a fan of normal pegboard. I feel like it’s flimsy and if it got wet then it wouldn’t hold up as well anymore. 3D printing lets me make a wall in any size I need and it’s way more versatile. I deployed MultiBoard in my office several months ago and it has been awesome to have. I’m constantly thinking of new things I can put up there and it has been a lifesaver in organizing the office. I’m now thinking about putting it in my garage to organize the back wall between my upper and lower cabinets. 3D printed wall systems are great because they can often be cheap in filament to print, making it an affordable option compared to buying something like WallControl or OmniWall. Plus, with 3D printing, the bins and holders themselves can be completely customized to whatever your needs are. If you’re going to put the wall system in an area of your home that gets hot in the summer (like a shed or garage), I’d definitely use a material like PETG, ABS, or ASA. PLA would work, but it starts to soften at around 50 to 55 degrees C and it might not hold up through repeated summer and winter cycles. Painting helpers make a rainy day the perfect time to finally paint that room Small prints that save a lot of mess Credit: Maxim | MakerWorld When it comes to painting projects, 3D printing can actually help out in many areas. One of my favorite things to 3D print when I only have a little filament left is painter’s pyramids. There’s always something to use them for and they take hardly any time or filament to make. There are many other painting-related projects that 3D printing can help out with, though. You can 3D print something like a pour spout for a paint can. Or, print something like a dust catcher to keep the dust down when you start sanding and patching holes before painting. Most painting-related projects are fairly quick to print and you can definitely just use PLA for them. Your printer can do a lot more than print toys on a rainy weekend If you’re wanting to tackle some home renovation projects on a rainy weekend, definitely check sites like MakerWorld or Printables to see what you can 3D print to help. I mentioned five different areas here, but there are hundreds or thousands of areas that 3D printers can help in when it comes to home improvement projects.
5 home-improvement 3D prints that make a rainy weekend feel productive
Full Article
Original Source
Read the full article at Howtogeek →KhanList aggregates and links to publicly available news content. We do not host full articles from third-party sources. Always verify important information with original sources.