
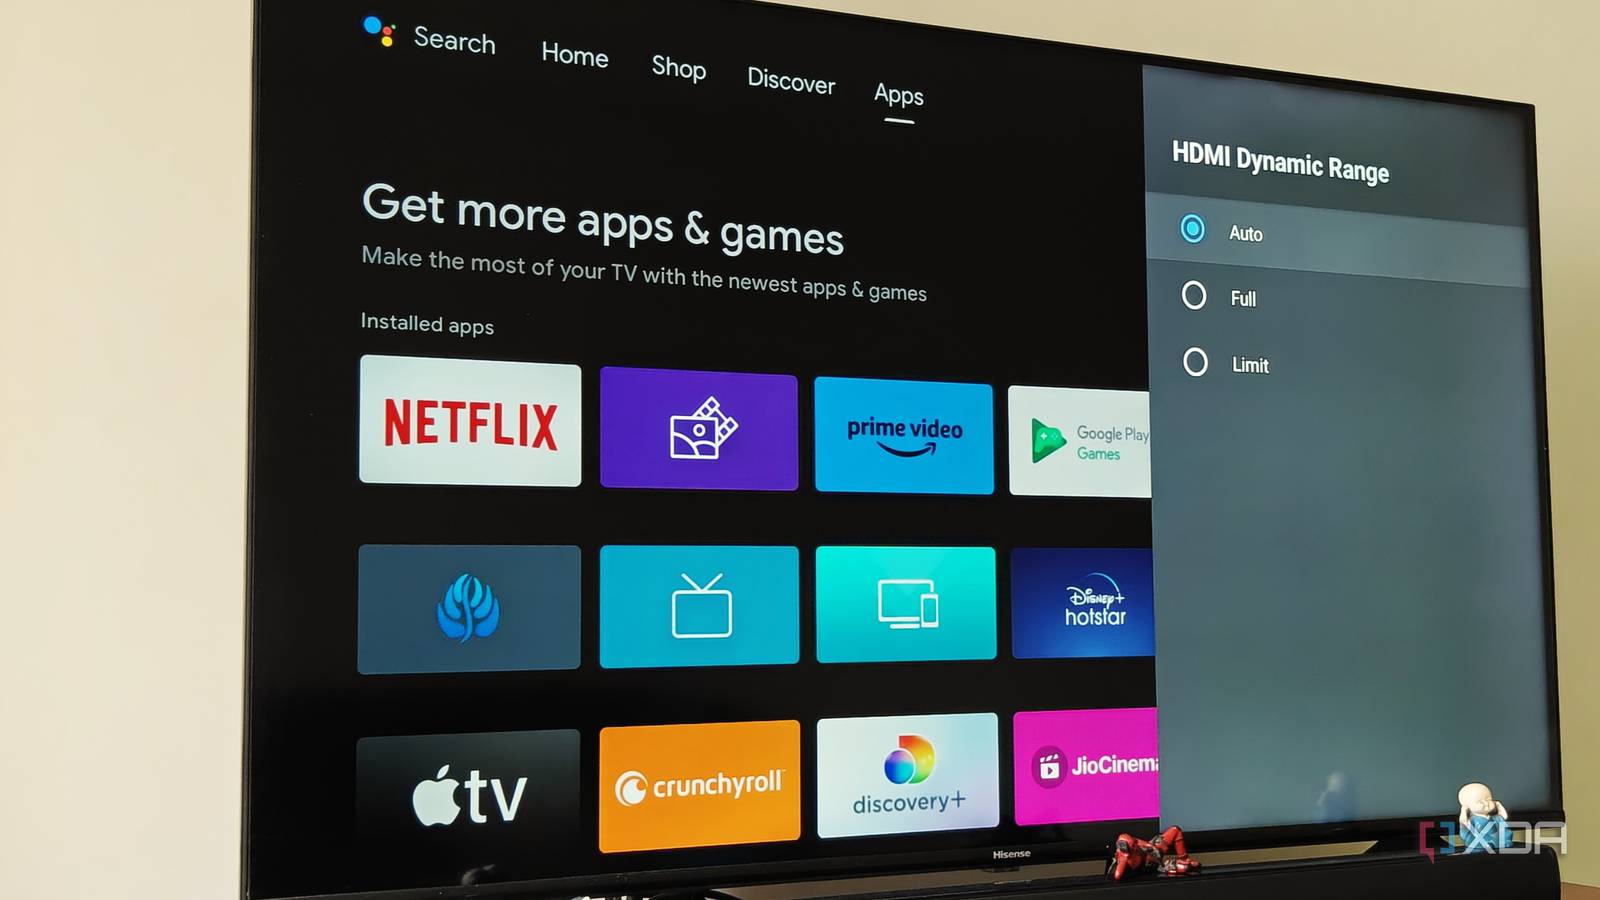
Published Aug 23, 2026, 8:30 AM EDT After a 7-year corporate stint, Tanveer found his love for writing and tech too much to resist. An MBA in Marketing and the owner of a PC building business, he writes on PC hardware, technology, and Windows. When not scouring the web for ideas, he can be found building PCs, watching anime, or playing Smash Karts on his RTX 3080 (sigh). It baffles me why modern TVs still don't ship with default settings that ensure the best audio and video experience for the viewer. Sure, some defaults exist for stability, but most of the HDMI settings that people switch to anyway should be dialed in right out of the factory. The average user might not know that they need to change these settings to get the experience they've already paid for. When I'm setting up a new TV, these HDMI settings are the first things I check. It's possible to change them later when I really need them, but it's just easier to get them out of the way during the initial setup. Whether or not you intend to game on your TV, I highly recommend changing these HDMI defaults. Choose the right HDMI mode The default mode is holding your panel back By default, the HDMI ports on your TV are set to run in the "Standard" format. Manufacturers do this to ensure maximum compatibility with older devices, so that a black screen doesn't stump customers and prompt refund requests. The problem is that this setting forces your TV to run in a bottlenecked mode, capping the HDMI bandwidth and affecting the color depth, refresh rate, and HDR performance. To get the most out of your expensive panel, switch to the Enhanced Format, Deep Color HDMI, HDMI UHD Color, or 4K Enhanced, depending on your TV brand. This setting unlocks the full bandwidth for that particular HDMI port, removing all stops. You need to change this setting separately for every HDMI port. Enable adaptive HDR Universal HDR rarely works on older TVs HDR is a terribly abused term in the TV (and monitor) world, and manufacturers aren't incentivized to better inform the customers. While modern high-end TVs have the hardware to deliver a decent HDR experience, older TVs rarely have that capability. Moreover, the HDR setting on your TV is probably configured to display every piece of content in HDR, whether it was intended to be seen in HDR or not. Ideally, HDR should turn on only when the content (and your TV) supports it. Forcing HDR on SDR content results in washed-out colors, and if the TV doesn't have the necessary HDR chops, HDR is better left off. To force your TV to use HDR only when it makes sense, turn on Adaptive HDR in the advanced display settings. On the Apple TV 4K, you should enable Match Dynamic Range and Match Frame Rate in the video settings. Other streaming devices will also have similar options in the dynamic range settings. If your older TV can't do proper HDR, it's better to leave it off for better picture quality. Turn on ALLM Eliminate needless toggles when gaming Auto Low Latency Mode, or ALLM, is a handy setting when you want your TV at its best, supporting your 4K 120Hz console. It's a single toggle that switches the TV to its lowest-latency mode when it detects a signal from a gaming console. You no longer need to manually turn on Game Mode or disable unnecessary image processing settings. ALLM automatically disables overheads like motion interpolation and noise reduction. ALLM minimizes input lag on your TV, so you get the best possible gaming experience on your panel. Some input lag may still remain, but that will be due to the panel's constraints, not unnecessary settings that don't improve gameplay in any way. Switch to HDMI eARC HDMI ARC doesn't cut it Not every HDMI port on your TV behaves the same way. If you look at the input panel of your TV, some HDMI ports won't have "eARC" written next to them. The ones that do support the "enhanced" version of HDMI Audio Return Channel (ARC), which is necessary for carrying lossless audio formats like Dolby Atmos. Plugging your soundbar into an HDMI ARC port will still work, but the audio you get will likely be compressed and flat. Checking if your soundbar or speaker system is connected to the right HDMI port takes a few seconds, but it can make a huge difference to your viewing experience. You don't want to buy an expensive sound system only to sacrifice its performance because of a single wrong connection. Choose the right audio output Your TV might be compressing the audio Lastly, to keep your TV from messing up the audio pipeline, make sure there's no unnecessary audio processing in the background. The default audio output on your TV might be set to PCM (Pulse Code Modulation), which strips the incoming audio from your streaming device of all spatial data. TVs tend to decode the incoming audio into stereo PCM, which is good for compatibility but bad for audio quality. You should switch the audio output format to Pass Through, so that your TV doesn't add any of its own processing to the audio signal. It will let the audio pass through to your soundbar as-is, retaining the necessary spatial data. This will allow you to hear the lossless audio your streaming device is sending, not a compressed, hollow version of it. Your TV doesn't perform at its potential on the default settings Most people don't realize they need to tweak many of their TVs' settings to save them from themselves. Changing the HDMI format, audio output, and HDR settings is necessary to ensure your TV doesn't bottleneck itself. These defaults exist for a reason, but they aren't optimal for most real-world scenarios.
5 HDMI settings I always change on my TV for the best picture and sound quality
Full Article
Original Source
Read the full article at Xda-developers →KhanList aggregates and links to publicly available news content. We do not host full articles from third-party sources. Always verify important information with original sources.