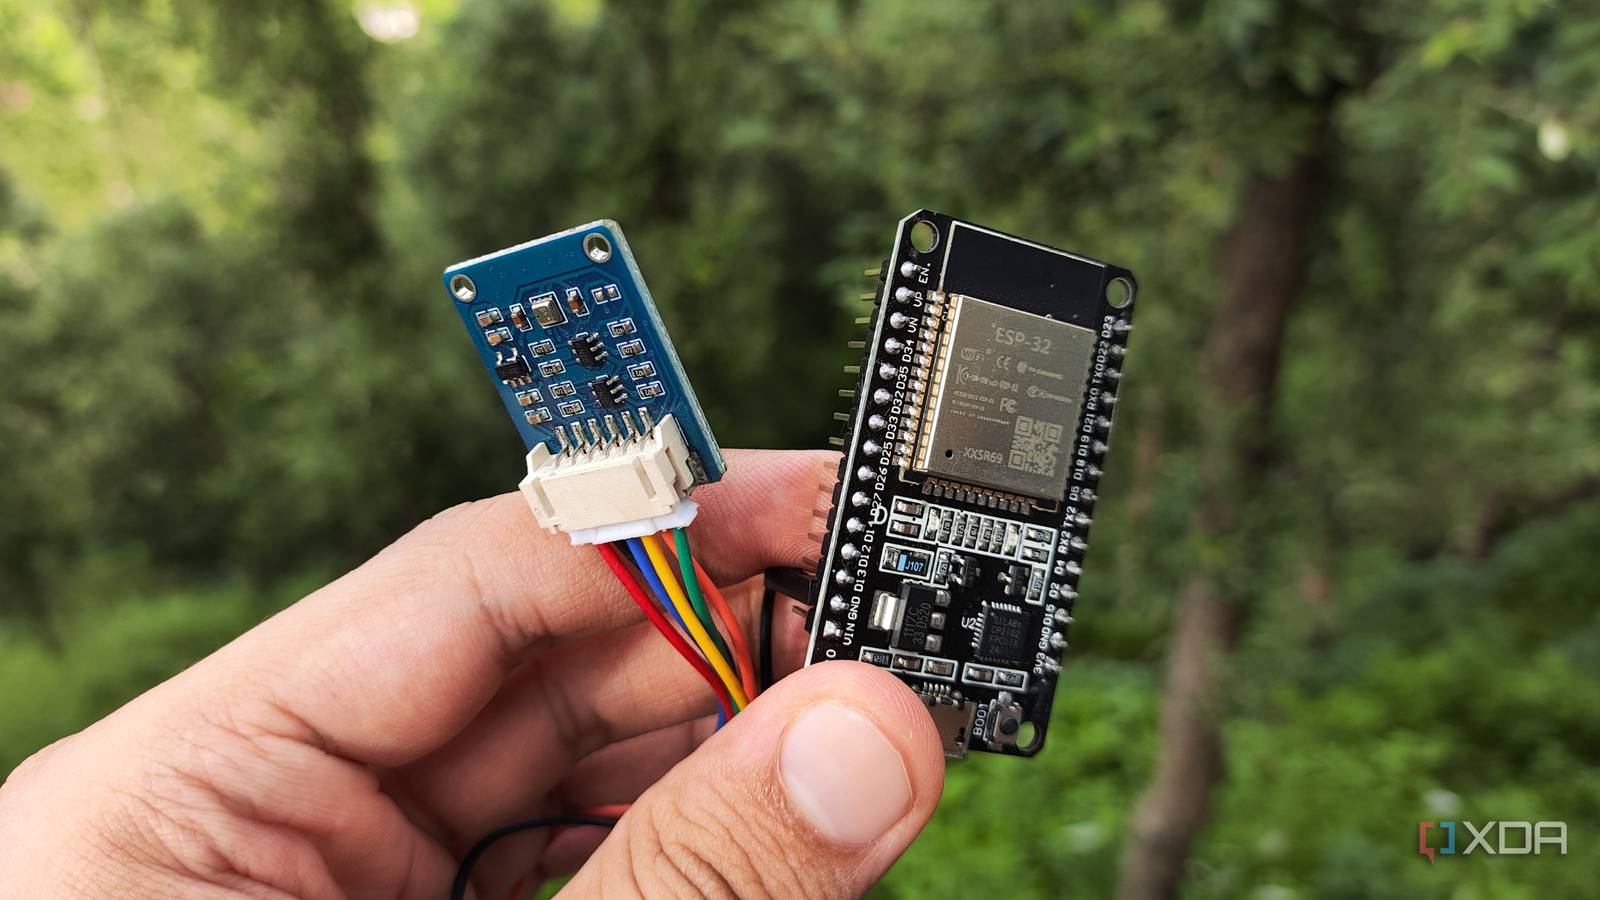
Published Jul 23, 2026, 11:00 AM EDT After a 7-year corporate stint, Tanveer found his love for writing and tech too much to resist. An MBA in Marketing and the owner of a PC building business, he writes on PC hardware, technology, and Windows. When not scouring the web for ideas, he can be found building PCs, watching anime, or playing Smash Karts on his RTX 3080 (sigh). ESP32 is beloved by hobbyists for multiple reasons. It's cheap, powerful, and highly versatile, making it perfect for DIY projects both big and small. Unlike SBCs like the Raspberry Pi, the variety of ESP32 boards and their breadth of features might intimidate beginners. However, you don't need to start with advanced projects; you can learn the basics first. The projects on this list will help you get familiar with basic libraries, network requests, display outputs, and more. Each of these projects goes beyond the learning phase itself; they are useful in the long term in various parts of the house. You don't need much more than an ESP32 board, a few sensors, and a compact display to create all of these DIY devices. Air quality monitoring system Keep an eye on the particulate matter inside your house Credit: Joyce Lin / Hackster.io If you're curious about putting a number on the air quality inside your house without spending on an off-the-shelf monitor, you're in luck. A standard ESP32 30-pin board and a PMS7003 sensor are all you need to make your own AQI monitoring system. A PMS7003 digital particle concentration sensor can measure PM1.0, PM2.5, and PM10 levels using laser scattering. It costs around $20, and adding $5 for the ESP32 board and a 5V battery brings the cost to around $30. You can configure the setup using ESPHome by simply choosing the respective template using YAML blocks. It allows the readings from the sensor to feed into the ESP32 board and display them on your Home Assistant dashboard. Smart plant monitoring system Automatic moisture detection and watering For setting up a smart moisture monitoring system, you'll need a capacitive moisture sensor interfacing with your ESP32 board. Once you've connected the correct GPIO pins to the sensor, you can launch the Arduino IDE to configure it. You can easily find the Gravity Soil Moisture Sensor in the Library Manager tab if you don't want to write a custom function. This DIY moisture monitoring system can display the soil moisture levels on the ESP32 web server. Thanks to onboard Wi-Fi, you can configure your SSID and password for the web server before uploading the code. If you're feeling ambitious, you could automate your sprinkling system based on the sensor readings. A PIR motion sensor for presence detection Motion detection on the cheap Another ESPHome project, a smart motion detection system requires a PIR motion sensor with your ESP32 board. You can declare the sensor with the device class as "motion" and the GPIO pin to start. Note that adding a few milliseconds of delay to the YAML will reduce the number of false positives. This basic sensor setup will support motion detection within a 120-degree field of view and up to a distance of 7 meters. By using it along with your home, you can create a more accurate presence detection system for your home. A surveillance camera for intruder detection When you want more security from your ESP32 If you aren't satisfied with motion detection alone, you can create a DIY surveillance camera with your ESP32 board and an OV2640 camera sensor. It's one of the most affordable options out there for a project like this, and its 2MP camera offers basic CCTV functionality. You'll need to configure the CameraWebServer example file in the Arduino IDE by selecting it in the Examples tab. Change the SSID and password parameters before uploading the code. Combining a PIR motion sensor and a light sensor (LDR) can make the setup more advanced. The former will trigger a photo capture or video recording only when necessary, saving power. And the latter will allow the camera to see in the dark. Brand AITRIP Connectivity Features UART, USB The ESP32 is a fantastic development board that combines solid specs with an affordable price. Despite being cheaper than Arduino and Raspberry Pi Pico, it outperforms most of its rivals. Plus, the ESP32 even has Wi-Fi and Bluetooth functionality built into every board, making it great for projects where you can't physically keep the microcontroller connected to your PC at all times. E-ink touch display as a personal dashboard Display almost anything you want This one is perhaps the most interesting project on this list. If you've always wanted a desk dashboard, you can make one yourself with an e-ink display soldered to an ESP32 board. LILYGO's T5 e-Paper is a popular option, which fuses a 4.7" low-power e-ink capacitive touch display with an ESP32-S3 board. Depending on your preferences, you can pack in a ton of information on the display using the Arduino IDE. You can link your display to ESPHome and pull weather data, calendar data, to-do lists, readings from other ESP32-powered devices, and basically anything else you can think of. The grayscale display won't strain your eyes, and the "deep_sleep" component in ESPHome will keep it going for around five days on a single charge. Starting your ESP32 journey is easier than you think Getting into SBCs or microcontrollers seems daunting at first, but if you start with basic projects and learn the ropes, it doesn't take long to graduate to the really meaty projects. You could dabble in advanced robotics, edge AI, and Zigbee/Matter devices, all powered by the humble ESP32. You'll find that the real limitation is your imagination.
5 ESP32 projects a total beginner can finish in an afternoon
Full Article
Original Source
Read the full article at Xda-developers →KhanList aggregates and links to publicly available news content. We do not host full articles from third-party sources. Always verify important information with original sources.