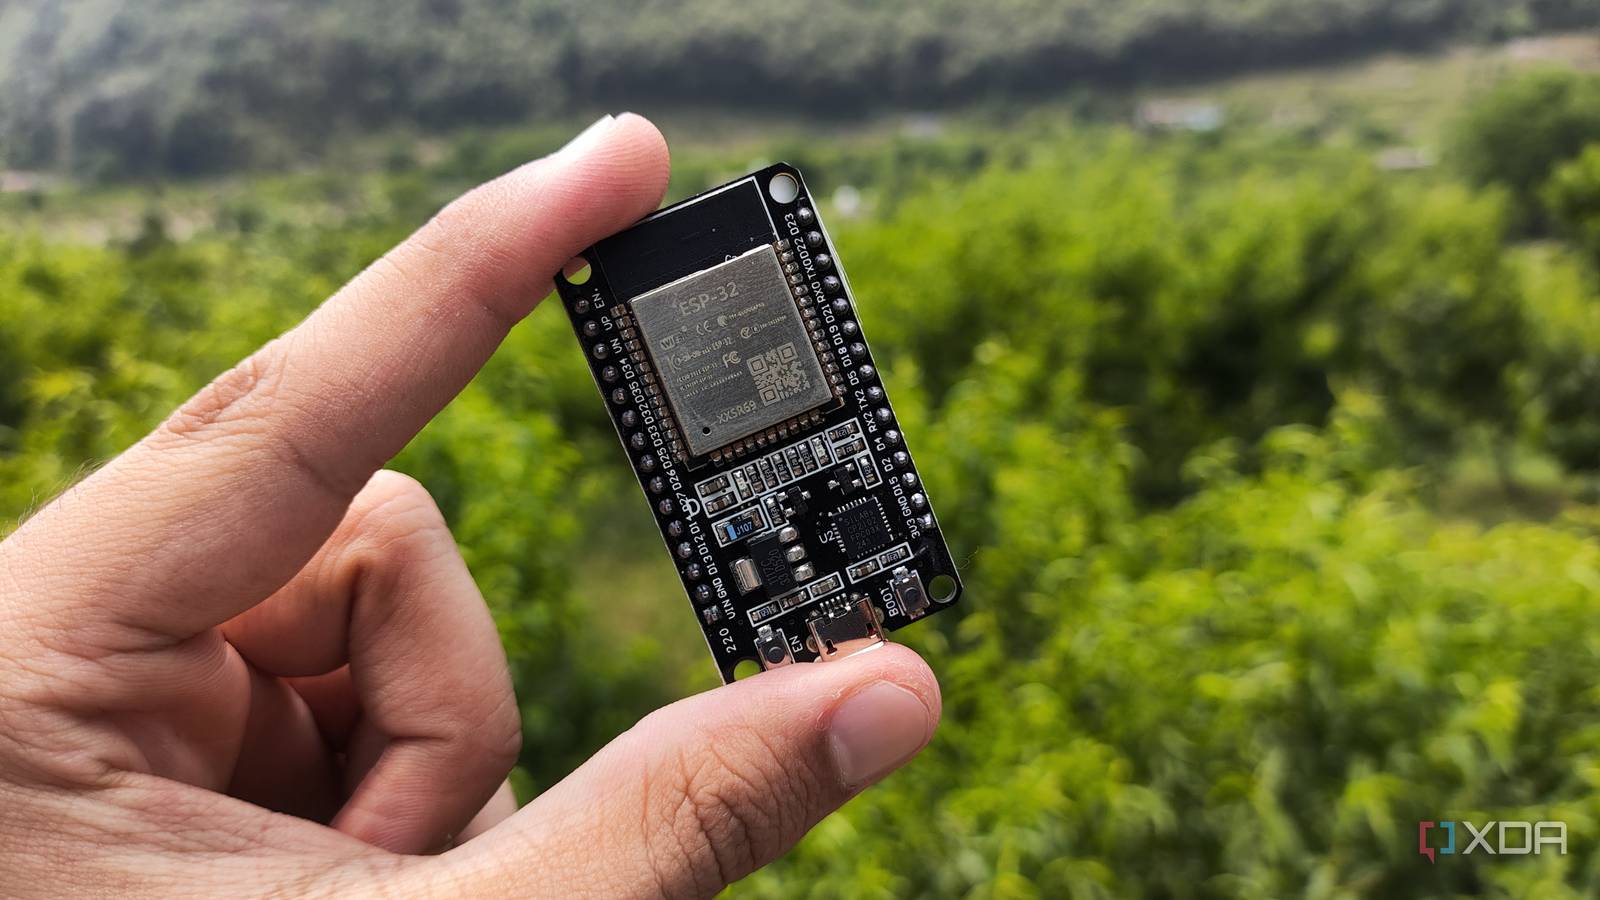
Published Aug 8, 2026, 11:00 AM EDT Ayush Pande is a PC hardware and gaming writer. When he's not working on a new article, you can find him with his head stuck inside a PC or tinkering with a server operating system. Besides computing, his interests include spending hours in long RPGs, yelling at his friends in co-op games, and practicing guitar. When you think about ESP32 projects, you’ll probably imagine complex Home Assistant ideas involving sensors, circuitry components controlled with snippets of C++ syntax, or motor-powered robotics chassis. However, you don’t necessarily need to start off the deep end with wild projects, and can instead work your way up the difficulty curve with some beginner-friendly ideas involving simple YAML code and pre-compiled firmware. Heck, I’d go so far as to say that you don’t even need to grab additional sensors or accessories to get started on your ESP32 tinkering journey. Combine the Wi-Fi, Bluetooth, and other connectivity provisions built into this neat microcontroller family with the ESPHome Device Builder app, and you can create some truly useful stuff with your pint-sized microcontroller. Wi-Fi strength scanner A simple starter project to help you get the hang of ESPHome If you’re looking for something cool to build as your very first ESP32 project, I recommend building a scanner that can check the strength of the Wi-Fi networks in your household. To be more specific, this project uses the Wi-Fi module on your ESP32 board to listen for frames sent out by the access points and routers and display their signal strength decibel-milliwatts. There are a couple of ways to pull this off, but the most straightforward one involves using the ESPHome Device Builder utility to configure the ESP32 to add the Wi-Fi stats to Home Assistant. Personally, I used the pre-created template for a generic ESP32 board on ESPHome and appended the following syntax at the end to create the functional YAML code for this project before using the USB flashing option to write it onto my tinkering companion: sensor: - platform: wifi_signal name: "ESP32 WiFi Signal dBm" id: wifi_dbm_sensor update_interval: 60s text_sensor: - platform: wifi_info scan_results: name: "Nearby WiFi Networks" id: nearby_wifi icon: "mdi:wifi" Bluetooth proxy It’s the perfect companion for your Home Assistant hub Switching gears to something you can actually use for your everyday smart home automation tasks, an ESP32 Bluetooth proxy is a game-changer when you own dozens of BLE devices that you can’t connect to Home Assistant because they lie on the other side of your house. Essentially, the Bluetooth proxy uses your ESP32 to capture BLE signals from different devices and send them to your Home Assistant server over Wi-Fi. Combine that with the inexpensive price tags on ESP32 boards, and you can use these DIY Bluetooth proxies to cover any dead zones in your smart living space. As for the syntax, you can start with the generic ESP32 profile and add this snippet to the end of the code: bluetooth_proxy: active: true esp32_ble_tracker: scan_parameters: interval: 1000ms window: 1000ms active: true Zigbee router Ideal for folks with Zigbee-powered devices Both of the projects I’ve mentioned so far work well on good ol’ ESP32-WROOM. But since the microcontroller lacks Zigbee support, you’ll have to look into its sibling to build a Zigbee router. To be more specific, I’m talking about the ESP32-C6, which features Wi-Fi 6 connectivity alongside IEEE 802.15.4 Radio capabilities, allowing it to support both Zigbee and Thread protocols. If you’re wondering about the utility of a Zigbee router, it can serve your existing Zigbee network as a mesh node that relays messages between a coordinator and devices located further away. Code-wise, you can start with a clean ESPHome Device Builder template and flash it after entering this snippet: esphome: name: esp32c6-zigbee-router friendly_name: "ESP32-C6 Zigbee Router" esp32: board: seeed_xiao_esp32c6 framework: type: esp-idf zigbee: router: true logger: level: INFO Then, you’ll want to connect it to the same machine running Home Assistant instead of leaving it plugged into a wall outlet or another client device. I’ve got my HASS instance running on Proxmox, so I had to go through the additional step of passing the ESP32-C6 as a USB device to my Home Assistant instance, but you’ll also have to look into container passthrough if you’re running this smart home control hub via Docker. Finally, you can run the ZHA integration and choose the Zigbee profile settings you want for your DIY Zigbee router. Thread border router But you might want to grab a U.FL antenna for best results Since the ESP32-C6 also supports the Thread protocol, you can also flash it with radio co-processor code to turn it into a Thread border router for Home Assistant. This neat project can pair Thread gizmos with your home network, thereby letting you control them from your HASS instance. Personally, I’ve been using one of my ESP32-C6 boards for this project without any additional accessories, and it works well for my home lab and a nearby room. But for folks looking to cover a larger area, it’s a good idea to invest in a U.FL antenna. Unlike the other projects, a Thread border router requires a different procedure. Instead of writing YAML code, you’ll want to grab the pre-compiled firmware from developer rayanamal’s repo and use the ESPHome flashing tool to write it to your ESP32-C6 module before plugging it into the Home Assistant host server. Then, you’ll have to install the Open Thread border router on HASS via the App Store and configure the tool to use the microcontroller as the Device while disabling the Hardware Flow Control functionality. Hitting the Start button back in the app should get it running, though I recommend going through the Logs just to double-check everything. The possibilities are endless once you add ESP32 accessories to the mix If you’ve already completed these projects and are looking to sink your teeth into fun ESP32 ideas, I recommend grabbing a box of sensors for it. Popular sensor modules are available at dirt-cheap rates, and you can turn them into functional ESP32-powered setups capable of enhancing your Home Assistant server with a little bit of patience and YAML syntax. Brand AITRIP Connectivity Features UART, USB
4 simple ESP32 projects you can build without any sensors
Full Article
Original Source
Read the full article at Xda-developers →KhanList aggregates and links to publicly available news content. We do not host full articles from third-party sources. Always verify important information with original sources.