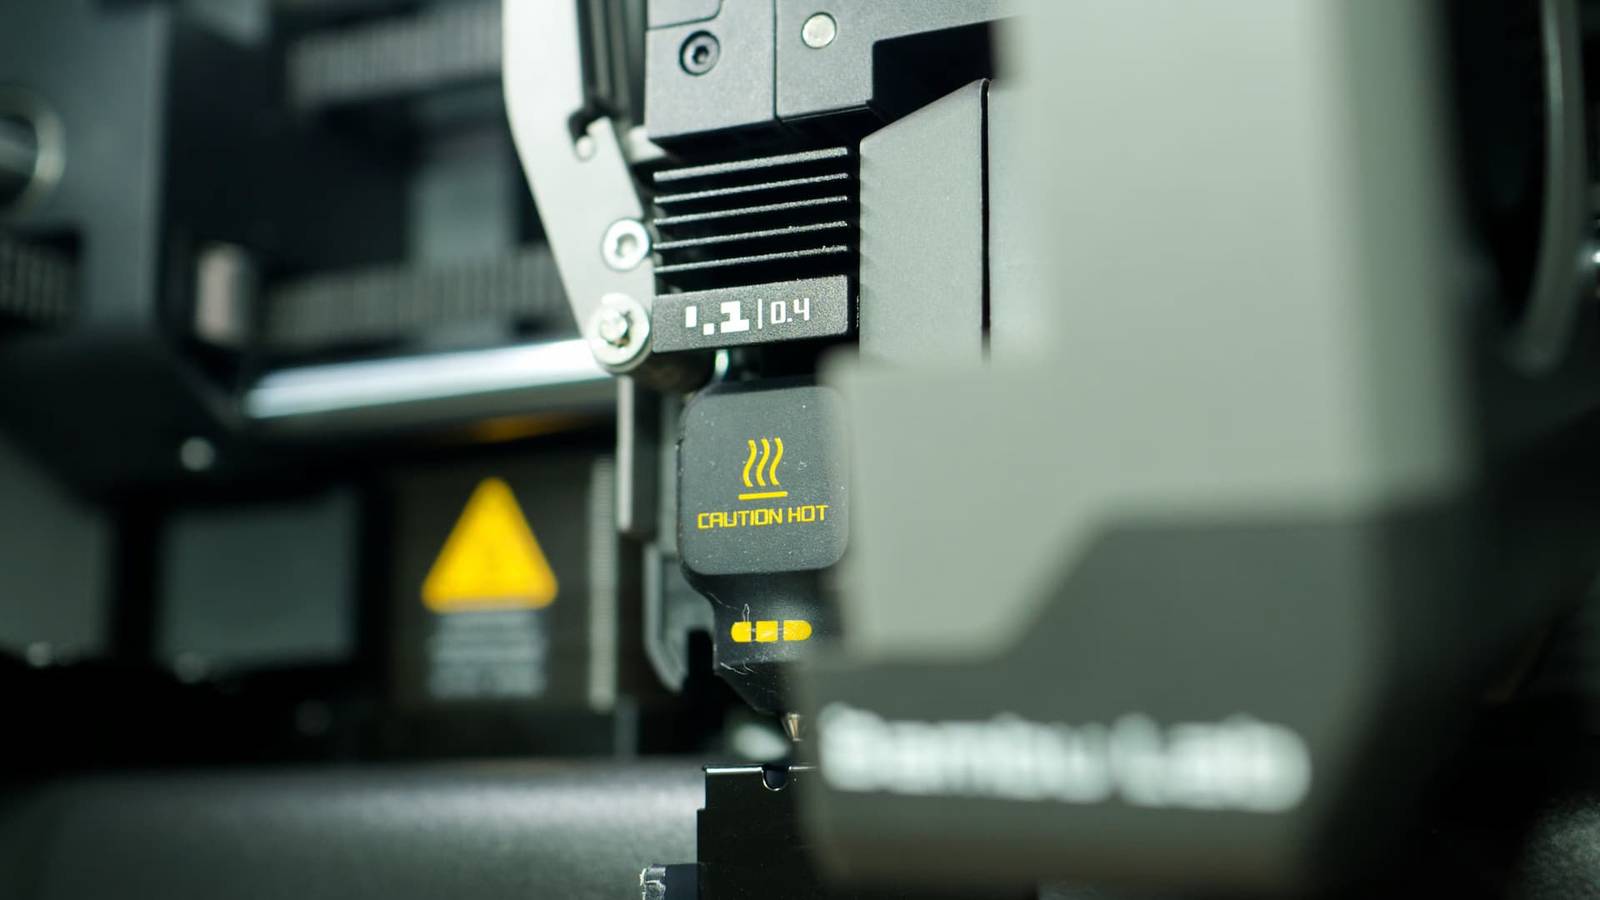
Credit: Tim Brookes / How-To Geek Published Aug 2, 2026, 9:00 AM EDT Tim has been covering technology for almost 20 years, in that time spanning a broad range of topics from security to product reviews. He is especially focused on the Apple ecosystem, productivity, and consumer advice. Over the years Tim has written thousands of articles, reviews, and round-ups in addition to producing video content and original photography. A graduate of journalism, he found his footing as a freelancer with a laptop and loves how he is able to work from practically anywhere. Now a Senior Editor for iPhone, Mac, and Smart Home at How-To Geek, Tim still loves to write. He can also be found crafting round-ups and productivity posts for the Zapier blog. Earlier in his career Tim spent nearly a decade as a writer and eventually Apple section editor for MakeUseOf. Tim currently lives in Brisbane, Australia. Outside of work he loves to hike and work out, play video games, and spend quality time with his wonderful partner and two cats Inka and Roger. Your 3D printer’s nozzle is the last thing that melted filament touches before it becomes a 3D-printed object. Different printers come with different nozzles, and you can replace or swap these out as you see fit. Here are some things that all 3D printer owners and newcomers should know. All nozzles will wear over time Think of them as consumables Credit: Patrick Campanale / How-To Geek You might be surprised to learn that your 3D printer’s nozzle, like your print bed, is technically a consumable item. Nozzles wear down over time, as filament makes contact and passes through them. What your nozzle is made from, and the type of filament you’re using, can make a huge difference to its lifespan. Brass nozzles were once common, but most printers now use stainless steel as a baseline. Brass is a soft metal, whereas stainless steel is a lot harder, so the latter wears more slowly. Hardened stainless steel is harder still, while even harder nozzles made from materials like tungsten carbide and silicon carbide offer even more wear resistance. Even the toughest nozzles have a coating inside of them that is designed to help the filament move smoothly. This will wear away before the nozzle starts to wear, but how quickly this happens depends on how much you’re printing and what you’re printing with. Wire brushes are commonly used to clean nozzles that have dried filament stuck to them, but always take care not to use a harder brush (like stainless steel) with a softer nozzle (like brass), or you’ll damage the nozzle. Some filaments are (a lot) worse than others Glow-in-the-dark filament is the worst Credit: Sydney Louw Butler / How-To Geek If you’re printing basic PLA and sticking with it, you can stick with a stainless steel (or even brass) nozzle without too many problems. Once you start printing more abrasive filaments, you’ll need to take the nozzle type you’re using into account. Many basic PLA blends require a hardened stainless steel nozzle or better. Anything that contains carbon fiber and glow-in-the-dark filaments are two examples of abrasive materials. The latter in particular includes strontium aluminate, which will destroy your PTFE tube too. Other abrasive filament types include blends of wood, metal, and glass. The filament vendor should advise you about whether you need a hardened steel nozzle or better (but you might want to invest in one anyway, to cover your bases). A “cold pull” can fix extrusion problems Remove the gunk by force Credit: Tim Brookes / How-To Geek Extrusion problems, like particularly slow or uneven flow, don’t always mean that your 3D printer’s nozzle is in need of complete replacement. Instead, you might want to perform what is known as a cold pull to remove any gunk that is stuck inside. Exactly how you perform a cold pull can vary from printer to printer, with many modern printers even having an option for it in the main menu. The general idea is to first heat the nozzle to slightly above normal printing temperature, then manually push filament into the extruder until you see a flow. From here, lower the print head temperature to the filament’s softening point (around 85ºC-110ºC for PLA). Once the material has cooled, you can yank the remaining filament out of the print head in an upward motion, and it should come out cleanly—with any unwanted debris stuck to it. Some recommend performing a cold pull regularly; others only do so when noticing a partial clog or print quality issues. It’s a good idea to know how to do it before you need to do it, so consider a practice run if you’ve never done it before. Buy and swap out nozzles to suit your usage Different nozzles for different jobs Most 3D printers ship with a do-it-all 0.4mm nozzle. This is a great all-round choice, offering a decent trade-off between fine details and fast prints. But you don’t have to stick with this, especially if you’ve got a specific use case in mind for your printer. For example, if you’re keen on printing intricate items like tabletop miniatures or model figurines, you’ll undoubtedly benefit from a smaller 0.2mm nozzle (0.1mm nozzles also exist). These are typically made from stainless steel (rather than harder metals), and trade speed for quality. By comparison, going in the other direction by fitting a 0.6mm or 0.8mm nozzle will cause finer details to suffer, but the speed of your prints will increase. Larger layer lines mean that parts are generally more durable. These nozzle types are usually available in harder metals, with high flow options also available. High flow nozzles are the ultimate in speed, and are perfect for larger parts that need to be produced quickly where print quality isn’t necessarily a priority. They tend to cost a fair bit more than standard nozzles, though. Generally speaking, swapping out nozzles on modern printers is a lot easier than it once was. For example, the original Bambu Lab P1S required you to remove the tool head cover, take out some screws, carefully unplug some wires, swap the nozzle, and then put everything back. Swapping the nozzle on a P2S (and other modern Bambu Lab printers) is a completely tool-less process and takes about 30 seconds, with no fragile wires to accidentally pinch. Bambu Lab P2S Build Volume 256x256x256mm Printing Speed 600mm/s The Bambu Labs P2S 3D printer is ready to go out of the box and can have you printing within 15 minutes. It features up to 20-color printing with the AMS unit, has an upgraded built-in camera for remote monitoring and time lapses, and has an enclosed body for printing even high-temperature filament. Bambu Lab 0.2mm Stainless Nozzle A 0.2mm stainless steel nozzle for Bambu Lab printers for finer detail prints with smaller layer lines. Your printer probably has one, maybe two nozzles at a push. The AtomForm Palette 300, a multi-nozzle printer, has twelve to minimize waste.
4 important things you need to know about your 3D printer’s nozzle
Full Article
Original Source
Read the full article at Howtogeek →KhanList aggregates and links to publicly available news content. We do not host full articles from third-party sources. Always verify important information with original sources.