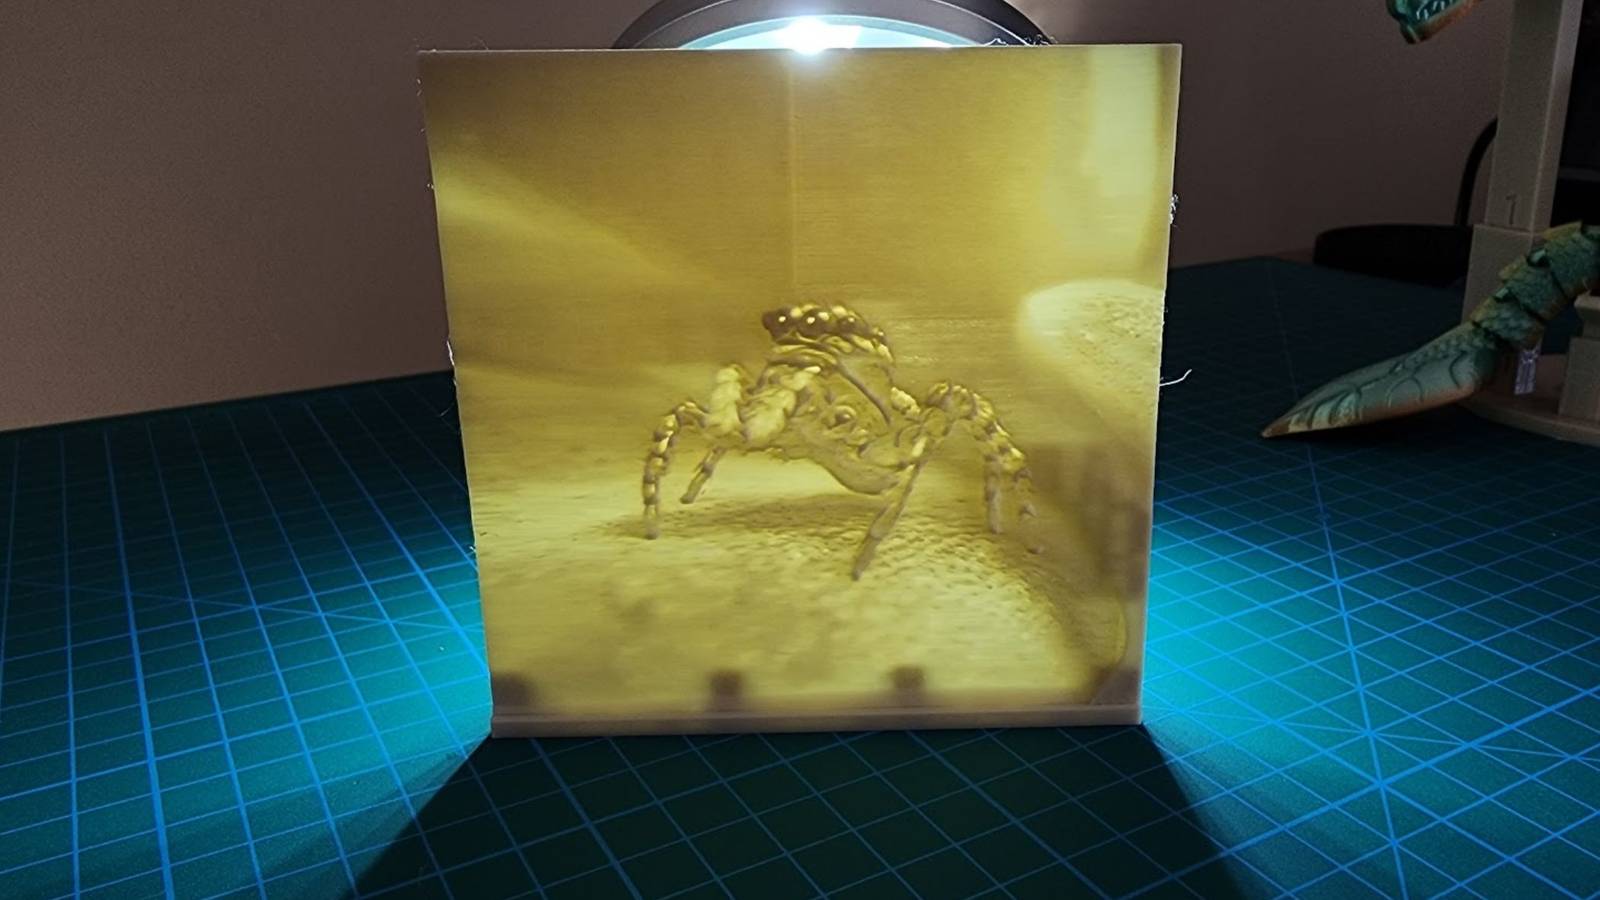
Published Jul 26, 2026, 7:00 AM EDT Tim has been covering technology for almost 20 years, in that time spanning a broad range of topics from security to product reviews. He is especially focused on the Apple ecosystem, productivity, and consumer advice. Over the years Tim has written thousands of articles, reviews, and round-ups in addition to producing video content and original photography. A graduate of journalism, he found his footing as a freelancer with a laptop and loves how he is able to work from practically anywhere. Now a Senior Editor for iPhone, Mac, and Smart Home at How-To Geek, Tim still loves to write. He can also be found crafting round-ups and productivity posts for the Zapier blog. Earlier in his career Tim spent nearly a decade as a writer and eventually Apple section editor for MakeUseOf. Tim currently lives in Brisbane, Australia. Outside of work he loves to hike and work out, play video games, and spend quality time with his wonderful partner and two cats Inka and Roger. I like to think that my house is full of interesting things, but I’m very aware that the walls are a bit bare. One option is to use a 3D printer to brighten the place up since there are so many decor options available. Here are some wall art ideas to start you off. Lithophanes are a great starting point A 19th-century technique for the modern age Credit: Sydney Louw Butler / How-To GeekCredit: Sydney Louw Butler / How-To Geek A lithophane is an image that is molded onto a thin piece of translucent material, with a light shone behind it in order to display the image. These were typically made from porcelain, but the technique has seen a resurgence in modern times with the arrival of 3D printing. You can make your own lithophanes from digital photos using a web app like ItsLitho. As long as you can get a light source behind the lithophane, it should work just fine. There are different variations on this theme with some of the best being recreations of stained glass, plus wall-mountable lithophane holders for use with off-the-shelf IKEA lights. Use filament painting to combine colors for impressive results A HueForge license might be worth it after all Credit: C3D / MakerWorld Filament painting is a technique that combines layers of filament in varying thickness to create an image that’s more than the sum of its parts. You’ll find all manner of filament paintings on a repository like MakerWorld simply by searching for them, and the results speak for themselves (like the Red Dead Redemption filament painting, above). By virtue of the technique used, these images have texture since layering is used to achieve the effect. You don’t even need a multi-material system like Bambu Lab’s AMS for this to work, since pauses can be used to initiate filament swaps (though you’ll have an easier time if you load multiple filaments at once). Go a step further by printing models with a 3D element that literally pops off the page, like the Millenium Falcon or Doctor Who's tardis. You can create your own filament paintings from scratch using HueForge, a $30 piece of software (for a personal license) that converts images into STL files that you can slice and print. Just be aware that the images you convert won’t look right in your slicer before you print them, since your slicer won’t correctly calculate “mixed” colors from overlaid filament. Multi-part models can fill a whole wall The sky is the limit Credit: dgemily / MyMiniFactory Model repositories like MakerWorld, Printables, and Thingiverse each have categories that are filled with objects designed to be hung on your wall. These range from abstract swirls to baroque picture frames, minimalist line art to live-laugh-love monstrosities—it’s all there. You can also design your own prints, too. Slicers like Bambu Studio and OrcaSlicer work great with vector images in the SVG format. You can use free software like Inkscape to import, draw, trace, and refine your designs before sending them to your slicer. You can turn these creations into much larger prints by scaling them up (or down, for smaller) and then printing them piece-by-piece in turn. Ultimately, this depends on how you have designed your print. If you’re using abstract shapes to create a larger design (like the geometric horse wall art, above), you can just print the shapes any way you see fit and mount them properly. Alternatively, you can use the cut tool to cut larger artworks into smaller pieces, print them individually, and then mount them in a way that hides the join. Mount some 3D-printed heads Fancy a dragon head on your wall? Credit: BK designs / MakerWorld The novelty taxidermy trend has undoubtedly gained steam over the last few years. While many of these projects are purely handmade, 3D printing can be used to achieve this effect too. You can really push the boat out with fantasy creatures, lifesize skulls and skeletons that don’t require actual dead animals, and novelty mounts that’ll bring a smile to your face. Most of these will require finishing by hand, like the impressive red dragon head and velociraptor wall bust. Remember to sand and prime your prints before painting for the best possible results! Recycle printer poop into wall art too Print a shadow box and face plate of your choice The filament purge shadow box has to be one of the best ways to use your “printer poop” waste filament. The model consists of the shadow box itself, a large chamber into which you put your waste, and a face plate. Basic designs include the iconic LEGO mini figure, a sunflower, the Bambu Lab logo, and the golden ratio—but you can easily design your own. There are blank face plates included so that you can import a design of your choice using a vector image (SVG) file, then use it to subtract the geometry from the solid panel to create a window. Bambu Lab P2S Build Volume 256x256x256mm Printing Speed 600mm/s The Bambu Labs P2S 3D printer is ready to go out of the box and can have you printing within 15 minutes. It features up to 20-color printing with the AMS unit, has an upgraded built-in camera for remote monitoring and time lapses, and has an enclosed body for printing even high-temperature filament. Bambu Lab AMS 2 Pro A multi-material system for Bambu Lab printers with active air vent 65°C filament drying, air-tight filament storage, a brushless servo feeding motor, Bambu's signature RFID filament sync, and compatibility with up to up 24-color/material printing by connecting more AMS 2 Pro units. Haven’t got enough printer poop for a shadow box yet? You might want to do a bit more multi-color printing.
3D-printed wall art is a trend you should follow fast
Full Article
Original Source
Read the full article at Howtogeek →KhanList aggregates and links to publicly available news content. We do not host full articles from third-party sources. Always verify important information with original sources.